Hello and happy Wednesday! After last week’s post on Sewing Room Organization Hacks I received a lot of great feedback and also received some great questions. Today I’m providing my best answers to those questions. As always, if you have thoughts or ideas, please feel free to share them in the comment section below.
MORE Sewing Room Organization Hacks: Answers to Your Questions…
Where Do I Start When I’m Organizing My Sewing Room?
This questions was actually asked several times and in a few different ways. It’s the perfect question to begin today’s post with for sure! The best way to start is by clearing the room/space if possible, purging/de-cluttering unwanted items, and deciding how you’d like the space to function.
1. Begin by Purging/De-Cluttering Unwanted Items.
There is no sense organizing things that you are going to get rid of. So take the time before you begin organizing to simply get rid of things. If you have a hard time deciding then ask a friend for help. It’s often so much easier to declutter with another person to help motivate you from hanging on to things you won’t use. If you’re working on your own, be completely honest with yourself about the time and the space you have to use the item.
2. Clear Out the Space .
If you have space where you can temporarily store everything, then it’s always best to take everything out of the space. This makes it easier to accomplish the first step above (purging/de-cluttering) because you really won’t want to take the time to move something multiple times that you aren’t going to keep. Clearing out the space also makes it easier to envision the best ways to make the space functional and useable.
3. Create a Plan.
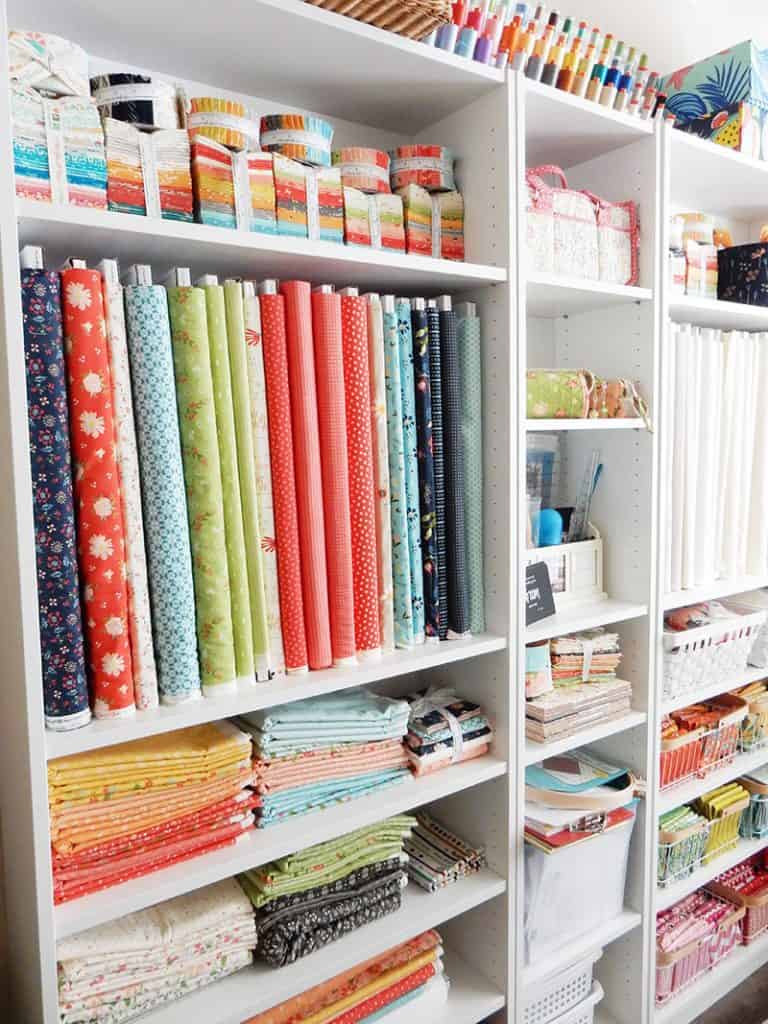
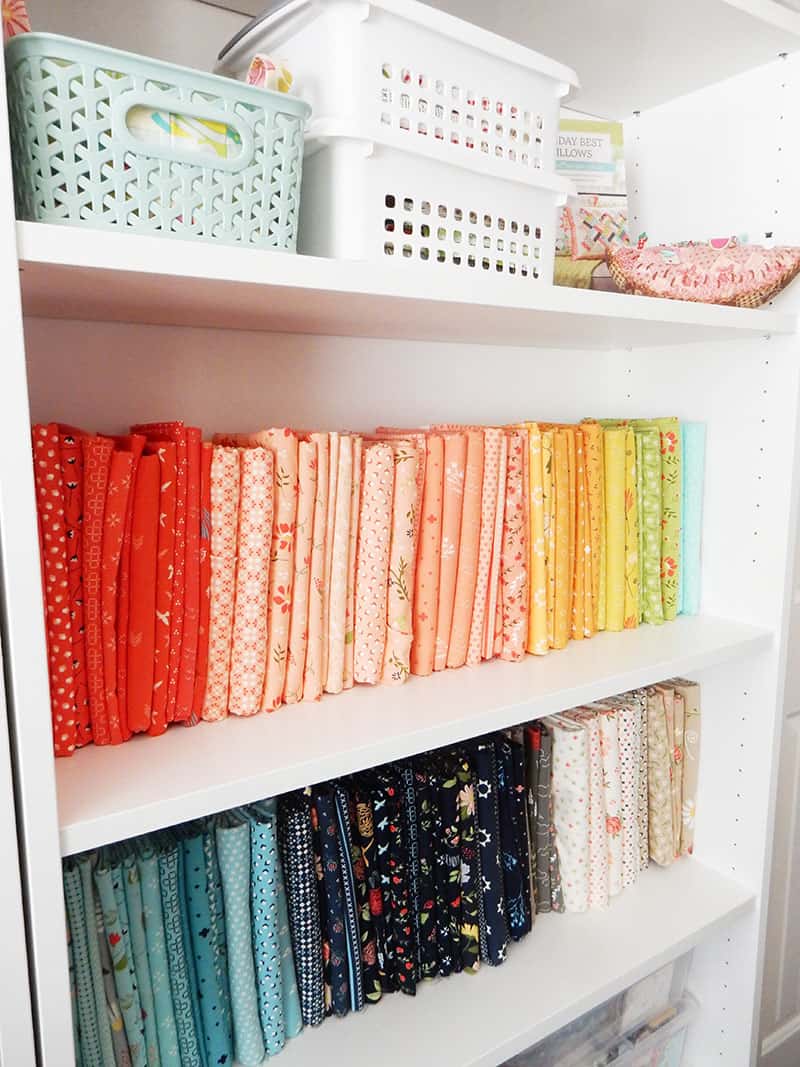
After purging/de-cluttering and clearing the space of everything you can, then decide how you want your space to function. With my recent sewing room organization I began with an empty room and first decided where I was going to put the sewing machine. I next decided on how to best place my cutting table and ironing board. After that I moved on to figuring out the best storage solutions for the room. My current sewing room doesn’t have any closet space at all, so I opted for bookshelves in order to maximize my vertical storage space.
4. More Information on General Sewing Room Organization
- Sewing Room Organization with Free Printable
- Tips for Sewing Room Organization
- 10 Sewing Room Organization Hacks
How Can I Best Organize Smaller Scraps?
I didn’t receive a lot of questions on organizing pre-cuts or larger cuts of fabric; however, I did receive several questions about storing scraps and small pieces of fabric.
1. Decide the Sizes/Types of Scraps You’ll Save.
One reader asked “How small is too small of a piece of fabric to save?”. My best answer to her question is to make a decision on that topic and stick with it. Some quilters store absolutely every scrap: from strings to strips to selvedges to squares 1 ½″ x 1 ½″ and even smaller. Other quilters don’t save anything smaller than 2 ½″ x 2 ½″. That choice is up to you…just make the decision once and stick with it. If it bothers you to throw away smaller pieces of fabrics, you can often donate them to organizations who use them for stuffing for pet beds and other items.
2. Create a System for Storing Small Scraps.
There are two basic ways to store small scraps: store by size or store by color. There are benefits to each, so think about what type of scrap quilts you are most likely to make, and then store accordingly:
- If you make lots of color-themed scrap quilts, you’ll definitely want to sort by color. Get a bin or basket for each color you are going to store and simply add your scraps to the bin based on the dominant color of the fabric.
- If you make lots of quilts using pre-cuts, then it might be better for you to store scraps according to measured sizes: 2 ½″ x 2 ½″ squares, 2 ½″ strips, 3″ squares, 5″ squares and so on.
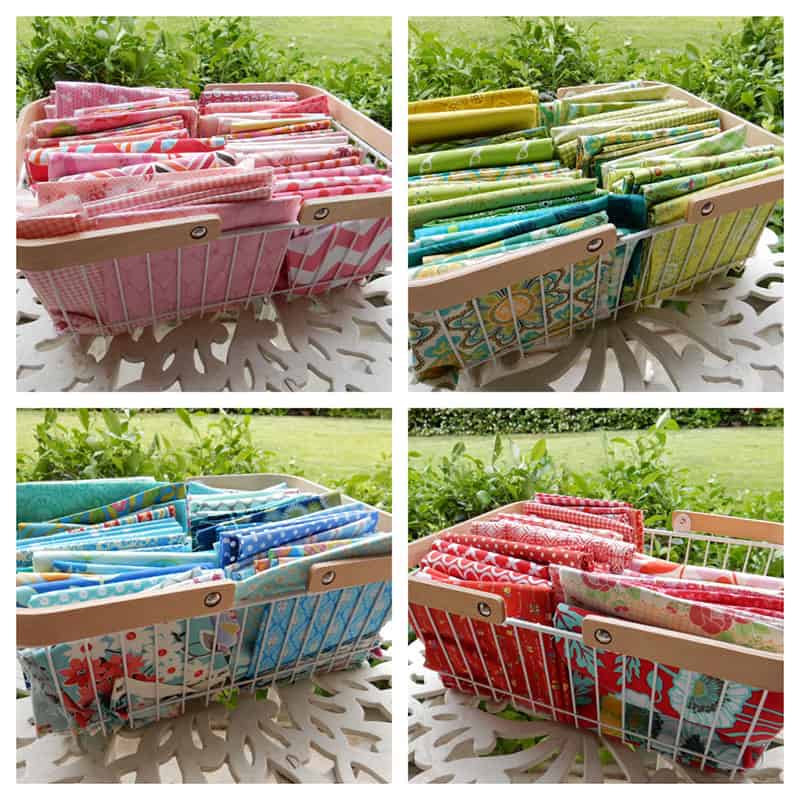
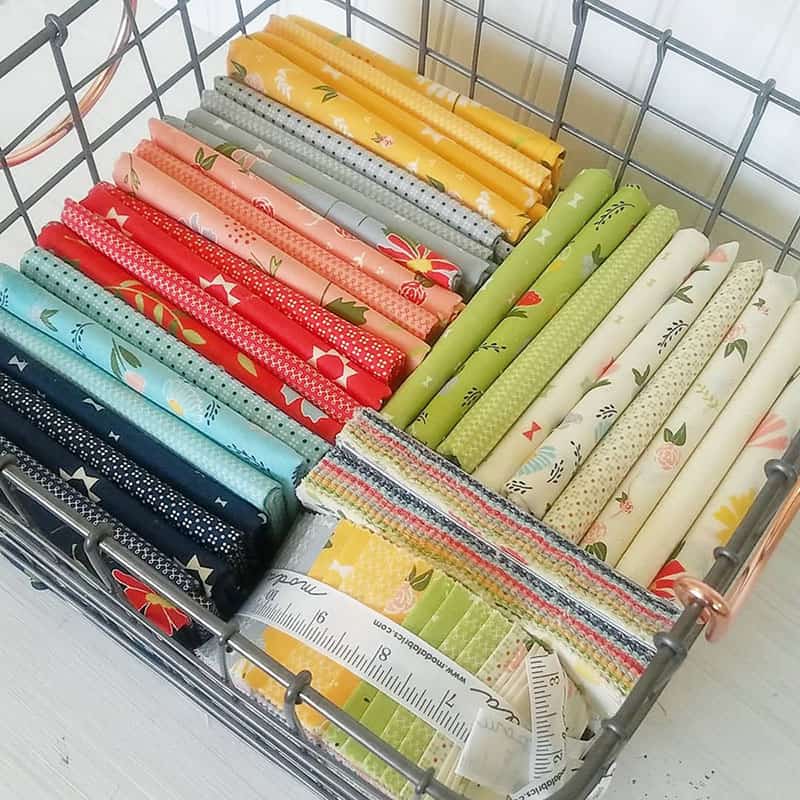
- You could also use a combination of these two storage methods as I do: Store fat quarters by color and store smaller pieces by size. This seems to work well for me since I can always go to my color bins to cut extra pieces I might need in a particular size.
3. More Information on Fabric and Scrap Storage
Read the following posts for more information on fabric and scrap storage:
- How to Sort & Organize Quilt Scraps
- Organizing & Storing Project Leftovers
- Best Scrap Quilt Ideas & Tips
Answers to More Questions…
Here are my answers to a few more of the questions I received this week:
1. I have too many “genres” of fabric to organize–what can I do?
This was a great question. I sort larger pieces of most fabrics by color; however, there are a few fabric genres I like to sew with that I keep separate:
- Christmas
- Red, White, & Blue
- Novelty Prints
- Low-Volume Prints
What I did for each of these categories was to decide how much space I was willing to dedicate for each. When the bin or drawer gets too full it’s time to sort/donate or make a quilt!
2. How can I approach organizing when I have several hobbies that need to be organized in one space?
My suggestion here is that you figure out what proportion of your time you spend with each hobby and then dedicate that percentage of the room to that particular craft. So if you spend 50% of your time quilting, then 50% of the room/space should be dedicated to quilting. If you also rug-hook and knit, then designate storage space for the items related to those arts proportionally.
3. What about left-over backing pieces?
I was so happy that this question was asked. I’ve struggled with this for years. I think the best solution is to deal with these fabrics as soon as you trim your quilt and add the binding. If the pieces are large, consider saving them to piece scrappy backs. You could designate a space for these pieces and then sew them together when you have enough. Alternatively, you can cut them into your favorite scrap sizes or store them by color.
4. How can I remember what projects I have stored in baskets and bins?
The first answer to this question is to label your storage bins and baskets. After that, I like having a master list of what I actually have in storage. A master list is especially helpful when you need to have storage in different spaces, and this method has been especially helpful with our move. I have several bins that I may end up donating at some point that are stored in a closet in my office for now. But I did make a list of what is there so that I can deal with it at some point. I decided if I don’t use any of it in the next couple of months I’d like to donate or de-stash it before we move again.
I hope that these additional sewing room organization hacks and answers to some of your questions have been helpful!
Happy quilting, and thanks so much for stopping by!

Catherine says
I decided to wrap yardage one yard or more on magazine boards and store them vertically by color in a bookcase. At one point, I was disciplined enough to mark the yardage. Pieces between a quarter yard (fat quarter or traditional cut) and one yard are folded in a plastic shoebox type containers by color. Under a quarter yard: I cut the pieces in the largest usable size in 1/2 increments so I don’t have to measure each piece as I select and store by color. Christmas, kids and novelties are stored separately.
Aeryn says
Nice craft room, where did you get the baskets that the quarter yards are stored in?
Sharine Beeson says
When I design or pick a quilt pattern I will get a container, I use white dishwashing pans, and tape a copy of the design to the front. Then I add fabric pieces/scraps to the pan until I have enough to start working on it. They stack well and keep everything together.
Marcia Laycock says
Thank you
Janc says
When storing fabric in open bins or on an open shelf, how do you prevent the fabric from becoming dusty?
Michelle Hardey says
Great ideas! Thanks so much–so fun to read and to consider next steps in my space! LOVE the photos–gorgeous!!!!
Kim says
You should write a book so many useful tips.