Hello and happy Thursday! One of my goals for this week was to do a little sorting and organizing in my sewing room: the goal was to go through three project boxes and sort them into easily usable scraps. I feel like it’s important to have a cleaning or organizing goal in the sewing room each week to stay on top of things!
Although I’d almost always rather be sewing than sorting and organizing, I’ve
come to realize the value of slowing down and taking time to get things better organized so that when I do get to sew my time can be used more effectively.
Last fall I made a scrappy red and green sampler quilt and had a sizeable amount of left overs that I kept meaning to organize (you can see a full post about this quilt here).
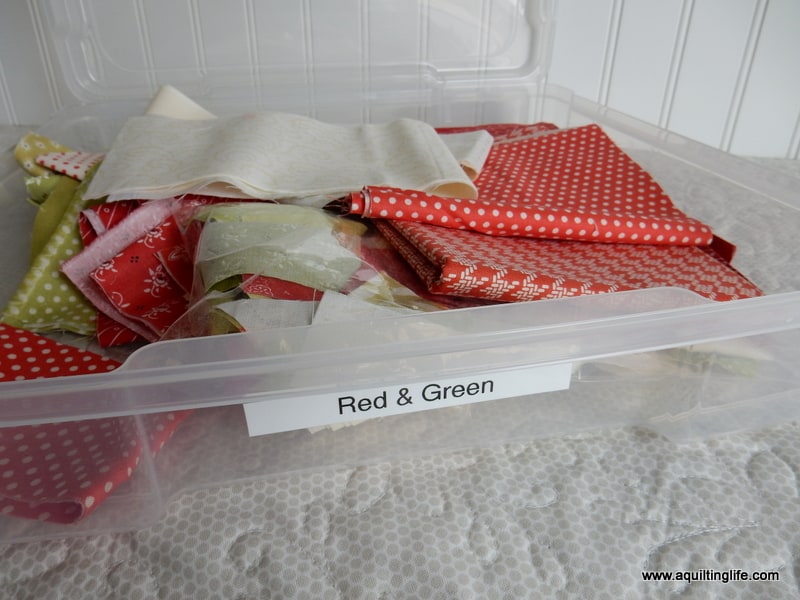
For nearly a year, the left over fabrics sat in a box labeled “Red & Green.” Some of the pieces were small, but quite a few were pretty good sized, so I knew if I could get them all organized I’d have the beginning of a stash for a new project or two.
Here are 5 tips for organizing and storing those quilting and sewing project left overs you might have sitting around in bins or bags
5 Tips for Organizing and Storing
Project Left Overs
1. Keep project fabrics together in a container until you’re finished with it.
This really helps a lot…for one thing you’ll be able to find everything easily while you’re still working on the project, and it also makes it easy to get everything organized when you’re finished.
2. Decide whether project left overs will stay together for future projects in the same color story or if you’ll move left overs into storage with your other scraps.
With this weeks red and green box I knew I wanted to keep the fabrics together for future red and green projects (Christmas is right around the corner after all)! But most times I simply cut the left overs up and add them to my general scrap bins according to size.
3. Cut the scraps into your most commonly used sizes.
I love having 2 ½″ strips because they can be used for many different strip quilt projects and can also be easily cut into 2 ½″ x 2 ½″ squares if needed. I also like to save 5″ strips and 5″ squares, 1 ½″ strips, and 3″ x 3″ squares. (See this post for more information on the method I use to cut and store scraps).
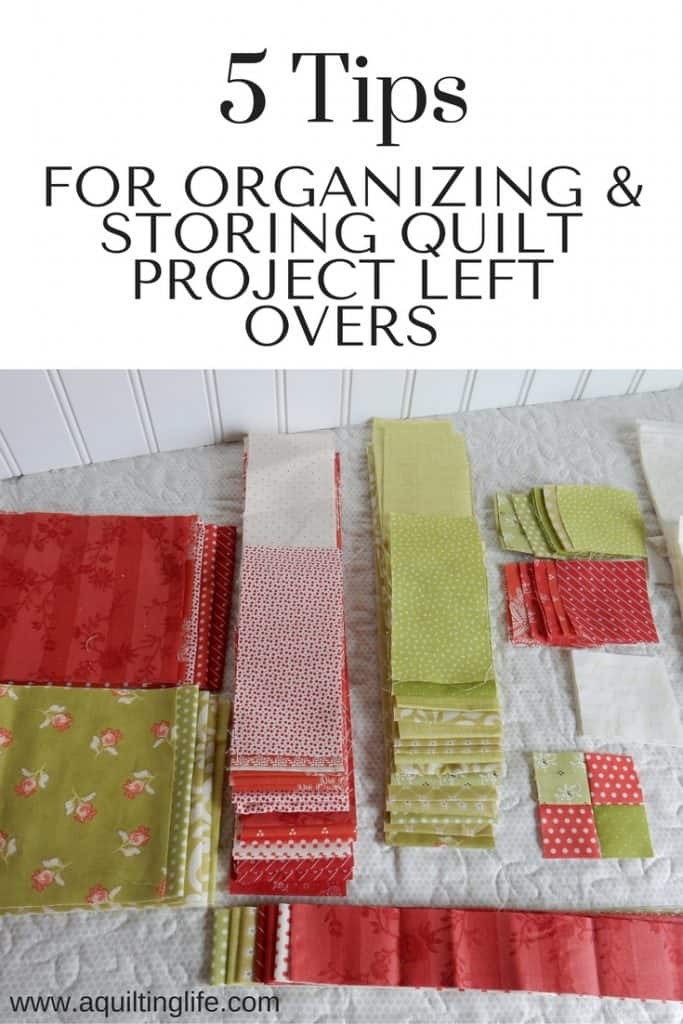
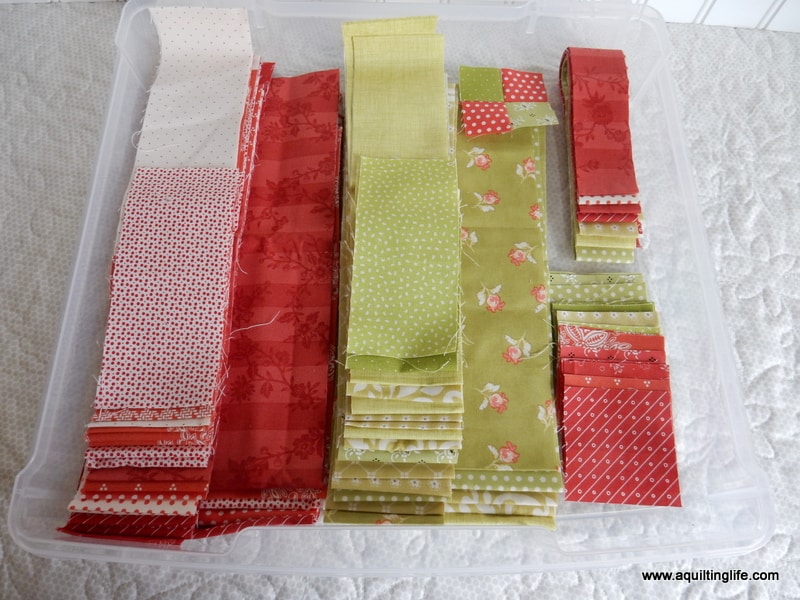
I cut my red and green project scraps into 5″ strips, 2 ½″ strips, 1 ½″ strips, and 2 ½″ x 2 ½″ squares. There were some neutral fabrics along with the reds and greens in my project box–I cut those into 2 ½″ strips and squares and added them to my low-volume strip/square box.
4. Find a container to store your fabrics in.
Choose a container that will accommodate any future fabrics you plan to add to this storage group. I used a 12 x 12 project box because I plan on adding quite a bit to this collection.
5. Label, label, label!
I think adding a label is one of the most important parts of organizing and storage. My label maker is one of the best tools I’ve purchased for my sewing room…it helps me find things without a lot of wasted time. For this project, I used the original box the fabric was stored in, and it was already labeled. Most of the time I’m printing out a new label, though!
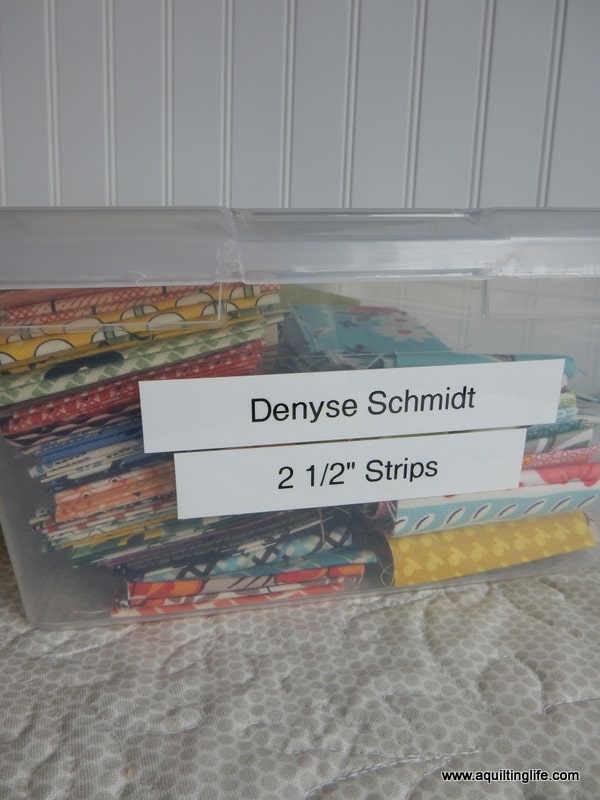
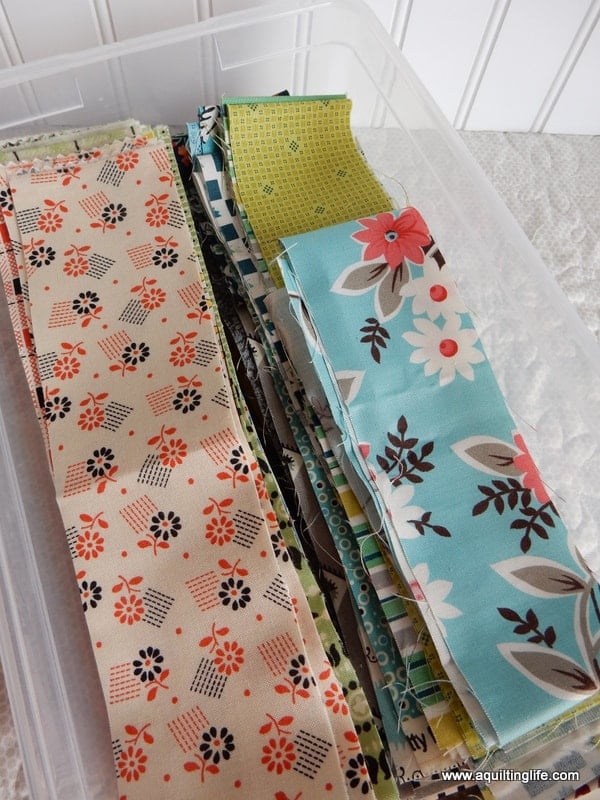
While I was in the organizing mood I cut a bunch of 2 ½″ strips from the two most recent Denyse Schmidt collections I’ve purchased and added the strips to a box of strips from some of her older collections.
These are now ready for a new strip pieced project I have in mind.
Finally…my friend Jodie at Fort Worth Fabric Studio is having a sale through today only with 20% off all in-stock Moda with the code 20MODA.
Thanks so much for stopping by!





Sandra Kowalchuk says
Very, very good article. It was all helpful, but especially the first tip – keep everything together while you're working on the project. I tend to throw all the scraps into one bin along with all my other scraps. The job to sort them out becomes a project in itself. Thanks. Also, one of your headline titles is overwritten. Keep those hints coming.
Hildy says
Thanks for sharing this and reminding me that I need to organize my scraps (they are so not orgnaized;-)
smileynann says
So much goodness in this one! I just wondered if you might share sometime what kind of boxes you use for projects, and where you store them? Right now I have a bunch of random sizes and shapes and I'm wanting to consolidate to one type of box, but haven't had a lot of luck with anything in particular.
Karen says
Thanks for the tips. I do as you suggest most of the time, but I think it is probably time to revisit some of my boxes and perhaps merge a few of them.
Jacque Smith says
Liked the article except the part about cutting up into strips. Unless you have a set project in mind, you won't know what size you will need in the future.
Quilting Jeannie says
Love your ideas, and I use many of them just as you said. However, I also keep a plastic bin for 2 1/2 X 2 1/2 " squares. I just cut and toss them in there when I am finished with a project. My grandson loves to label my bins, well almost anything actually, when he comes over. I have become much more organized this past year, and it helps me to focus.
Carla says
Thanks for the tips. I try to keep everything together for my project until done. All strips go on the old vintage spools for a possible string quilt. Keeps them from being all waded up. And like you say cut the other up into sized I like into sizes I use most
Beth says
Lovely ideas! Thanks for taking time from your quilting to help us with these things.
Carla says
I can't decide how to organize my scraps. I try but I fail horribly.