Hello! Thanks so much for stopping by! Today I’m going to talk about sewing room organization hacks. While I’ve written about this general topic before, I’ve had some real-life experience with it lately. We moved late this summer, and of course the most important room for me to organize right away was the sewing room. I’m still making a few changes here and there, and I’ve learned a lot along the way. So I hope you’ll enjoy some of these tips that have been helpful for me!
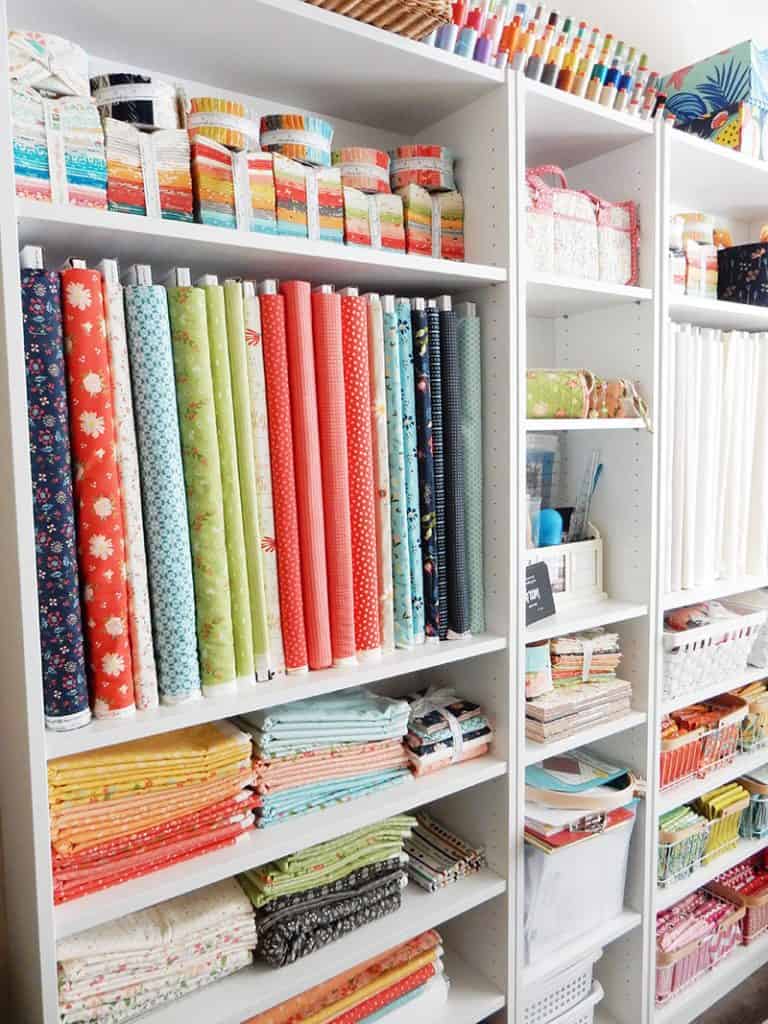
Sewing Room Organization Hacks and Ideas
I decided the best way to divide these ideas and hacks would be to organize them by the time it might take to accomplish them. Sometimes even a small amount of time can be used to accomplish simple things that really add up in the long run!
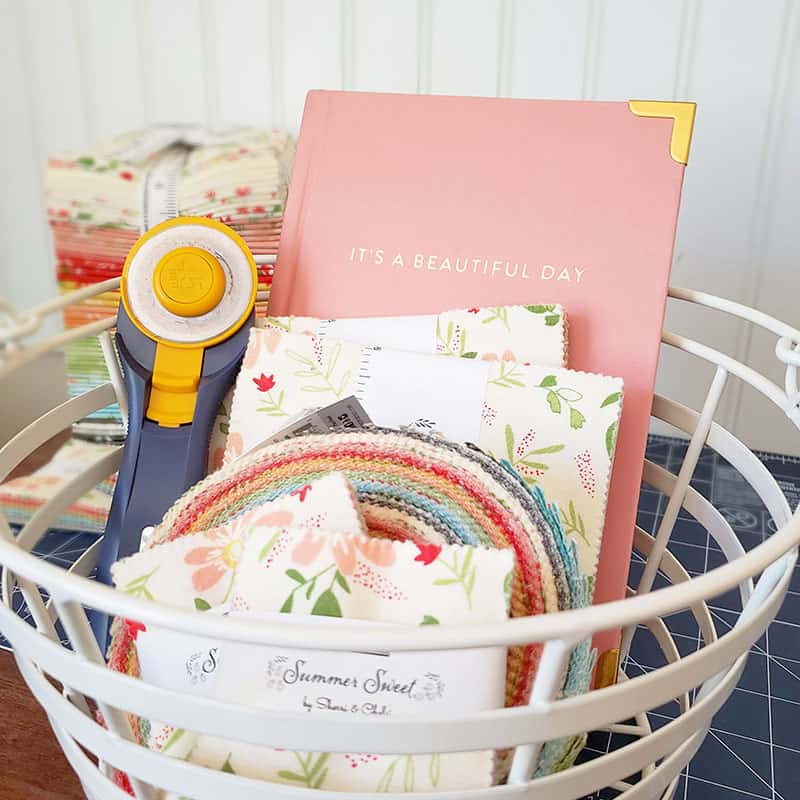
Sewing Room Organization Hacks when you Have Just a Few Minutes…
1. Change Your Sewing Machine Needle.
Having a good sharp needle is an important part of sewing, but changing needles is a task that is often overlooked or neglected. Taking just a minute to do this frequently can save lots of time in the long run. Here are the needles I use for the majority of my machine piecing.
2. Clean the Lint from Your Machine.
Another quick task that helps everything go more smoothly in the sewing room is that of cleaning the lint from your machine. I’ve been using these new disposable cleaning brushes and have found them very helpful.
3. Wind Bobbins.
Winding bobbins is another quick task that can save a lot of time. No one likes running out of bobbin thread, but having a wound bobbin ready to go when it happens makes it less of a nuisance. I keep one of these bobbin storage doughnuts full of wound bobbins.
4. Clear a Flat Surface.
The flat surfaces in my sewing room are prime spaces, but they often fill up with patterns, notions, fabrics, and other items. It’s just so much easier to go in and sew when my flat spaces are clear, and yet, the piles seem to happen. I’ve started noticing a difference if I’m just able to take a few minutes and put a few things away in order to keep those flat spaces clear.
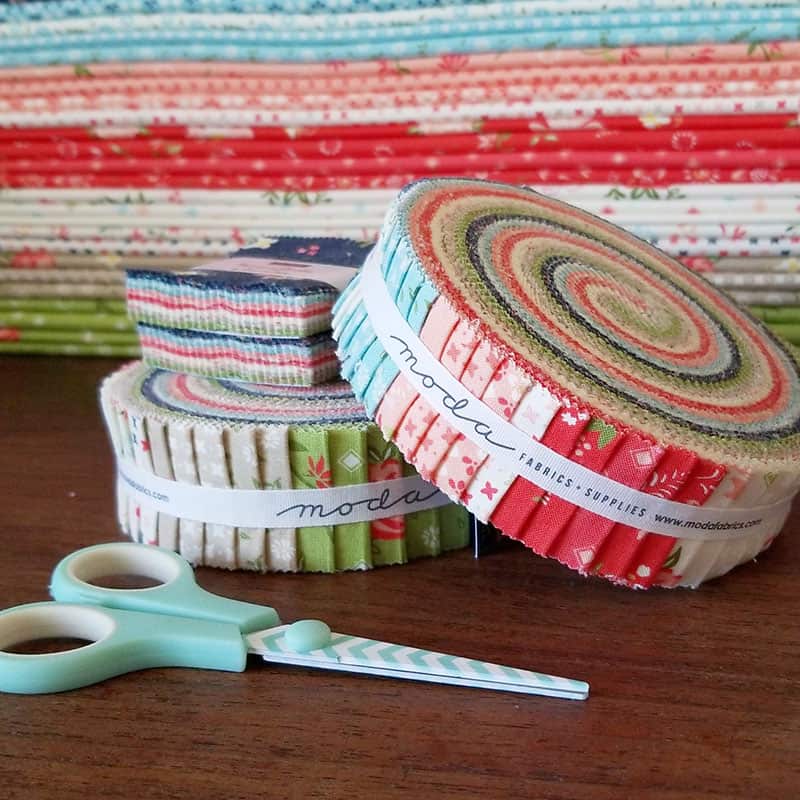
Sewing Room Organization Hacks When you Have at Least 30 Minutes…
5. Start a Donate Box.
When I started cleaning and packing my sewing room in order to prepare for our move in August, I found many items I’d meant to donate and give away. But because they were just among everything else, it hadn’t happened. So I started a box for donation items, and it’s made a really big difference already. I can add something to the box right away and also periodically find other items I thought I was going to use but might be better off donated.
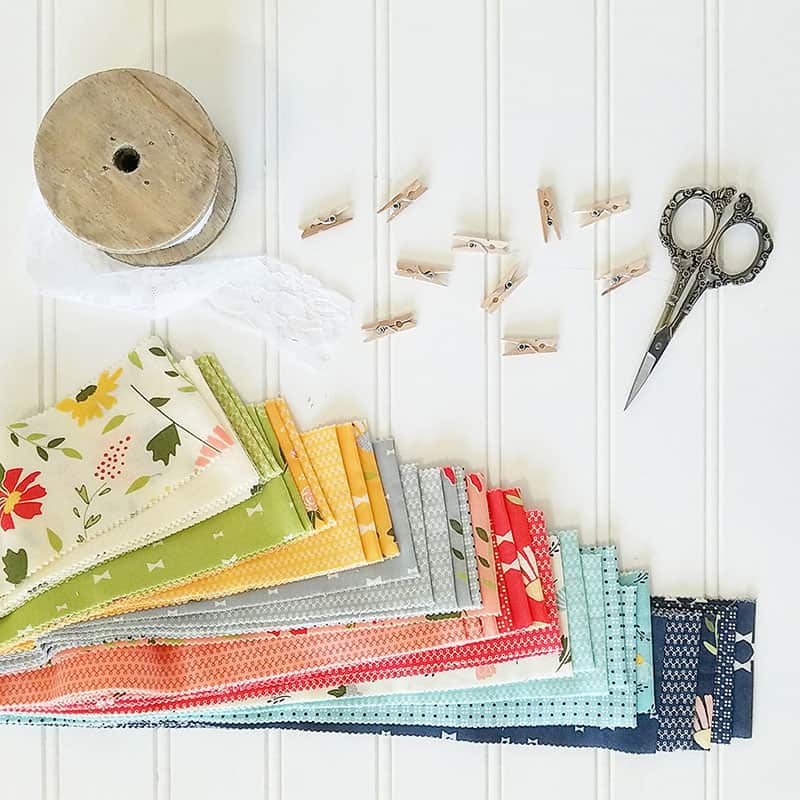
6. Cut Scraps into Easily Usable Sizes.
I’ve talked about this one before, but can’t repeat it enough. If you can take 30 minutes and cut project left-overs into the sizes you are storing it makes a world of difference. Occasionally I might have enough scraps left over for a larger project, in which case I won’t cut them up but put them in a bin or bag. But cutting squares and strips in small quantities when I have 30 minutes or so has been a big help. You might also want to read this post on How to Sort & Organize Quilt Scraps.
7. Label Storage Bins and Baskets.
Bins and baskets are terrific, but labels make them even more useful. I’ve found this out in several areas of our home with our recent move. Things that I’ve labeled are easy to find and locate…while things without labels…not so good! So I’ve been trying to make labels here and there for the bins in my sewing room. Some were already labeled before I moved, but I’ve switched up a lot of things which has made new labels a necessity.
8. Sort Magazines, Patterns, and Books.
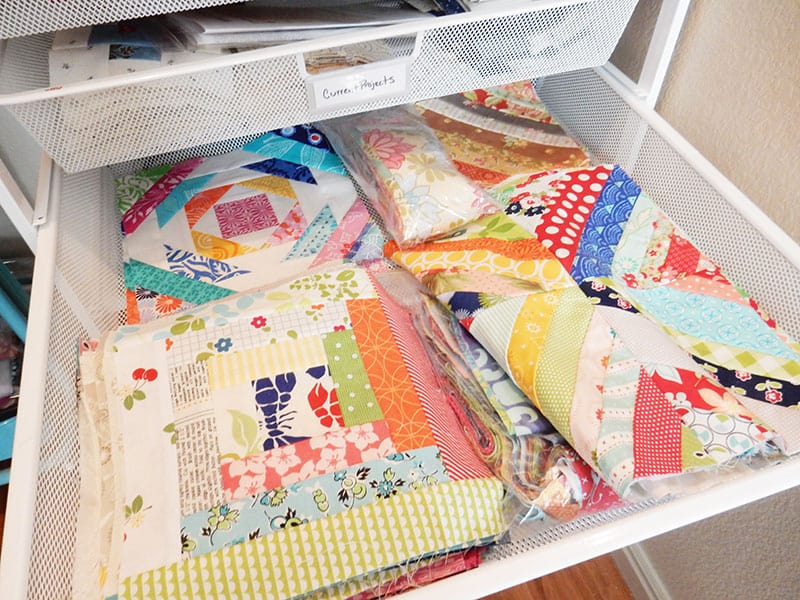
I’m lucking to have a couple of nice storage drawers with files in my sewing room for pattern storage. Filing patterns by designer or type of project has made a lot of sense for me. As I get new projects in that I want to make I try to remember to spend a little time filing them each month.
9. Create a Ruler Storage Area.
I had a terrific pegboard for ruler storage in my previous sewing room. And I also have a nice drawer in my cutting table I store several rulers in. And of course, ruler stands are another terrific way to store rulers. But I also have rulers that I love but only use occasionally. I put them all in a nice plastic storage bin and have created a “Table of Contents” for that bin so I can easily remember what is stored inside. I also keep all of my ruler instruction sheets in a hanging file with my patterns.
10. Keep an Uncluttered Ironing Area.
I’m not sure why ironing boards become another flat surface for many sewists and quilters. I guess because it’s just so easy to store things there when you’re not ironing. I’ve started making sure I always leave the room with an empty ironing board and that my favorite ironing supplies are always stocked and ready to go. (I love using the Flatter non-starch spray for most of my pressing but also use the Best Press when I need to starch particularly smaller pieces). Also, I just purchased this iron this summer, and it’s my favorite ever!
I hope some of these sewing room organization hacks will help you make the most of your time in the sewing room or space. You might also find my Sewing Room Organization Printable useful–download “20 Steps to an Organized Sewing Space” here. Happy quilting, and thanks so much for stopping by!

Robby H. says
Love the tip about how you store those specialty ruler instructions. Haven’t we all been able to find either the ruler OR the instructions but not both at the same time?
Marsha Rose says
Amen to the iron!! I have been through 3 of them in my sewing/clothes ironing lifetime.
Michelle Hardey says
Oh this was great!! I struggle with the darn flat surfaces….my cutting/pressing station gets down to about 40% of usable space and I start to panic!! Time to clear it off–it just so easily gets ridiculous!! I am going to try to clear it all the way off…bit by bit!! Or, like eating an elephant, one bite at a time!! Wish me luck–it seems to be a constant battle! You have inspired me to tackle it!! Thank you!!!
Jacqueline Celestine says
I also got that iron and absolutely love it! Thanks for the organizational tips…..good ideas. I really enjoy your blog. Thank you!
Janet Bowman says
Labels — blue painter’s tape and a Sharpie. Quick and easy to change.
Laney says
I really enjoy your blog, especially the organizing posts. Your previous sewing room was beautiful and I hope you will share your new one soon!
Mary says
Those disposable lint brushes looks amazing. Since I found out to never use canned air, I’ve been at a loss for what use. Qtips leave fibers so I’ve tried a skinny paint brush. I love your blog; your beautiful sewing room is so inspirational.
Susan Janes says
I love your article on sewing room organization tips – I was unconsciously doing a couple of them . I thought I’d pass along a tip I started several years ago when I made a quilt for.a family member . I take “leftover fabric” from the quilt I just finished and create a “Repair Kit” to include either the actual pattern or a copy of the pattern picture and washing/care instructions and placed them in a vacuum seal bag and seal it. The pattern picture and the instructions are on the outside of the stack of fabric so the picture and instructions can be seen through the bag. I vacuum seal the bag; write the date, name of the quilt on the bag and include with the bag with the quilt. It’s ready if the quilt needs cleaning and/or repair plus it is dated.