Hello, friends! Now is a great time to focus on Sewing Room Organization, so I’m sharing my 5 Top Tips to Spring Clean Your Sewing Room. I always get a lot of sewing accomplished in the summer when it’s far too hot to go outside. With spring coming to an end and summer just around the corner, it’s time for me to get my room in tip-top shape. I have quilts to sew with new fabric, and I also really want to get a jump-start on holiday sewing. In addition, there are some fun quilt and sew alongs starting soon that I want to participate in. I hope you’ll enjoy some of these ideas for getting your space ready as you prepare for your own summer of sewing!
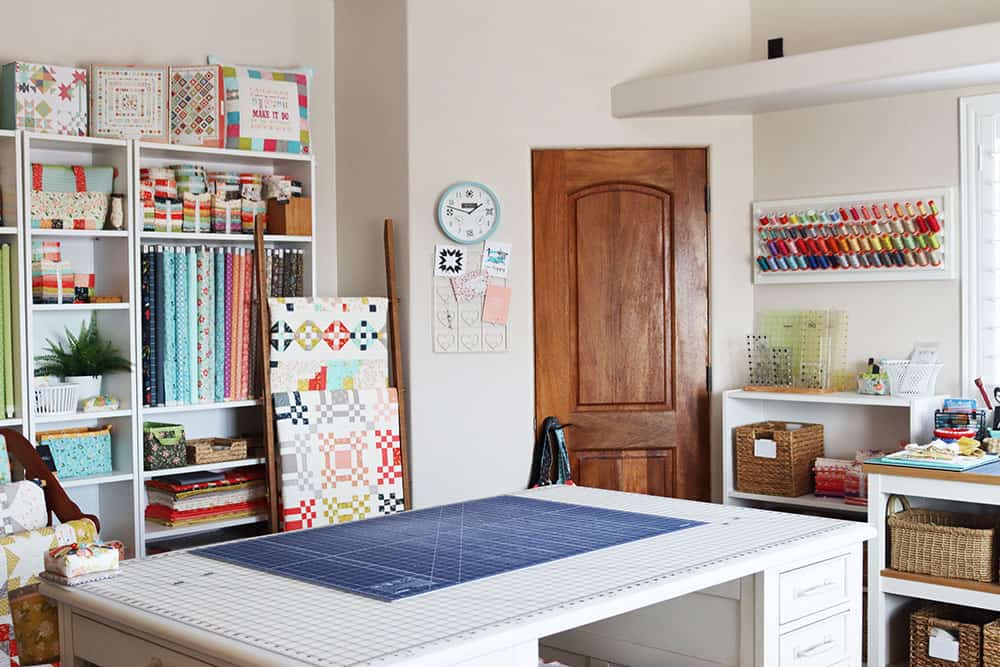
Sewing Room Organization: Spring Cleaning
I’m so ready to tackle these tasks and get my sewing room ready for a summer of sewing. It seems like I’ve had project after project recently and haven’t taken the time for a good spring cleaning of my space in quite a bit. I try to actually do a cleaning like I’ll be sharing today at least quarterly, although I always refer to it as “spring cleaning” regardless of the season. This may take longer the first time you do it, but with regular cleanings, you should be able to get all of these tasks done in an afternoon. I generally plan on 2-3 hours every couple of months for this process.
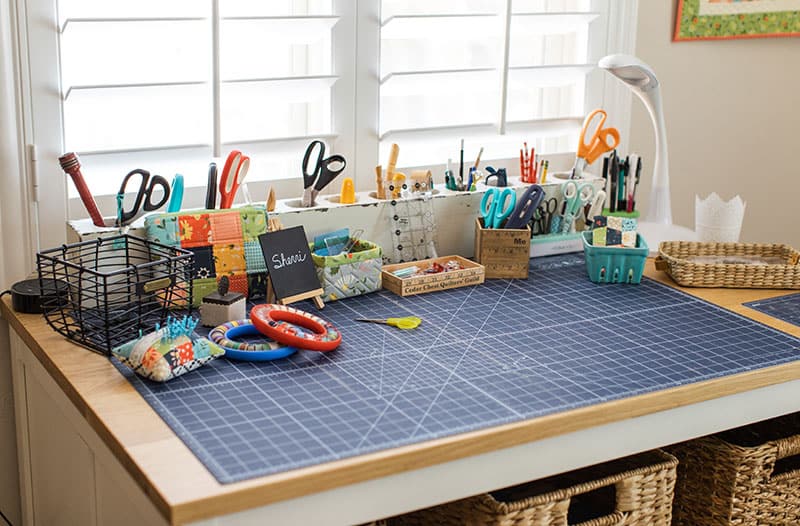
1. Clear all of the Flat Surfaces
First things first for me is always to clear all of the flat surfaces. I define my flat surfaces as my two work tables, my ironing board, and my sewing table. (We’ll talk about shelf space in the next step). After working on projects I end up with all sorts of piles cluttering my workspace areas. And I’m always reminded of Peter Walsh’s advice about the importance of clear flat surfaces. If possible, just begin by clearing all of the surfaces completely and putting everything somewhere else. I’ll often take everything out and put in in my office, on the bed in the guest room, or on a table. It’s so much more effective to sort everything when it’s all out of the room. Once the surfaces are clear (take this opportunity to dust them), you can begin bringing things back into the room. Only put things on your valuable flat surface spaces that really need to be there. Store the other important items in accessible areas, and get rid of anything you can.
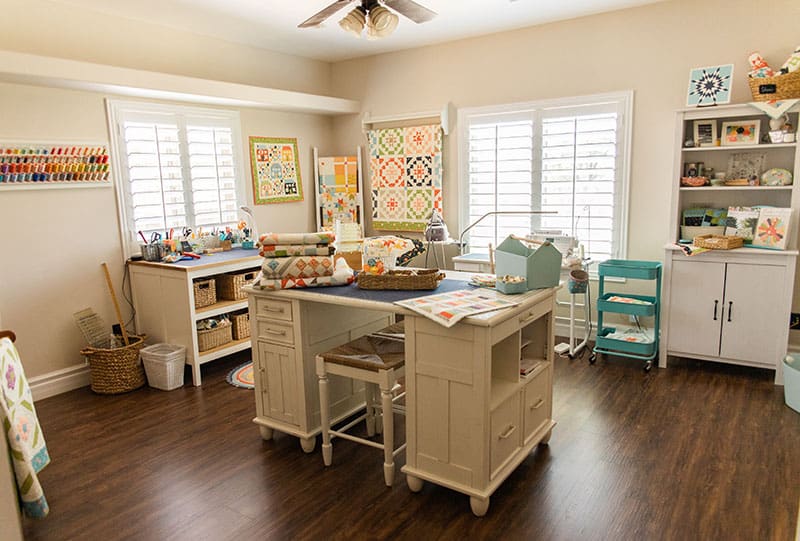
2. Pare Down the Unessentials
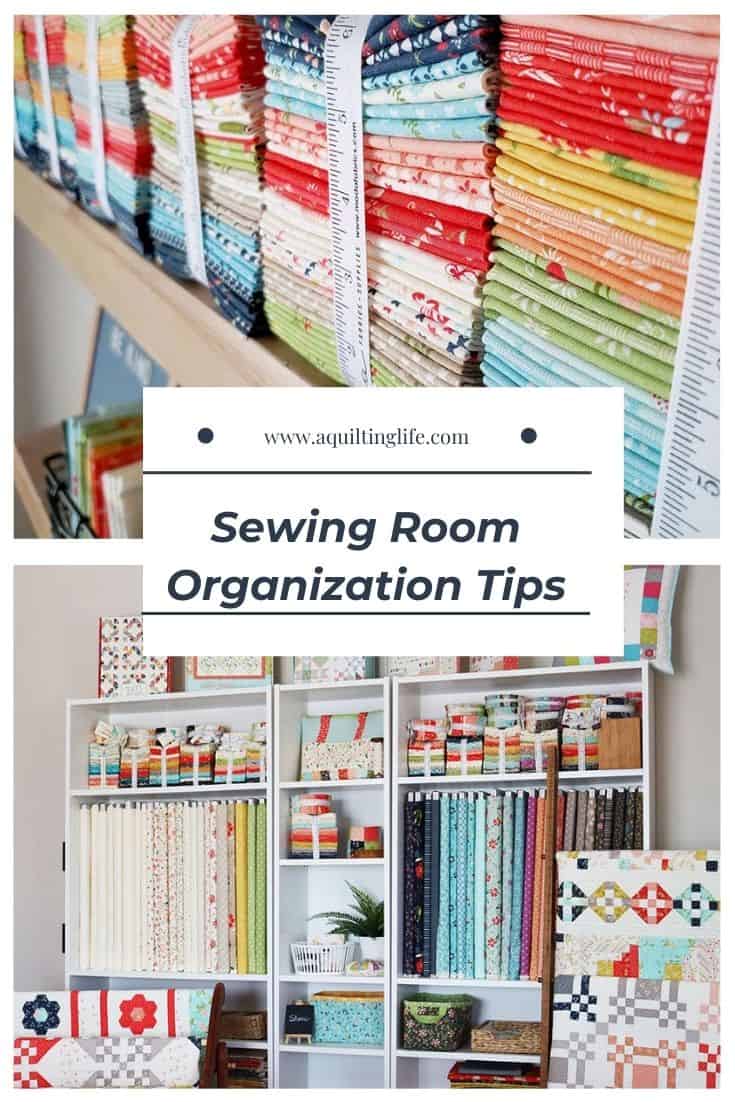
Often you’ll have items from step one that you don’t really want to put back into your space. Put them either in a donate bag (or in the trash if applicable). At this point I also like to pare down the unessential items on my shelves. While I believe that storage shelves should be functional as well as have decorative items that bring you joy, there can come a time when the decor overwhelms the functionality of the space. It’s at this time that I’ll also look at whether or not I need to remove some items from the shelves completely or just re-arrange to make my shelves more clutter-free and functional.
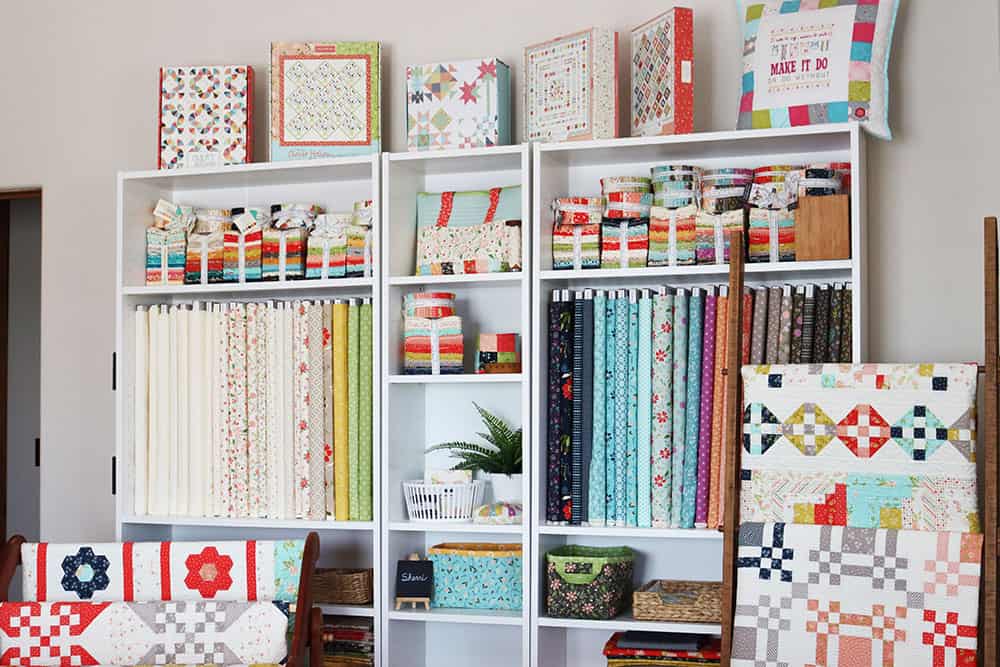
3. Take Care of Basic Cleaning Tasks
Now that the basic decluttering is accomplished it’s time to take care of basic cleaning tasks. I dust my shutters, wash the windows, sweep/vaccum the floor and dust the shelves. It’s amazing how much dust accumulates in a sewing space! This part of the process shouldn’t take too long. I generally sweep my floor weekly, so I’m spending the most time here on my shutters and windows. Now can also be a good time to clean and oil your machine (and change the needle) if you don’t do that regularly. Find more tips on Sewing Machine Maintenance here.
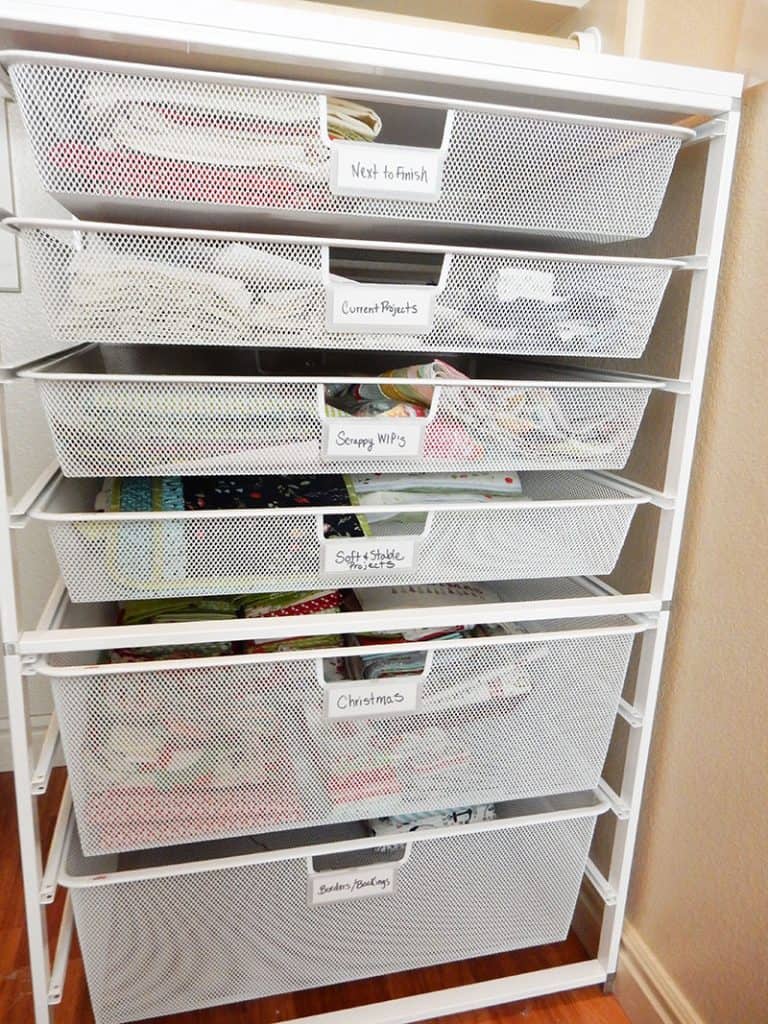
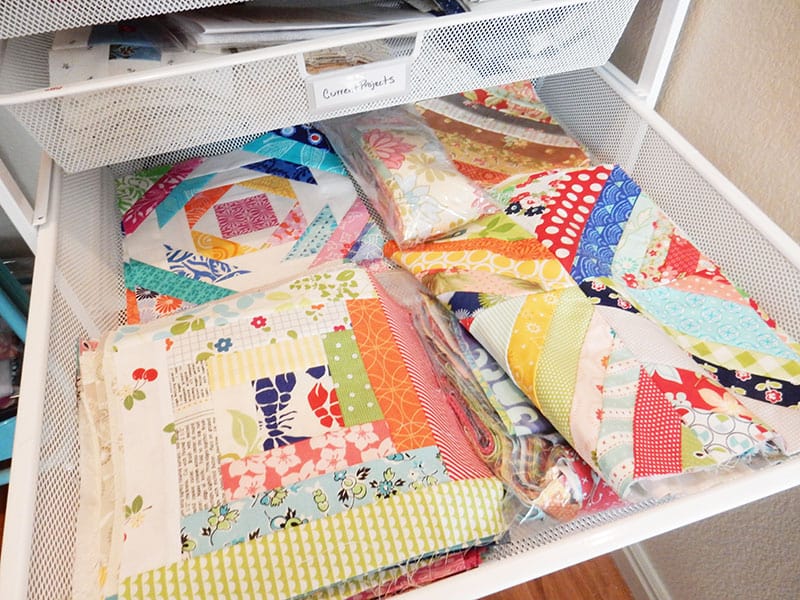
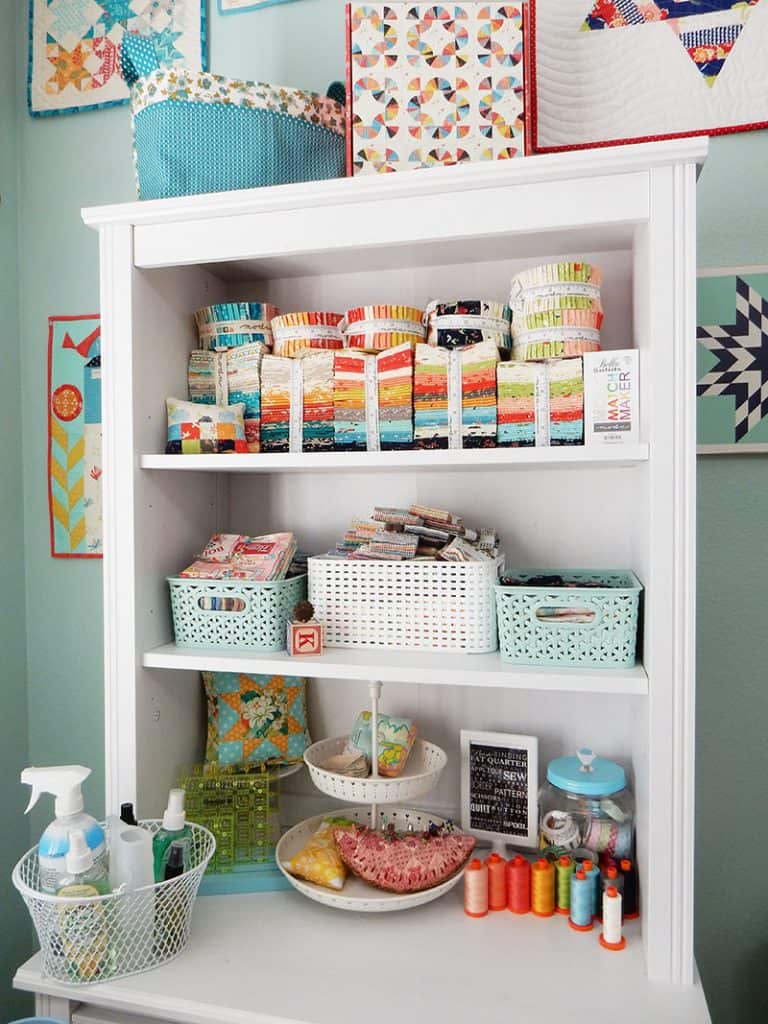
4. Organize Works in Progress
This is where it gets fun for me. I keep current works in progress in a rolling cart, an Elfa Storage unit on wheels, in bins, baskets, and project bags. the things I’m working on frequently are often stored in the top couple of shelves of the Ikea cart next to my machine. Others are in my Elfa storage unit or in bins, baskets, and project bags. At this time I make sure everything I want to work on in the near future is stored in an easy-to-access place and that I have everything I need ready for the project.

5. Sort Scraps
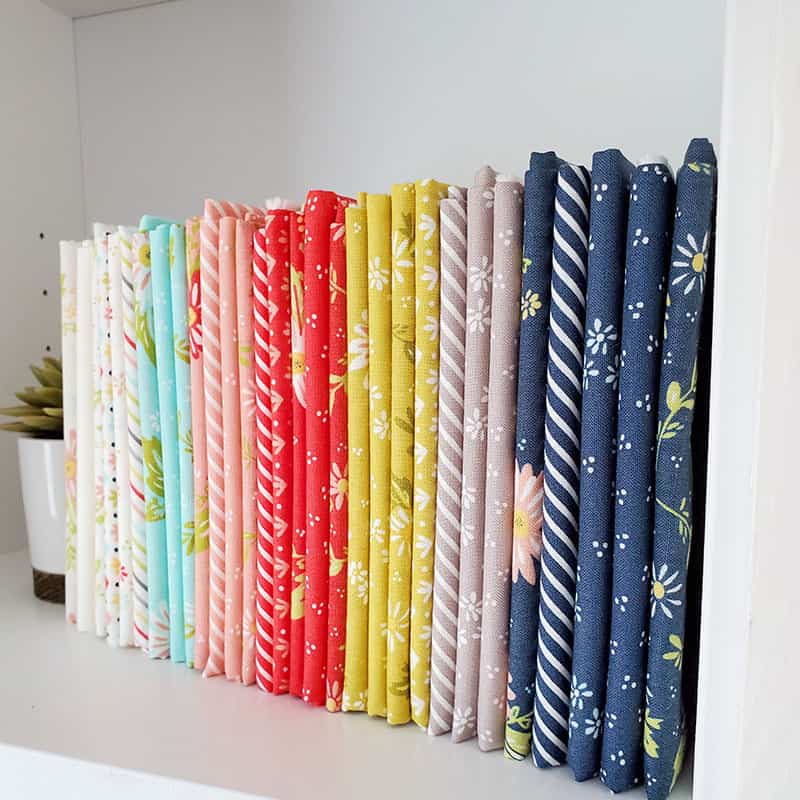
While cleaning up (and especially while working on step one) I invariably find little piles of scraps that need to be organized. Some are easy to deal with such as left-over jelly roll strips, charm squares, and mini charm squares. Other larger pieces might need to be cut up, or placed in a donate bag. I do try to work on this at least monthly as well, but it is during these quarterly sessions that I will also empty the bin where I’ve been putting anything I didn’t want to deal with at the moment.
More Sewing Room Organization Resources
- Here is a post with lots of Sewing Room Layout and Organization Ideas
- You can also see more ideas in this post and tour (with video) of my sewing space
- Finally, find even more ideas on this post with a free printable download to help with your organizing
I hope you’ve enjoyed these ideas for Sewing Room Organization and are able to spring clean your sewing space before beginning your summer sewing.
Happy quilting, and thanks so much for stopping by!

Jackie Lohrey says
So I am about 3/4 finished with my sewing room reorganization plan. I t was supposed to happen in March but oh well, better late than never, I guess. Anyway, it’s turned into quite the project. I’ve cleaned, I’ve pared down, I’ve donated a ton and I also made a new rule for myself. NO MORE using my sewing room to store things I can’t find anyplace else to put. So now when I walk in the door I feel inspired and like I can actually breathe! Sadly, I did have to do away with a bit of my shelf décor, for now anyway. June projects are planned and I am looking forward to the new third quarter planner when it comes out to schedule my July thru September projects. Being organized feels good!
Deborah says
Always enjoy yr cheerful reminder to keep things organized. My sewing area is shared with a guest room. It helps to know our kids that live out of town will arrive through out the summer & incentive to tidy up. Gotta hide those surprise gifts I’ve worked on!! Happy Day ?
Kim says
Love good organizational tips! What size is your room? I’m building a space and want to have all kinds of room for all t he lovely things!
sherri McConnell says
Thank you…My room is about 16 x 16. But my previous sewing room was only about 10 x 11…and I made it work 🙂
Patty Bertrand says
I find it so hard to get rid of the decor it brings so many wonderful memories .
But it is overwhelming me how much fabric and books I have!
Linda Casias says
I am so inspired by your neat, organized and amazing functional sewing studio. Soon we will be in our new home and I will. Have a wonderful sewing studio where I can implement your organization techniques, storage ideas and functional spaces.