
Hello, friends. Today I’m sharing How to Sew Binding on a Quilt along with my Top 5 Hand Stitched Binding Tips. I often get a lot of questions about binding, and while I have previously filmed two videos on my method, I didn’t share the hand stitching details in either video. So today’s post and video will give you some of my favorite tips and ideas on hand stitched binding.
Top 5 Hand Stitched Binding Tips
When I was a new quilter I really didn’t appreciate the binding process. It seemed that I was always in such a hurry to get something finished and move on to something else. Often I was binding a project for gift-giving and had to stay up late at night to get it done. But over the years I’ve grown to appreciate and even love hand binding the edges on my quilts. I feel like it gives me one last chance to appreciate the journey of the quilt, soak in the beautiful quilting whether an all-over design or custom, and often to hold the quilt for just a little longer before gifting it or sending it away for publication photography. Today, working on the hand stitched binding is one of my favorite parts of the quilting process.
Hand Stitched Binding Video Tutorial
Watch my hand stitched binding video tutorial above or watch it on my YouTube channel. Below you’ll also find links to my previous two binding videos that walk you through all of the steps for attaching the binding with your sewing machine before it’s time to do the final stitching. And keep reading for 5 of my favorite tips.

1. Press Your Binding Before Hand Stitching
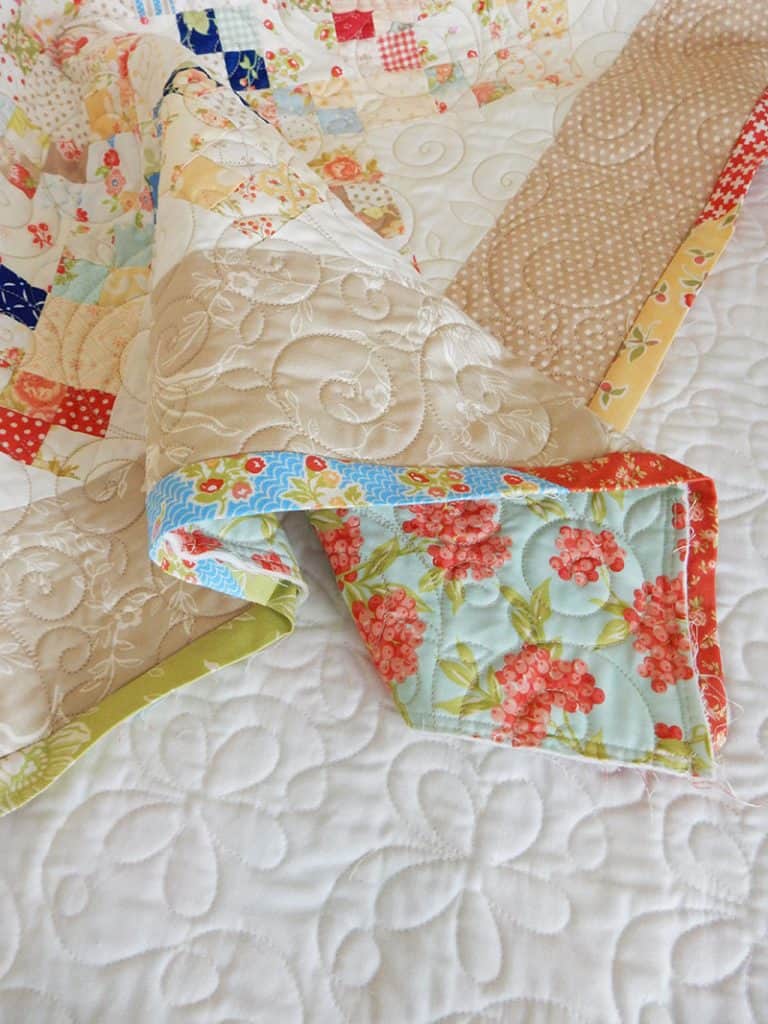
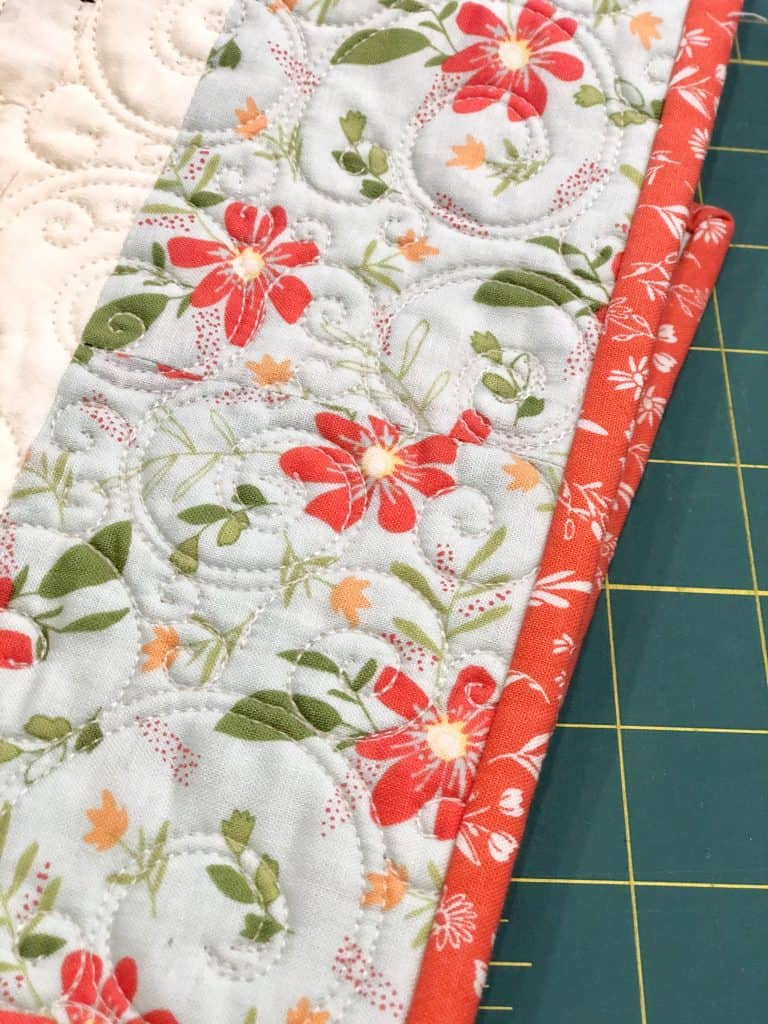
After you’ve sewn your binding by machine to the front of your quilt aligning the binding edges right sides together with the raw edge of the quilt and having the folded edge of the binding toward the center of the quilt, use a ¼-inch seam allowance to stitch. Miter your corners and be sure to press the binding with an iron before you begin hand stitching. This is a tip my grandmother shared with me before I worked on my very first quilt, and I’ve been doing it ever since. By pressing the binding out and away from the quilt front you create a crisp edge on the front of the quilt. This also makes it easier to fold over to the wrong side.
2. Use Clover Wonder Clips to Secure the Binding
I love Clover Wonder Clips. In the early days I used pins (which was a nightmare) to secure the binding before sewing. Then for several years I used metal hair clips. It was a happy day when I discovered Clover Wonder Clips. I like the regular size for quilt binding. The mini size is better suited for keeping fabrics together before binding. I use the Jumbo size when working on bags or projects with thick layers. I also like to secure the binding with clips around all of the edges before beginning so I don’t have to worry about stopping to secure more binding after I’ve started sewing. Find Clover Wonder Clips in a variety of sizes and colors here.
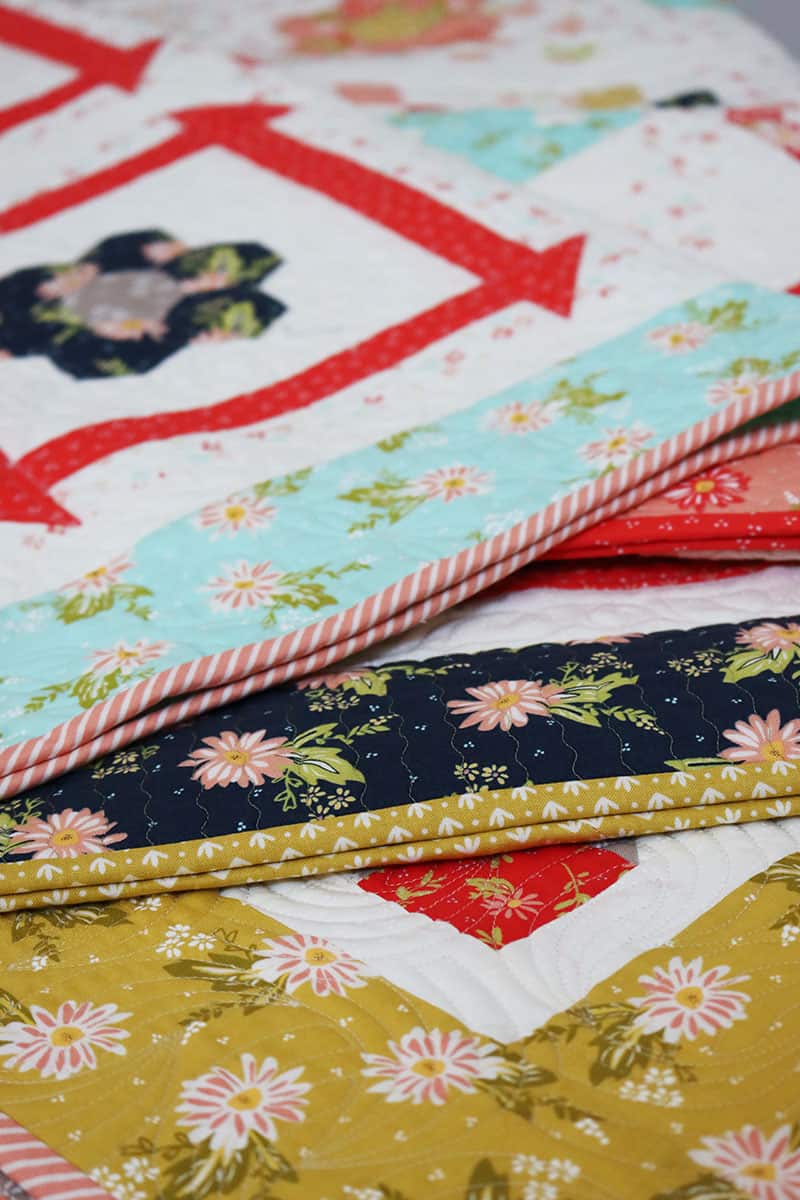
3. Use a Thread that will Blend with the Binding Fabric
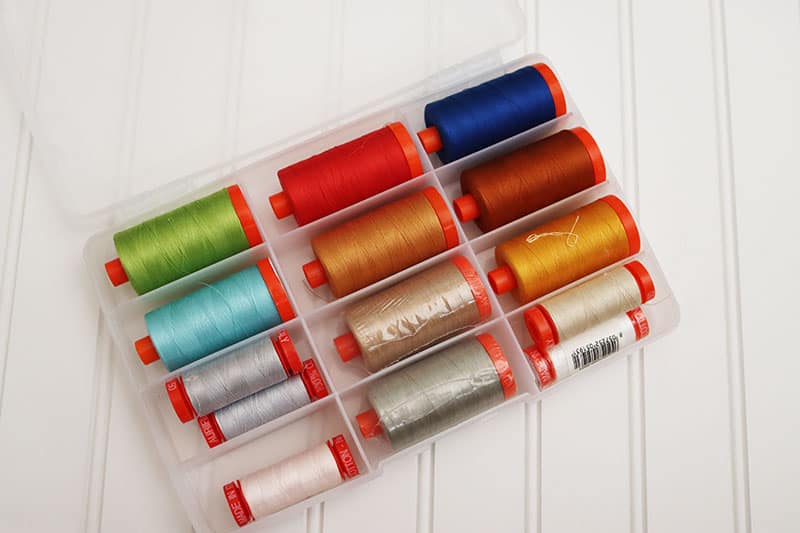
Choose your thread to blend as closely as possible with your binding fabric when sewing to the back of the quilt. The thread will show just a little on the back edge of the binding and doesn’t need to match the backing fabric. When faced with the choice between a shade lighter and a shade darker I choose the lighter shade as it will often appear darker when sewn. When sewing a scrappy binding be sure to use a thread that will blend with most of the fabrics. Often a nice taupe or grey will work for this. My favorite thread for binding is the Aurifil 50 weight thread. It’s thin enough to blend well but strong enough not to break easily.
4. Keep Binding Backing Stitches about ¼″ to ⅜″ Apart
When I was a new quilter I wasn’t careful with keeping my stitches fairly close together when binding. As a result I often had to re-stitch the binding on some of the quilts I made for our family to use. Now I keep my stitches at about ¼″ to ⅜″ apart when sewing a quilt that will get a lot of use. I will sometimes sew at about ⅜″ to ½″ if I’m binding a wall hanging that won’t get a lot of handling. But in most cases I try to keep the stitches closer to ¼″ apart.
5. Stitch the Mitered Corners Closed
For this tip you’ll definitely want to watch the video to get a good view of my technique. When I get close to the mitered corner of the quilt, I take a stitch right before I get to the miter. Then I slide the needle under the corner and bring it out at the corner of the quilt. At this time, I’ll take 2-3 stitches to close the mitered corner. After these stitches, I take a small stitch on the other side close to the miter and continue around the next side of the quilt. This technique gives added stability to the binding. It’s almost a necessity when sewing bindings for kids quilts. But I do this on every single quilt that I bind.
More Binding Tips to Remember
- Measure and cut your binding strips carefully with a rotary cutter in order to make sure your binding is even on the front and back sides of your quilt.
- Press seams between binding strips open to eliminate bulk.
- Make sure your quilt is trimmed and has straight edges before you attach your binding to the quilt’s edge. Use a long ruler and your cutting mat to trim your quilt before binding.
- You might need to attach binding with a walking foot if you are sewing with flannel or other bulky fabrics.
- Bias binding is another terrific option for your quilt. Find my tutorial on Bias Binding here.
- Length of thread is also important when sewing binding–don’t cut your thread too long or it may tangle easily.
- Finally, save your excess binding strips to make scrappy bindings.
I hope you enjoyed this post with my Top 5 Hand Stitched Binding Tips. Happy quilting, and thanks so much for stopping by!
Jeanette says
Nice tips. I haven’t been pressing before, but will give that a try. Also, I miter the corners, but never thought to go under, then double back rather than have two layers of stitches on top. Your method is a big improvement.
You do a great job of helping me improve my skills. It’s the little things that make big changes.
Anne says
I appreciate your comment on enjoying the quilt making process for one last time while hand binding. I will remember this next time I hand bind.
Tamara Neukam says
Thanks for this post. I took your previous advice about pressing the binding and it’s been a game changer for me. Really appreciate all of the tidbits you share, they make such a difference in my quilts and make the process more enjoyable ??
Susan Stark says
Thanks for sharing your hand stitched binding tutorial! Loved your Grandmother’s tip to press the binding before hand sewing. Can’t wait to try that on my next quilt. It also inspired me to go back and watch your binding tutorials, Part 1 & 2, as I can always use a refresher, especially on getting crisp mitered corners. Thanks again and keep those tips coming!
Beth Deck says
Your tip of your Grandmothers was a game changer for me. It made it go so easy! I will never bind a quilt without doing it. Thank you for being so generous in sharing your tips and tutorials!!!
Sherry G says
Thank you for sharing the video. It helps so much to see how it’s done rather than to just read the instructions!