Hello, friends! Today I’m sharing thoughts on How to Piece a Quilt Backing. I’m regularly asked questions about this topic and will cover all of the basics along with extra tips and helps on this topic. Additionally, I reached out to my friend Marion who is a long arm quilter and got extra information and ideas from her to share with you.
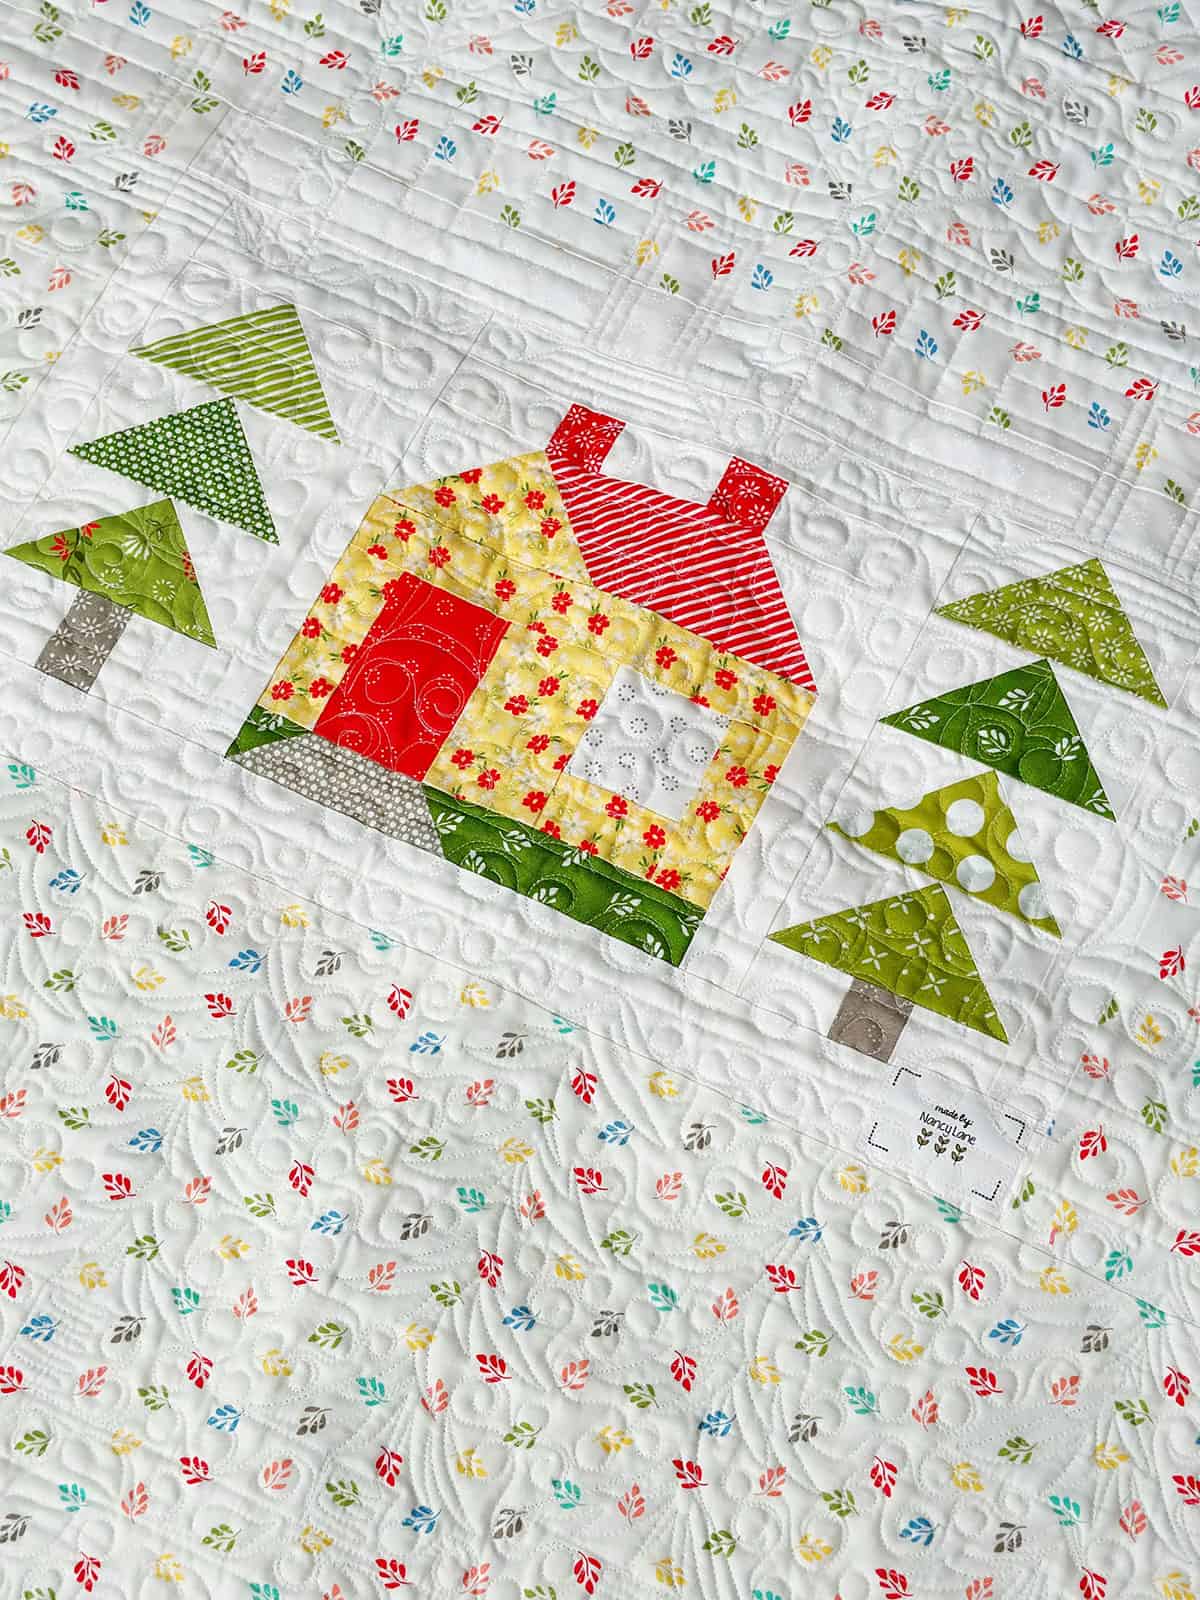
How to Piece a Quilt Backing
Carefully Measure Your Quilt Top
First, before you get started making your quilt backing, you’ll want to carefully measure your completed quilt top. I always write this down because if I don’t it seems like I end up re-measuring at some point in the process.
Next, take your completed quilt top measurements and add 8″ to the length and width. This measurement will be the minimum size you’ll want your quilt backing to be. For example, if my finished quilt top measured 60″ x 70″ I will need a backing that is 68″ x 78″. If I’m taking my own batting to the quilter (or if I’m quilting it myself) I will also need a piece of batting this size.
Choose Your Backing Fabric
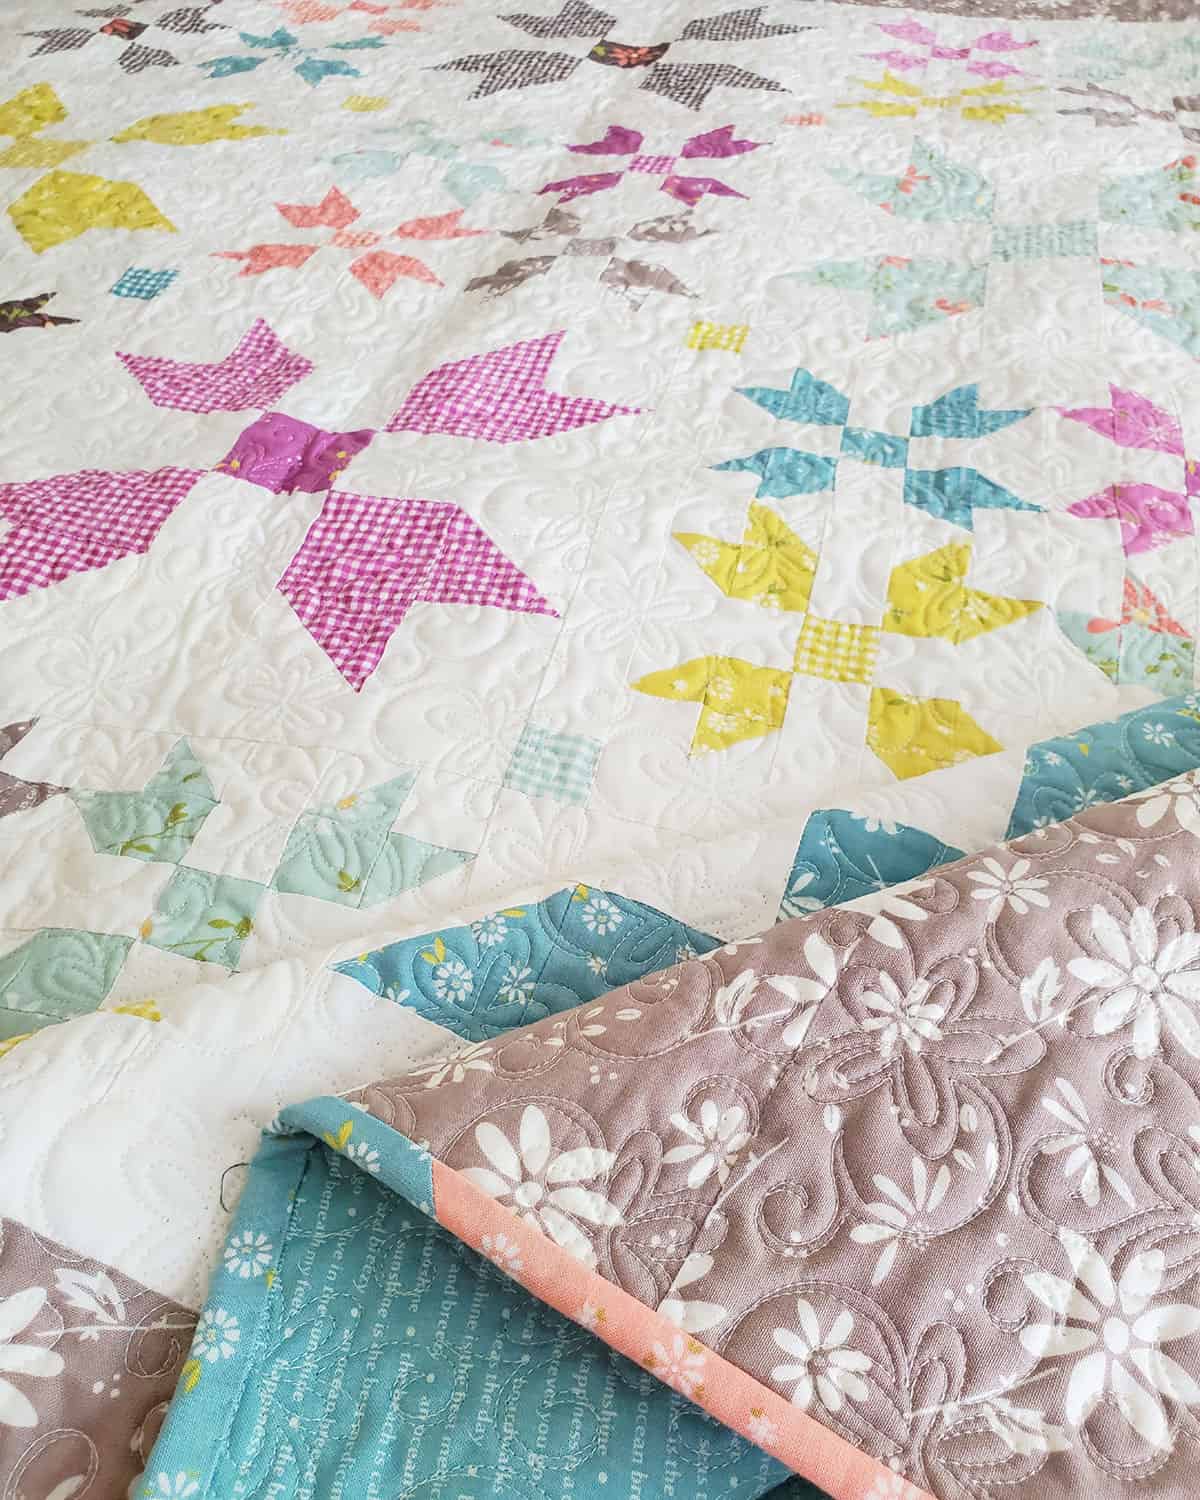
The next step is to choose your backing fabric. Often quilters go ahead and choose backing fabric at the time they purchase fabrics for the front of the quilt. Here are a few of my favorite ways to decide on a backing fabric:
- I will often use the same fabric I used for the outer border. This way I can save on yardage and know the binding will look beautiful with the front and back of the quilt.
- Consider the color of thread your quilt will be quilted with when choosing a backing. If I know I will be requesting white or cream colored thread, I like to use a patterned backing that will allow the thread to blend in.
- Use large florals or novelty fabric backings for a fun addition to your quilt.
- Plaids make fun backings, but be sure to purchase extra so that you can match the lines.
- There are also a lot of 108″ backing fabrics available that make it much easier to back your quilt.
Piece Your Backing
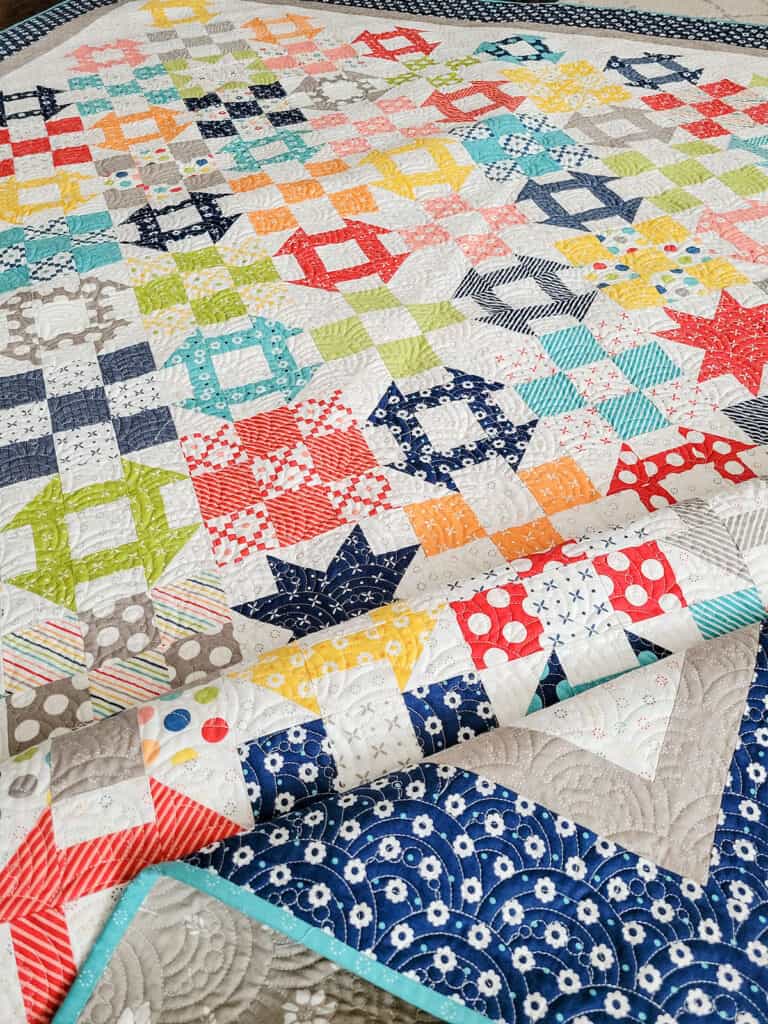
If you need to piece your backing, use the following guidelines:
- Don’t use a ¼″ seam for piecing a backing. Using a ¾″ to 1″ seam is preferred.
- Press the seams in your backing open.
- Use horizontal seams wherever possible.
- If you want to make a scrappy back for your quilt try to make all of the seams horizontal. This will make it easier for the long arm quilter to load and make sure it is square.
- Remember that if your quilter has to load your backing and quilt sideways there may be some all-over patterns you won’t be able to use (this applies primarily to all-over quilting and not custom quilting).
- Press your backing after you’ve finished piecing it together.
More Tips for Piecing
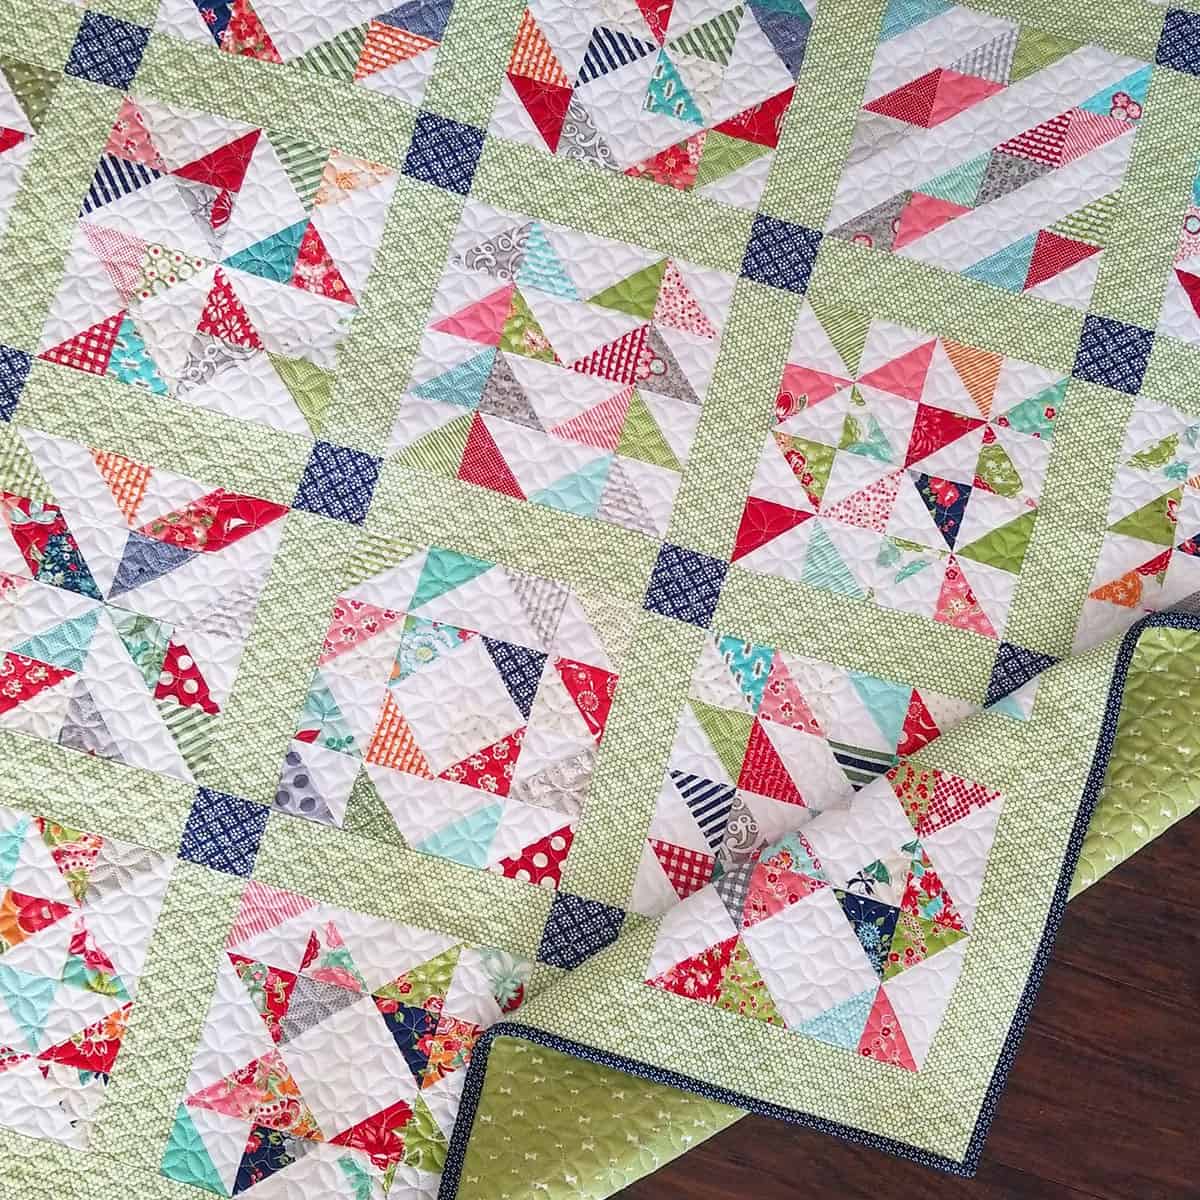
Marion gave me a few extra thoughts on piecing a quilt backing from her perspective as a long arm quilter:
- Don’t cut the selvedges from your fabrics. Most long-arm quilters like to load the selvedge at the top because it provides a straight edge and also has additional strength.
- Use horizontal seams when piecing your quilt backing to make it easier to square up.
- If you must use vertical seams because of the size of your quilt, be sure to square up your quilt backing and consider adding additional width and length to make that easy to do.
- Consider shortening your stitch length a bit when sewing your backing. Backings do have some pressure placed on them when being loaded onto the machine, and you can prevent your stitches from showing by making them just a bit shorter.
- Also remember to piece your backing with thread that blends into the backing fabric (use red thread to piece a mostly red quilt backing).
Additional Tips for Taking Your Quilt to a Long Armer
Here are a few more thoughts to consider if you’re taking your quilt to be quilted:
- Communication with your long-armer is key. Ask them any questions you have before they begin work on your quilt.
- Some long-armers prefer to provide batting because it makes it easier for them to load the batting from the roll.
- Also be sure to discuss thread color for the quilting so you aren’t surprised when you pick up your quilt (I know about this from personal experience many years ago).
- Label the top of your quilt if it isn’t obvious which side is the top.
More Resources for Quilters
Here are a variety of basic resources you will also find helpful:
- Quilting for Beginners: 25 + Resources
- Fabric Preparation and Cutting
- Accurate Measuring and Cutting
- Quilt Piecing Helps to Improve Accuracy
Thanks so much for stopping by today. I hope you learned some helpful tips from today’s post. If you have any questions I didn’t address, please leave them in the comments below!
Happy quilting!

Annette Ashbach says
Good morning,
Thank you for this important article about piecing quilt backings. You’ve been very thorough. I’d like to add just one thing.
The selvage edges should be removed from the seam allowance after stitching backing pieces together. This will insure a nice smooth backing seam that won’t pucker.
Karla Berg Walker says
Thanks for this answer, Annette. This was to be my question! Great list and I appreciate it. I have long-armed 2 quilts at my LQS and used 108 inch wide backing. I’m ready to try a pieced backing. Thank you, All!
Lana Stewart says
Should the seam in the backing be ironed open or to one side?
Lani says
It should be ironed open. You should also use a shorter stitch length. Make sure you cut off the selvage in the backing seam.
dianne says
This is one point that I’m confused about – my longarmer friend always requests that people press seams to one side as batting tends to beard when seams are pressed open. So, I think best to ask your longarmer what his/her preference is.
Sue says
I’ve made the mistake (twice!) of forgetting to add 4 inches to BOTH sides. Ugh!!!
Great info, Sherri!
Sue says
I meant to say 4 inches to all 4 sides! 🙂
Liz says
Great tips!
Mary says
Very informative Sherri and so well written- thank you!
Lynn M says
Thought I knew how to piece a backing, but I learned several new things. Most importantly, keeping the seams horizontal and using the selvage edge as a straight line for loading. I am a self taught longarmer (do only my own quilts), and have sometimes struggled to keep the grainline of the backing straight. This info will help me tremendously! Thank you so much!
dianne says
As usual, this is great information.
Lately, I feel like I spend more time piecing my backings than working on my quilt top! I do improvise and use up big scraps (particularly for Halloween quilts for some reason). I have horizontal and vertical seams in a large ‘crumb’ style and I love the result. But, it’s a lot of work and I’m never sure if I get it square. I don’t really care too much – love the fabrics so much that it doesn’t matter!