Happy Friday! Welcome to the first week of my Mini Patchwork Sampler quilt! Today I’m sharing directions for the Sawtooth Star Block. I’ll be sharing one 6″ block tutorial every other week on Fridays. Make one or two of each block: I’ll be sharing a 6-block setting and a 12-block setting when the block tutorials are all finished. This is designed to be a scrappy project…use your favorite left-overs from another project.
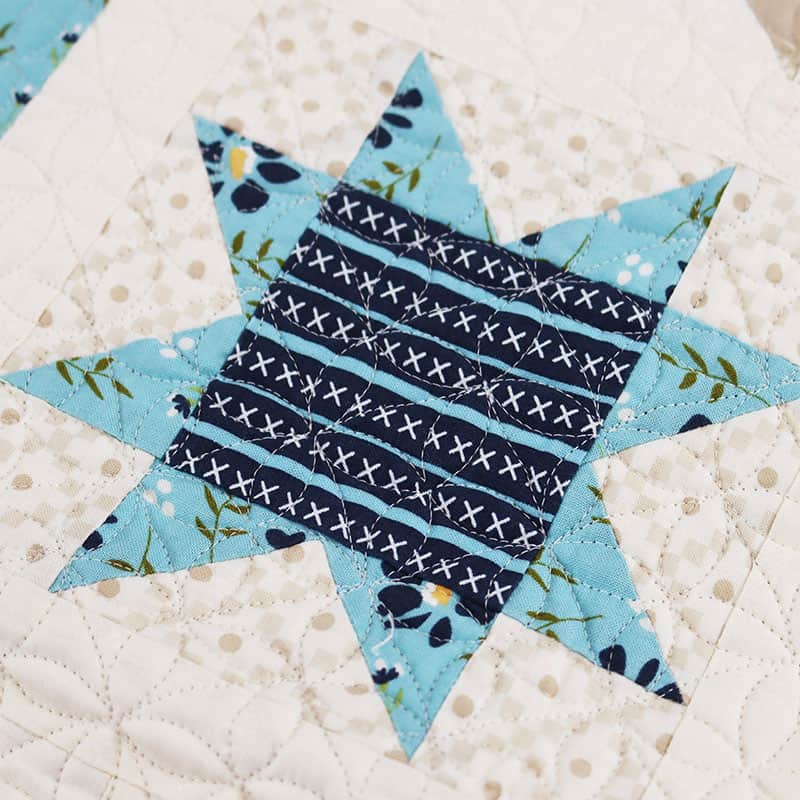
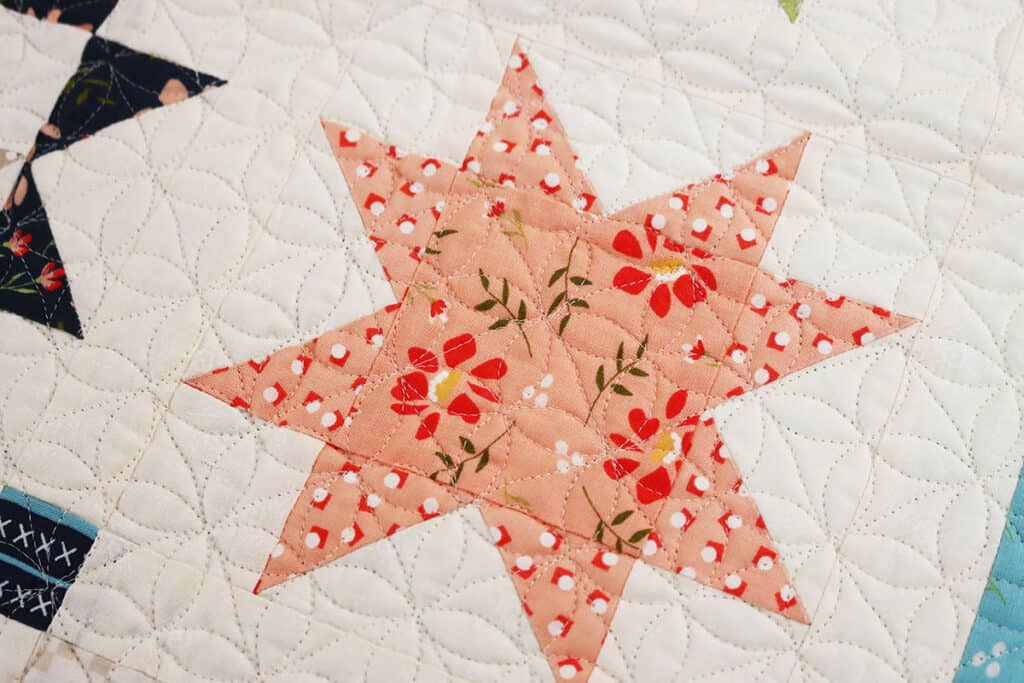
This week’s block is a sawtooth star block with a fast and easy method for making the flying geese units. These blocks are a lot of fun, and they are perfect for using up scraps in your stash!
Sawtooth Star Fabric Requirements
- 1 square 4 ¼″ x 4 ¼″ of background fabric for flying geese units
- 4 squares 2″ x 2″ of background fabric for corner squares
- 1 square 3 ½″ x 3 ½″ of print fabric #1 for star center
- 4 squares 2 ⅜″ x 2 ⅜″ of print fabric #2 for flying geese units
Quick Flying Geese Unit Method
My most favorite methods for making flying geese are using the Bloc Loc and/or the Ultimate Flying Geese Tool.
- See how I use the Bloc Loc for Flying Geese here (with video)
- And see how I use the Ultimate Flying Geese Tool here (with video)
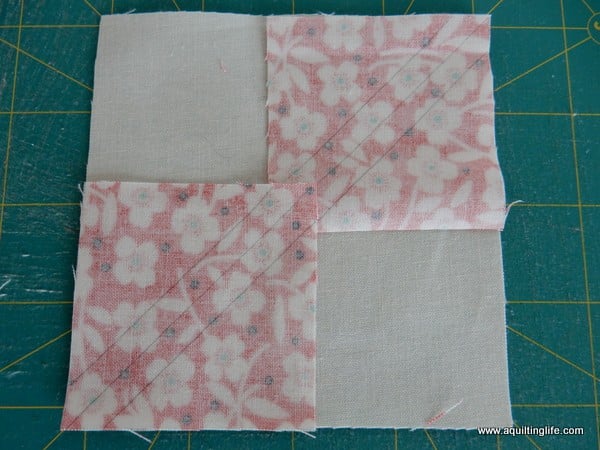
For a simple no-ruler method you can begin by drawing a diagonal line on the wrong side of all four squares 2 ⅜″ x 2 ⅜″ . You’ll be sewing ¼″ on either side of these drawn lines, so I’ve drawn in my sewing lines as well.
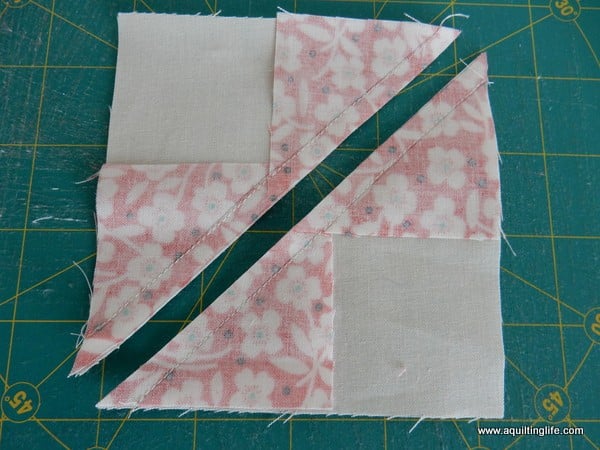
Line up two of the squares on opposite corners of the large background square as shown above. Match up the drawn lines. Sew on the two outer lines.
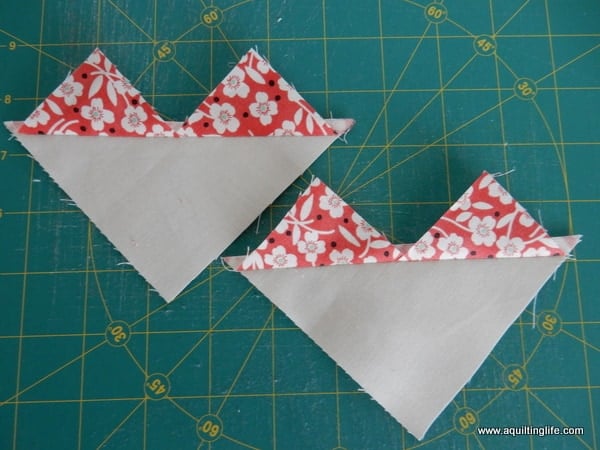
Next, cut on the center line–making two units.
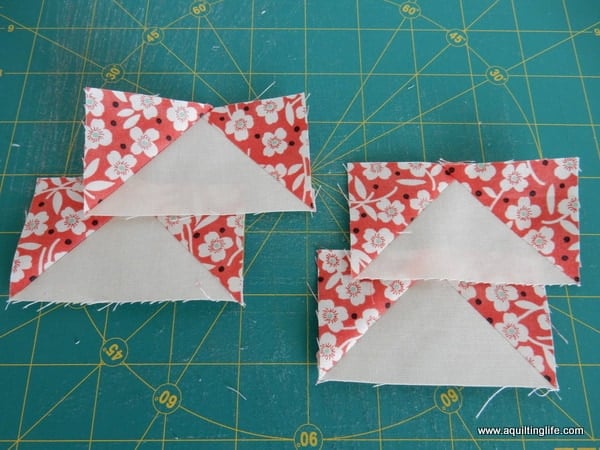
Press toward the print fabric squares. Your units will now look like this.
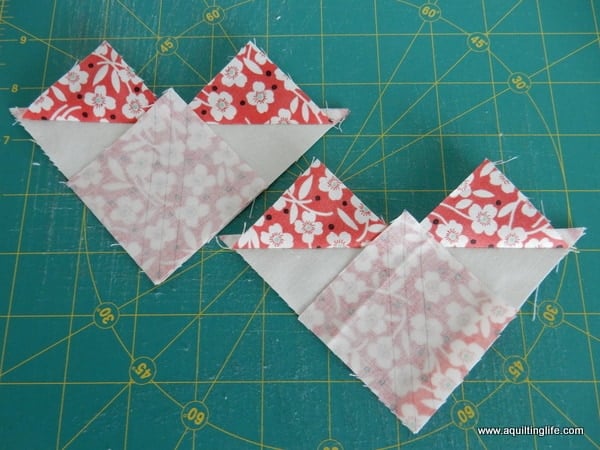
Take the remaining two print squares with drawn lines and place them on the units as shown. You will again stitch on the two outer lines of each unit.
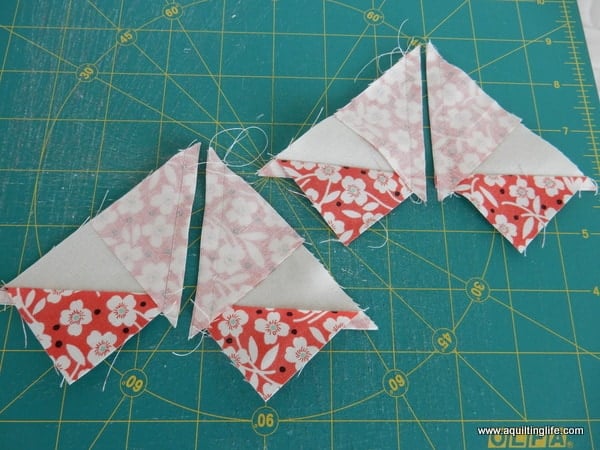
Cut the units on the center drawn line.
Press toward the print fabrics. You now have four flying geese units (2″ x 3 ½″ unfinished) for your star block. I trimmed off the “dog-ear” corners and extra threads.

Arrange Block Pieces and Sew
Lay out the block pieces to form your star
Then stitch the pieces in each row together. Press toward the solid squares in each row.

Sew the rows together and give your block a final pressing. If you are making the 12-block sampler, make another scrappy sawtooth star now!
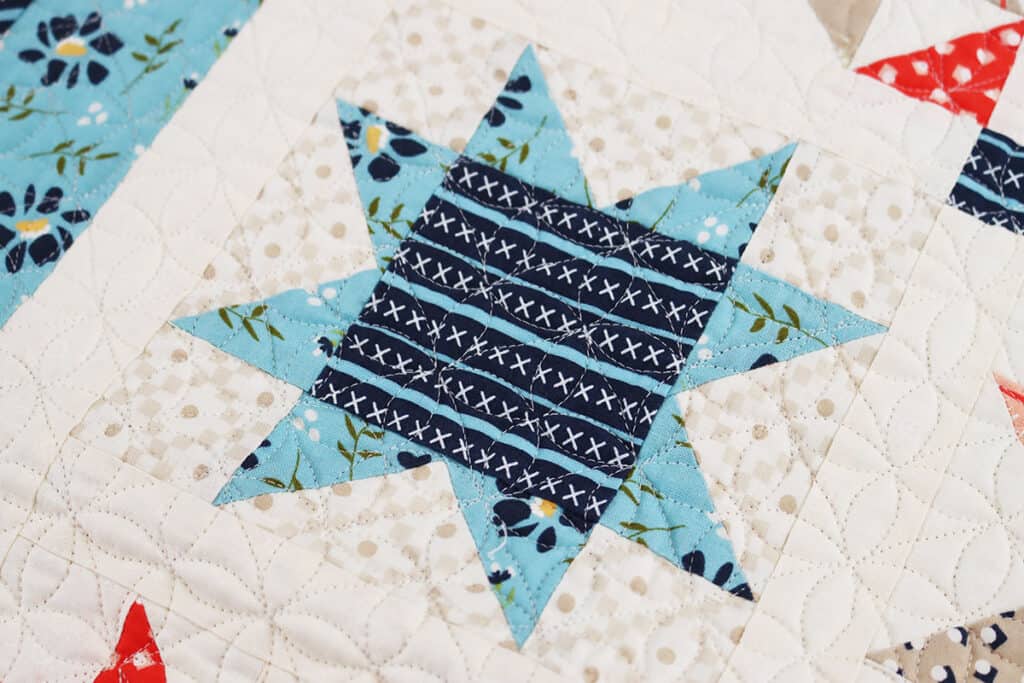
I hope you’ll sew along–choose one block or two every other week, and by the end of the summer you’ll have a completed mini sampler. In two weeks (along with the block 2 tutorial) I’ll have all of the information for fabric requirements for each setting layout.
Thanks so much for stopping by!


Hildy says
I love star blocks! And this mini sampler along will be great! Perhaps I'll be digging into my B&C stash for it … know it'll be worth it:-)
Jocelyn Thurston says
Love your little star blocks. I will stay in touch to see if I can fit this project in; would love to do so.
Michele says
I'm going to try to join in if I can catch up on the other Quilt Along I'm doing. This looks like fun at a reasonable pace!
gailss says
Great block and so easy….thanks Sherri
Caroline Heinrichs says
Oh, these are so cute and I've wanted to make a sampler quilt. I'm following your blog and will for sure share this event and post with links back to your blog, thanks Sherry!
Jackie says
I love the colors you used in your blocks. Thank you for the tutorial…
gibbygoo56 says
Thank You for the quilt along! I love your new fabric line. The colors are gorgeous. I can hardly wait to see more of them. I have to buy some for my own quilt project.
Cathy says
Thank you for sharing. I love star blocks and I`m excited about your tutorial.
Rosemary B❤️ says
I love star blocks!
I could make these all day. I should.
Thank you for sharing your quilty smarts and ideas
Gilda says
Looking forward to following along this summer!
Jennifer Schifano Thomas says
I love Sawtooth Stars and you always sew with the prettiest fabrics! Have a super day!
Marla's Crafts says
This looks like something I would love to do. I plan to play along. I always have tons of scrapes. Thanks for sharing.
suz says
this looks like fun – thanks for doing this!
Bari Jo says
Thank you for doing this – looks like fun! Is there a way to do the flying geese with a method that will allow me to trim down (I'm always afraid of my blocks not coming out and being too small – but I want to make my blocks the same sizes as yours finished).
AuntieD says
Just ran across your blog in a guide from Craftsy. I love this flying geese method and can't wait to try it later today. I've been working on a scrappy blue and white quilt with multiple block patterns and look forward to your "little" blocks piece along!
Crystal says
Ran across your blog so I am going to try an follow. Love star blocks.