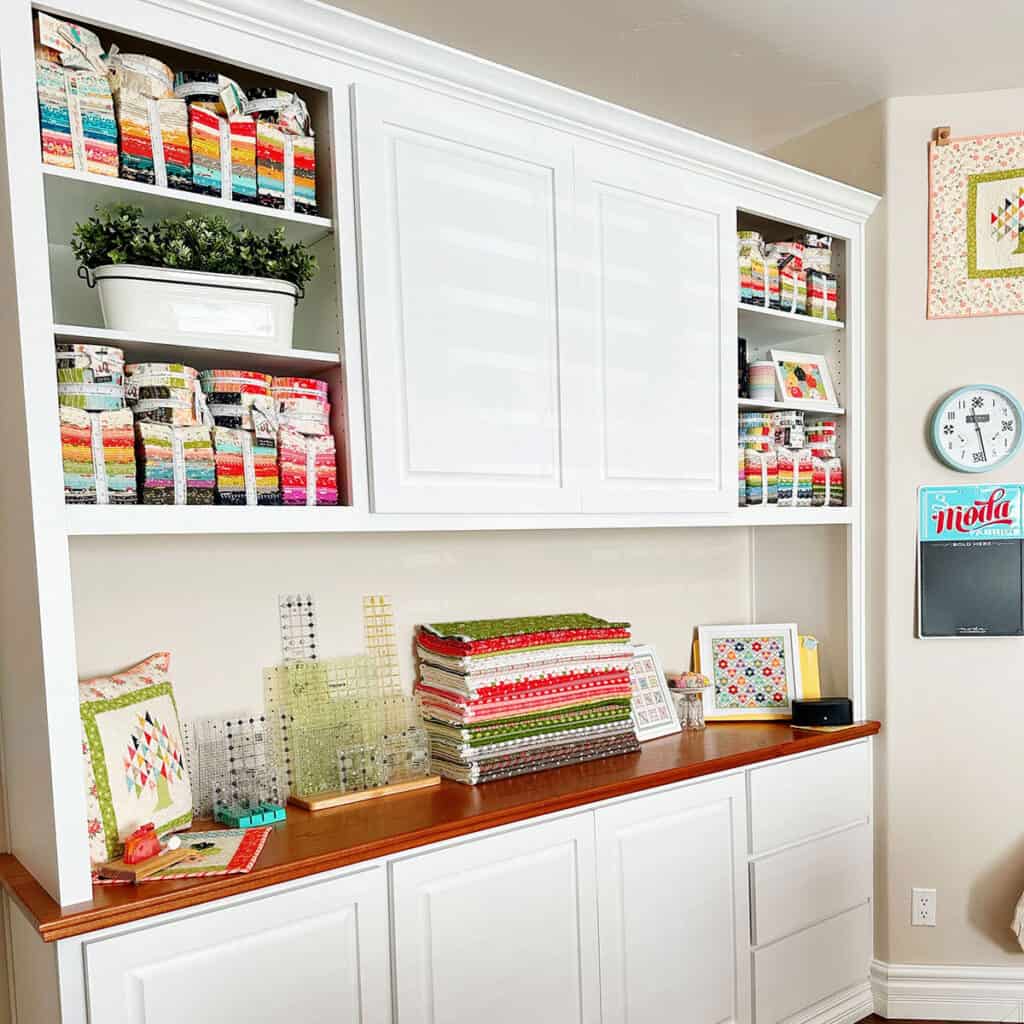
Hello, friends! Today I’m sharing Sewing Room Ideas and Organization helps including some of my favorite simple storage tips. I spent several days over the past week purging and cleaning and re-organizing my space and am so pleased with the results. It’s the perfect time of year for a sewing room refresh, so let’s get started!
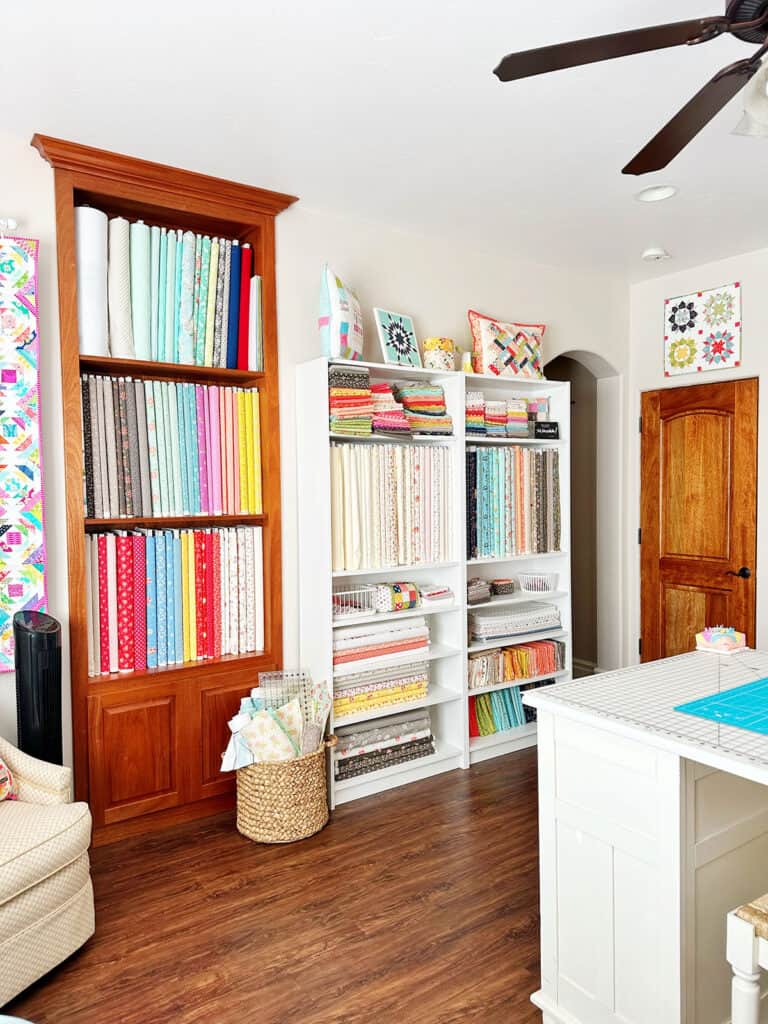
Sewing Room Ideas and Organization
If you’re ready to start, first gather three containers: one for trash, one for donations, and one for items you will keep but relocate. (Some people might also want to get a fourth container for things they might be able to sell). I use bags for trash but boxes for donations and things I’m going to keep making it easier to see the contents. Ready to begin? Get started following the steps below.
1. Go Through Your Sewing Room
The first step in getting your sewing room organized is to go through your space and remove anything that isn’t frequently used or that you don’t love in the space it currently occupies. Make sure all of your flat surfaces are clear when working through this step. I took everything out and put it in our hallway, but you could also use a spare room or even your dining room table to store everything while doing this. Fabric and notion donations went straight into a cardboard box, and there were also some things I was able to just throw away.
2. Purge Unnecessary Items
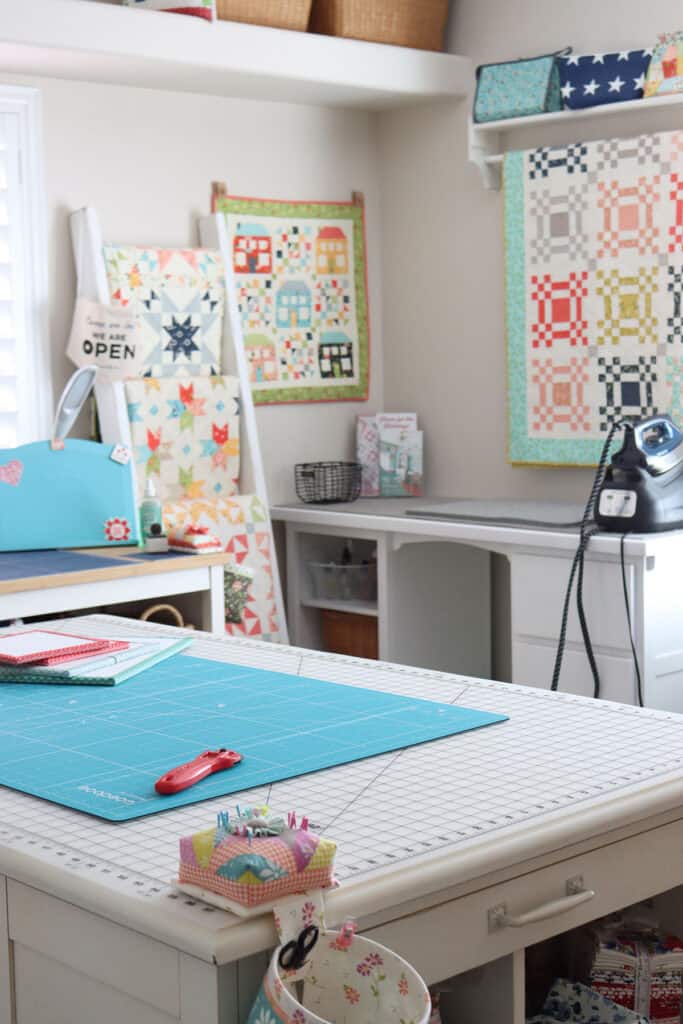
Next, you’ll want to go through the box of items you decided to keep and really consider how much you use those items. You may be able to purge even more of them and put them into the donate box or even the trash box. Once everything has been purged, you’re ready to move on to the next step.
3. Sort Items by Category
Now, take everything you’ve decided to keep and put them in category groups. You might consider some of the categories below:
- Yardage
- Pre-cuts
- Thread
- Patterns
- Rulers
- Scissors
- Miscellaneous notions and tools
Once everything has been moved into the appropriate category, you can start to consider the best way to store the items. You’ll also start to get a good idea of what containers you might need to purchase when you put everything back together.
4. Evaluate your Storage Options
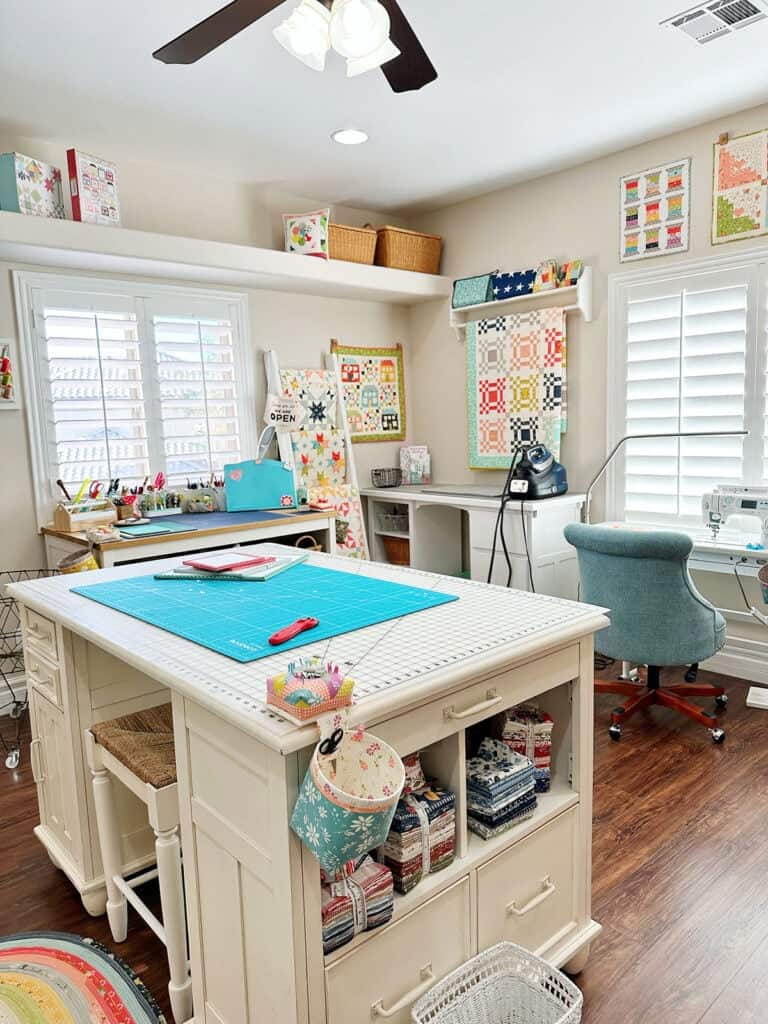
Begin by evaluating everything that is left in your space. Make sure you really like where everything currently is, and make changes as needed. It’s good to first do any rearranging before you start bringing other things back into the space. Then you’ll need to decide on a final space for all of the items you are going to move back into the room. Only at this point should you consider purchasing storage containers.
5. Purchase any Needed Items
There is actually one more step to handle before you make your shopping list. A lot of organizers call this “shopping your home.” Basically, you’ll want to consider using items you might already have to store the items that now need a container. Sometimes a particular storage item just isn’t really working somewhere else, and you can re-purpose it for your sewing room. Kitchen and bathroom organizing products often work really well in the sewing room.
6. Easy Organizing Item Ideas
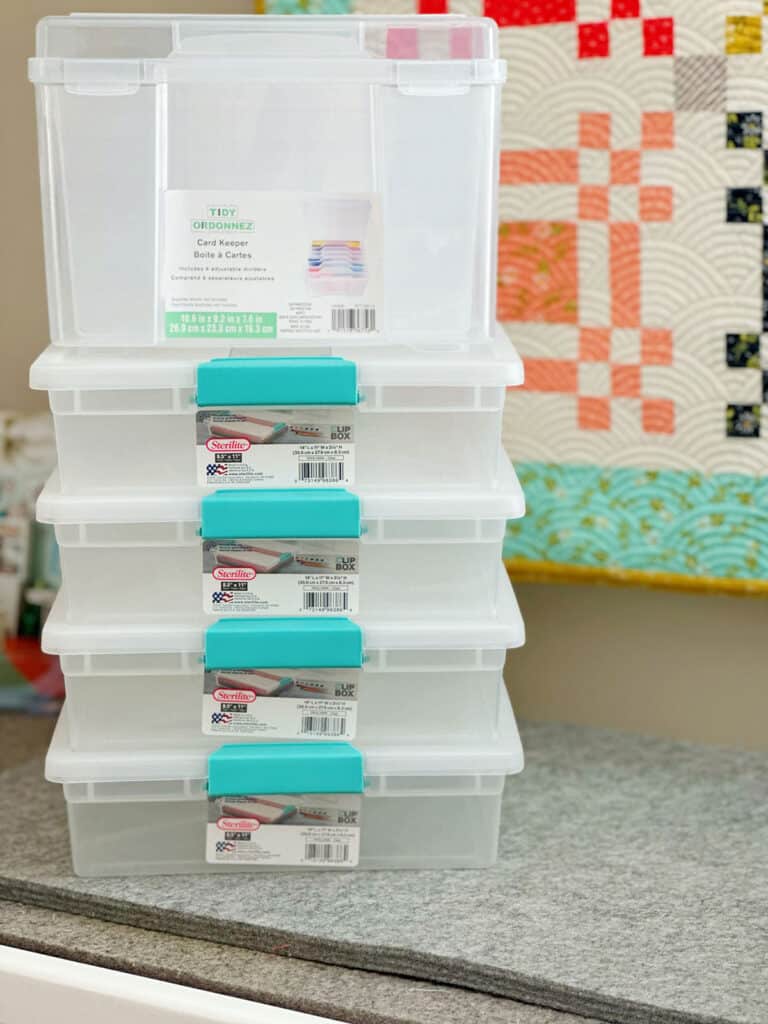
Here are some of my favorite organizing items for the sewing room:
- My new find: Pattern Storage Boxes (similar to top, above)
- Project Storage Boxes (pictured above–I like these for short-term works in progress).
- And Project Storage Boxes for longer-term work in progress (I like that these are ventilated for longer-term storage)
- Love these beautiful wire baskets with wooden handles for storing fat quarters
- This Round Basket provides storage for large rulers and quilted Soft & Stable
- Multi-Purpose Bins (Large size–these are terrific for using on shelves and in cupboards to contain a variety of items).
More Helps for Sewing Room Organization
Here are some of my previous posts on my sewing room and sewing room organization. (You’ll even find a free printable for doing your organizing on the 20 Tips post):
- My most recent Sewing Room Tour (with a video walk-through of my space)
- 20 Steps to an Organized Sewing Space with Free Printable
- 10 Sewing Room Hacks
- The Sewing Room Inspiration Series: Get 10 Days of Sewing Room Inspiration and ideas right to your inbox. Sign up here.
Thanks so much for stopping by for today’s Sewing Room and Organization Ideas post. Happy quilting!

Debra Gutenson says
Hi Sherrie,
What are the dimensions of your cutting table/island? Thanks for sharing your beautiful studio.
sherri McConnell says
Approximately 36″ x 60″
Thank you!
Carmen Hoffman says
Sherri I really like your pin cushion/thread catcher. I have ‘some’ but none are as sturdy as the one in your sewing room. Do you have a pattern for this, or can you share the pattern you used?
Denice says
I know this is a crazy request, but could you post a picture of your ceiling? My husband and I are in the process of deciding how to add lighting to my sewing room room and I noticed in one of your pictures you use recessed lighting. If you have other posts about lighting for sewing rooms that would be great too! Thanks!
Penny Sullivan says
In my studio my hubby put in recessed led lights and they are so awesome. Best price is at Amazon and you can get a pack of them. I have at least 12 in my studio. With 6-8 over my sewing area. My studio is huge and measures 16ftx40ft and love love love it
claire says
wow thanks for tip re lighting led
Jane Eilderts says
Lovely! I’m working on a new ironing station. Do you just use a wool mat on your surface? I have a small one but not nearly that big.
Lynn Young says
And my related question on ironing, where do you ironing large pieces of fabric and completed tops/linings?
Sharon Starr says
Thank you for these tips! I purchased a Janome M17 and the Janome table for Christmas and love it. Many of your tips are in place in my sewing room. Thanks!
Regina Lankford says
I love your cutting table!! Where did you buy it from? Thanks!
Karin says
Hi Regina! My husband went to Home Depot and purchased ready-made base kitchen cabinets. Then he put them together and made a wooden top. Also made a flip-up extension so I can have twice as much counter space. It’s 60×24 and the extension leaf is the same size. Was not that expensive since the cabinets were on sale. I bought slide out shelves and installed them. Not as pretty as hers but it works for me. You could do this and also add shelves on the ends. Put on some trim and you’re good to go. Hope this helps.