Hello and happy Friday! And happy spring…(or fall depending on whether you are in the northern or southern hemisphere). We’ve had a beautiful beginning to our spring here in the desert southwest with some lovely gentle rain through the evening last night. (That means there is a lot of yard work to be done this time of year for sure). So I’m hoping this week’s Sew Your Stash 2019 | 11 post will give you some great tips to make the most of your time.
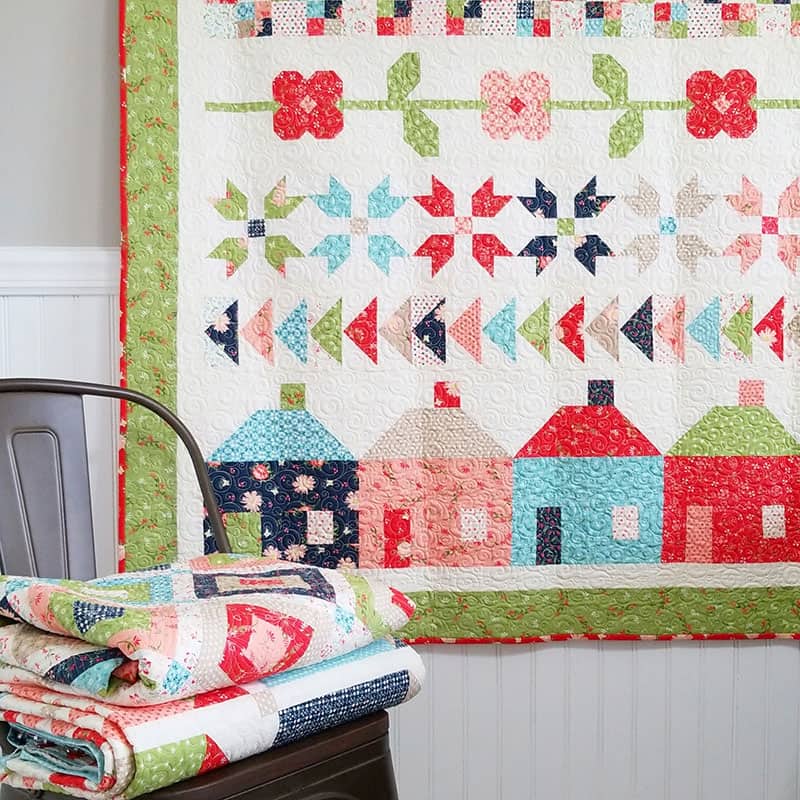
I cleaned up my sewing room this week after a pretty busy month of sewing. My sewing room really needed the attention. It’s not perfect, but it’s in pretty good shape again. The next couple of months are going to be busy with market prep and some secret sewing. (I’ll be working on a lot of things I won’t be able to share for a while, but I also want to keep up on things that I will be able to share). Here are my “Sew Your Stash” tips for this week.
Sew Your Stash 2019 | 11
1. Take Inventory.
I thought of this while I was cleaning up over the last week. I actually found duplicates of a few things that I didn’t know I had doubles of and decided to take a quick inventory in a few different categories so that I can make sure I get the things I need and don’t over-purchase things I’m stocked up on. Here are the categories I found useful to inventory:
- Rulers
- Specialty Notions
- Threads (I didn’t inventory every color I had…just made note of the basic ones I use frequently).
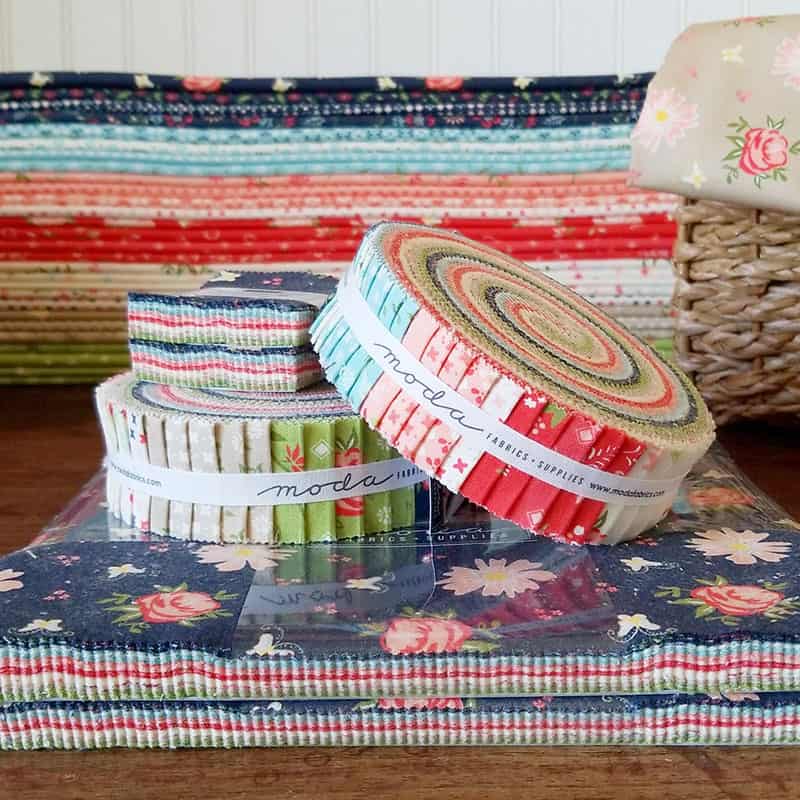
- Pre-Cuts (I felt like this was a really good category to take inventory of. I really do want to use the pre-cuts I have and feel like it will be easier to use them if I have a list of what I have.
- To Buy (Again, I feel like it’s good to have a running list of things you might be looking for in order to take advantage of sales and specials.
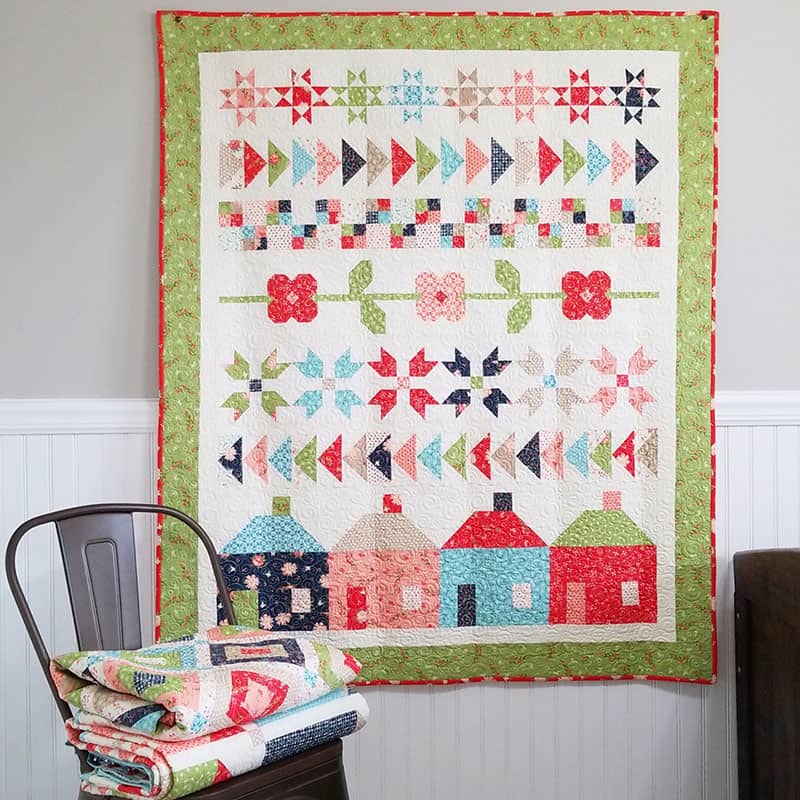
2. Organize Based on a “Category of the Month.”
This idea came to me as I’ve been reading a decluttering book this week (I’ll talk more about it in tomorrow’s Saturday Seven post). I always try to apply the things I learn for time and home management to the sewing room, and I thought this method was a great idea. If the thought of getting organized is too overwhelming, this is a terrific way to begin. I have some suggestions listed by month below. Feel free to adjust accordingly.
- January: Clear off surfaces and shelves. Edit and rearrange as necessary.
- February: Organize rulers, rotary cutters, scissors, and other cutting tools.
- March: Pre-cuts…inventory and organize. Donate those you won’t use.
- April: Threads and bobbins inventory. Add needed items to your shopping list.
- May: Sort quilting books and magazines.
- June: Inventory yardage and larger pieces of fabric.
- July: Scrap organization–sort and purge if necessary.
- August: Quilting patterns: Decide what to keep and what to donate.
- September: Inventory and sort specialty notions.
- October: Works in progress–are there any that can be finished for gifts this year?!
- November: Inventory small projects–are there things you can finish before the end of the year?
- December: Review your bucket list and things to make for the next year.
3. Create a Notebook or File System for Sewing Room Organization
Several months ago I finally put all of my sewing room organization printed pages and inventory sheets in one place. This has made it much easier for me to remember to actually look at them. If you’d like to get a jump-start on the list above, you can find my printable for “20 Steps to an Organized Sewing Room” here. You could choose to go through the 20 steps in a week, month, or quarter depending on your schedule.
I hope some of these tips will help you this weekend and over the next little while…it is officially “spring cleaning” season you know! Thanks so much for reading my Sew Your Stash post…you can find all of the earlier posts in this series here.
Happy quilting!

Ms Sam Nicholson says
Done! I’ve done all the categories on organization without your list! However, I “filed” all my quilting papers and patterns in binders. I do not have room to set up a file cabinet so I filed them in clear plastic in my binders! And, before you ask, YES, IT MAKES A HUGE DIFFERENCE!!! I now have my It is in a bin and am already working thru them along with orders, and my own quilting designs!! Much easier when organized. However, I would highly recommend that you go thru weekly and make sure everything is where it belongs. Sometimes we get too busy and hectic and stuff does not go back where it belongs.
Ms Sam Nicholson says
UFO’S IN bin, sorry!
Rae says
Thank you for the tips. I use “post-it” notes for labels and recycled salad containers for bins.
Hildy says
Thanks for your tips! I’m actually really good to remember which fabrics and precuts I have but I’m terrible with my patterns. I bought two form the gorgeous pattern boxes from Bonnie & Camille and yes both are used and pretty full;-) Wht I really need to organize are all my PDF patterns.
Cheryl says
Are they printed out already? I put printed ones in binders in sheet covers. The ones on my computer are in folders by category.
Cheryl says
I just love your posts. They really inspire me. I did finish a baby boy quilt and baby girl quilt this week. The couple have not found out the sex and I felt compelled to make one of each instead of a Unisex one.
I did a complete inventory of my fabric and put them into a spreadsheet. It’s great!
Kay Welch says
Thanks for these tips – loving the idea of a category each month. Sounds so doable.