
Hello, friends! Today I’m super excited to share my three-step formula for getting things cleaned up in the sewing room. I’ve mentioned a few of my projects here and there on the blog and on YouTube. But I haven’t really gone into much detail about them. I hope you’ll enjoy today’s ideas on my Quilting and Sewing Room Refresh: 3 Easy Steps. And, keep reading to the bottom of the post for a free Sewing Room Cleaning Printable to help you get started or stay on track with your organizing now.
Quilting and Sewing Room Refresh
I sewed a lot of quilts recently, and while I worked hard to keep the parts of my room clean that appear in my videos, there were other areas that desperately needed some cleaning and organizing. So, I spend a bit of time each Saturday cleaning, sorting, purging, and re-working some storage options. Here is the quick 3-step formula I use several times each year for a refresh.
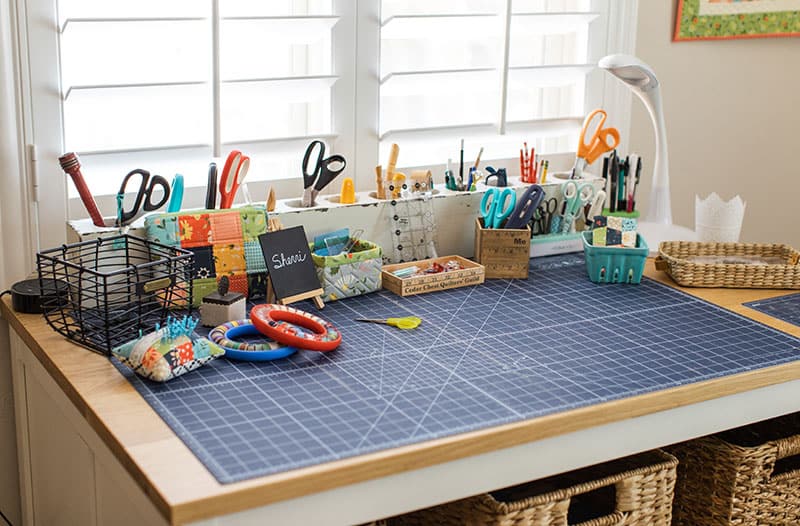
Clean the Flat Surfaces
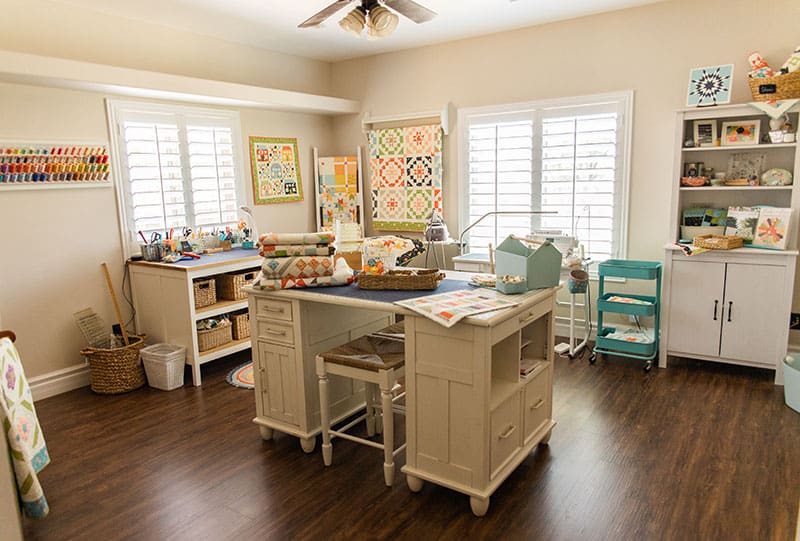
I remember hearing about keeping flat surfaces clean years ago while watching an Oprah segment with Peter Walsh. His suggestion resonated with me in regards to keeping my home clean but also makes such good sense for keeping a sewing space clean. So the first thing I did was to take everything that wasn’t absolutely necessary off of my cutting table, work station, ironing board, and sewing table. I just put it all on the floor one day and figured out where everything was going to go after.
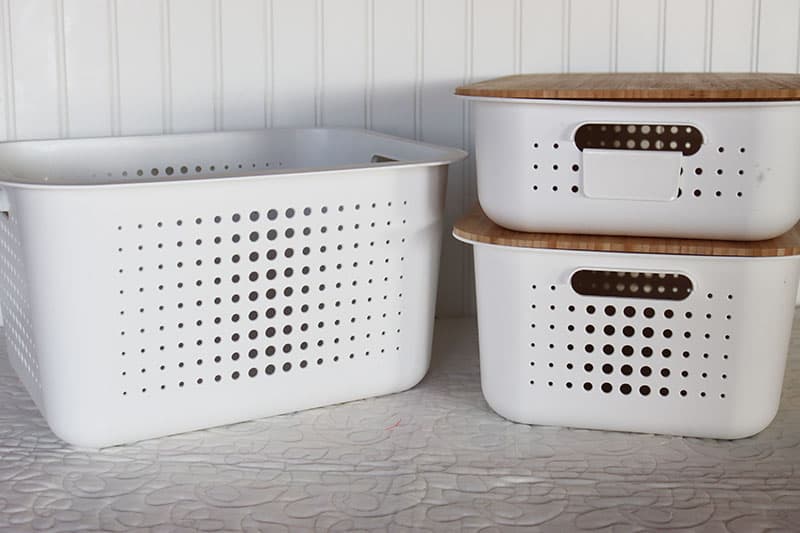
Sort and Purge
The next step was to sort and purge. For this step it’s super helpful to have a couple of boxes or bags in the room when you begin. (This is another tip I’d often heard but never realized how important it was). I designated both a donate box and a trash box. Having the donate box made it easier to actually get rid of items. I also moved the donate box to my garage as soon as I was done. Keeping it in the room would have made it too tempting to go through and pull things back into my room.

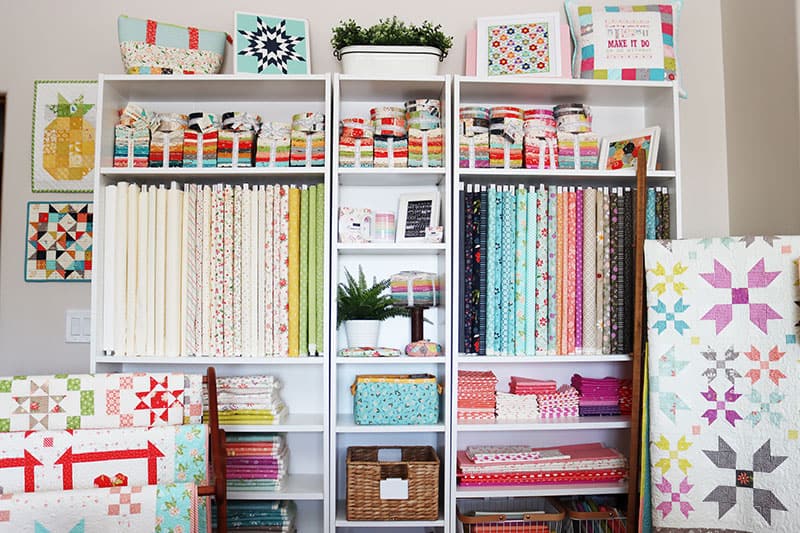
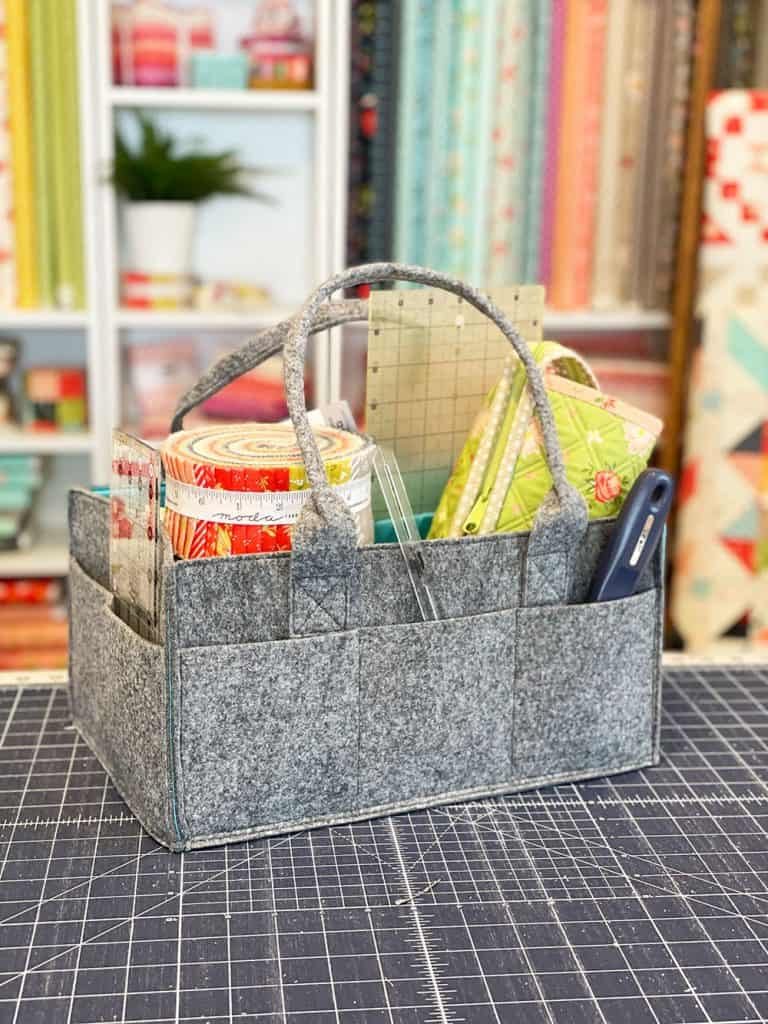
Consider Storage Options
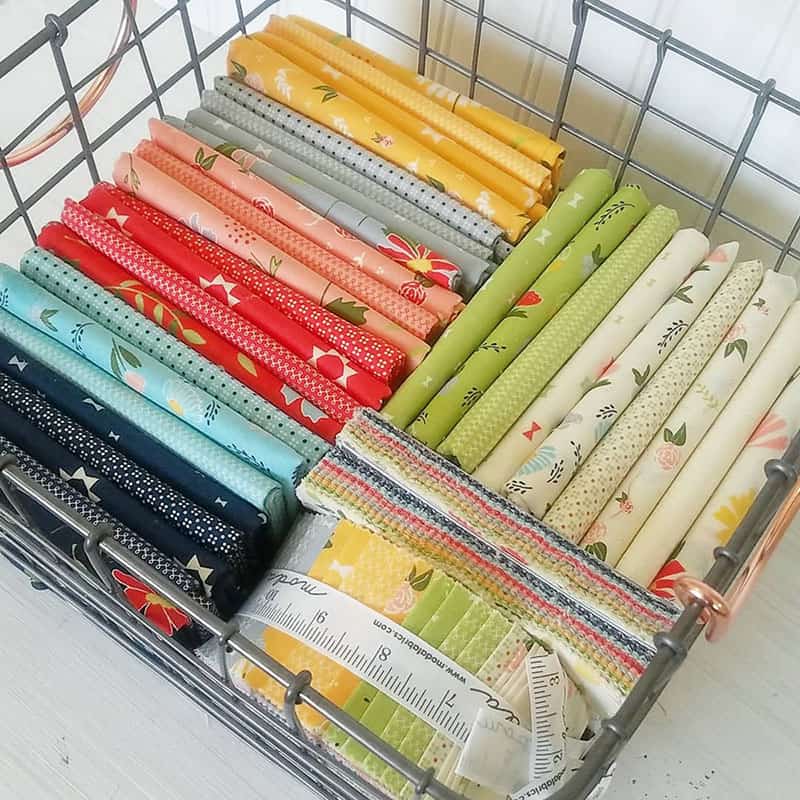
After clearing my flat surfaces, I realized that my main issue was storage options for works in progress. I have several project bins and bags and storage baskets and carts. But I still had things that weren’t stored well–they were simply in piles on my work table. Because many works in progress weren’t contained they were cluttering my space. Since I’ve been using a lot of Christmas scraps for gift items, I was able to condense a few Christmas fabric storage bins and open up storage for other projects. I was also able to empty up space in the rolling cart I keep by my sewing machine. Now I keep only current works in progress in that space.
Final Thoughts
These steps are essential for maintaining a clean workspace: Clearing the flat surfaces, sorting and purging, and considering storage options. But there is actually a fourth step you’ll want to implement. I’ve found that making it a priority to regularly review these three steps is essential. Whether you choose to do this weekly, monthly, quarterly or yearly depends on your schedule, but be sure to plan on regular clean-ups and reviews. Click on the button below for my brand-new Sewing Room Organization Printable.
You might also find the following sewing room organization posts helpful as you work on your own space:
- Sewing Room Organization Tips
- 5 Sewing Room Layout Ideas
- 20 Steps to an Organized Sewing Room
- 5 Tips to Spring Clean Your Sewing Room

Thanks so much for reading my Quilting and Sewing Room Refresh: 3 Easy Steps post. Now really is a perfect time to do a sewing room clean up, and the new printable should prove as useful for you as it was for me. I hope you’ve found some helpful ideas today. Happy quilting!
Elaine says
My mother always taught for ALL cleaning: “Clean the horizontal surfaces!” Makes a big difference in dust and clutter! 🙂
Jan Weicksel says
As always… great tips and ideas! Thank you!
Linda E Mahoney says
Another thing that I do is take the last 10 minutes of my sewing time and use that to tidy up my work area where I am sewing. I arrange my materials for the next day and put rulers, threads, scissors, rotary cutters, and other stuff away. It helps me feel good when I go back to my sewing room the next day. I’m not so good about other areas, but I am trying! I need to do the sort and purge with my fabric. Your articles keep me thinking about making my room more organized.
Monique says
Last year I showed my husband your work table, and wished I could have one in my sewing room. I was using a folding table that was too large for the space. We couldn’t find one that was the right height on any furniture sites, so he offered to make it for me. He examined your photo, drew up some plans, and built one out of poplar for me. I love my organized cutting table, and he enjoyed learning some new wood working techniques.
Cheryl says
I love Saturday ,morning and reading your post! Your podcast yesterday was wonderful. Thank you for all you two do,,❤️❤️