Hello and happy Monday! I hope you had a terrific weekend. Mine was a good one. I got a lot of sewing done, and I was also able to get some new videos filming that I’ll be sharing soon! Some topics are just easier to share with video than by simply sharing step-by-step photos. Today I’m sharing how to add quilt borders, and I have a video to go along with the post.
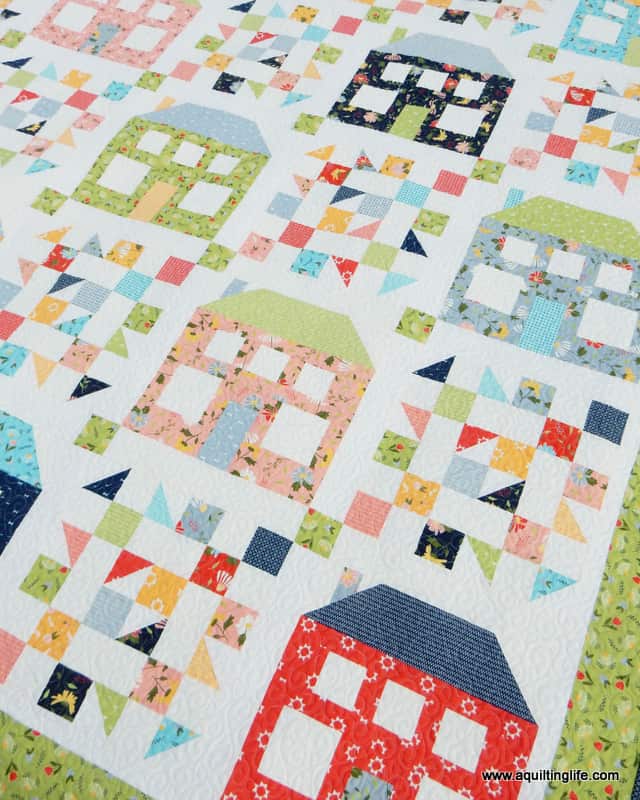
Tips for Quilt Borders
I would guess that adding borders is not the favorite part finishing a quilt for most quilters. It used to be my least favorite part of the quilting process. But I’ve been using the method I’m sharing today for several years now, and I’m much happier with the process (and with the results). In the video below, I demonstrate this simple method for adding borders to a block. And the process is the same for adding borders to any size project.
Watch the Video on Adding Borders
Watch the video above to see my favorite method for adding quilt borders. You’ll see exactly how I add borders of any size to any size project. And then read on below for even more tips.
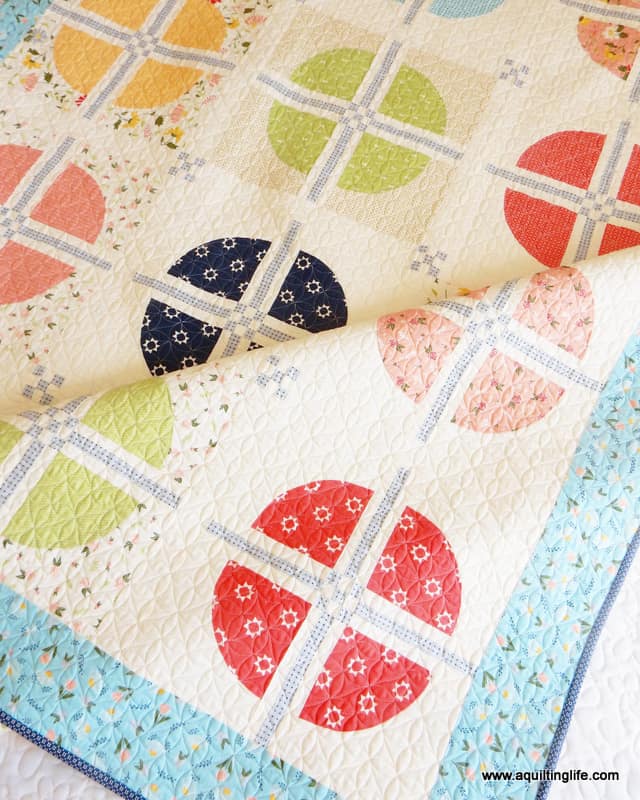
More Tips for Quilt Borders
- Take accurate measurements.
- Cut border strips carefully.
- Use pins.
- Sew carefully–it’s easy to get off track when sewing larger quilts.
- Sew with the border on the bottom so you can make sure quilt seams don’t get flipped in the wrong direction.
- Press carefully–but don’t press so aggressively that you add a “wave” into your border. See this post on proper pressing here.
- If the outer border of your quilt is a pieced border, be sure to stay-stitch using a ⅛″ seam around all of the edges of your quilt.
- Read this post for even more tips, including ideas for adjusting pieced borders.
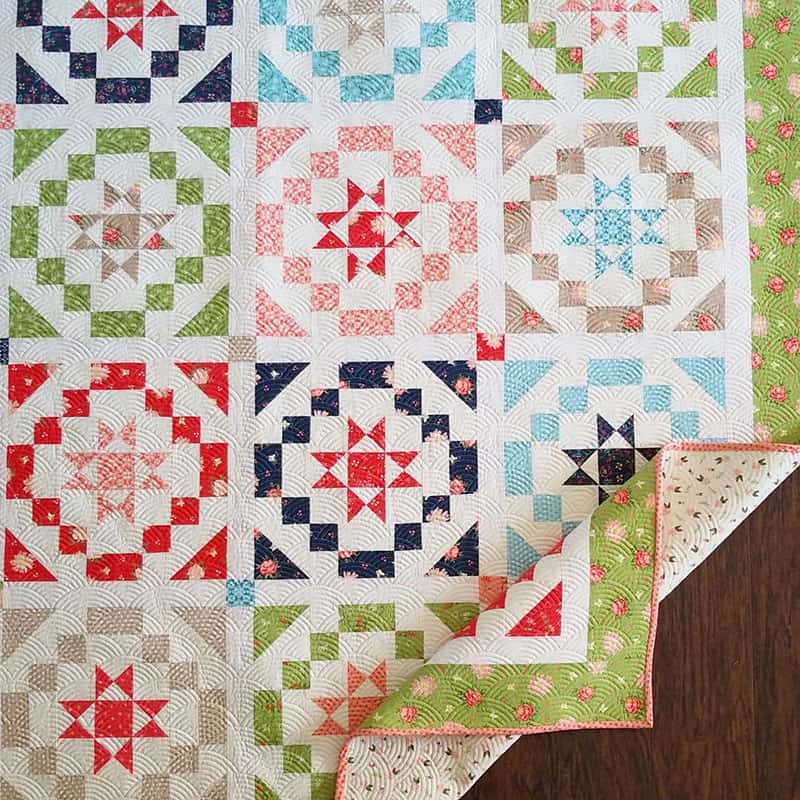
I hope the video is helpful for you as you add beautiful borders! I’ll be back soon with the May Block of the Month blocks! Happy Quilting!
Thanks so much for stopping by!

Melanie says
I don’t see the link for the video 🙁