
Hello! Today’s post is all about quilt borders. I hope you’ll be able to get a few ideas to help with this part of the quilting process. I’ve got to admit that adding borders is not my favorite part of making quilts…but I’ve come to accept the time and care it takes, and it doesn’t seem nearly as tedious a task as it once did.
While a lot of quilt patterns don’t call for adding a separate border after the quilt center is complete, chances are that you’ll need to add at least one border or multiple borders to many of your quilts. Borders add a lot of interest to quilts, can pull out certain colors from the quilt center, and can make a quilt look truly finished.
6 Essential Tips for Better Quilt Borders
Measure and Cut your Quilt Border Strips Carefully
Measure your Quilt Accurately
Use Pins for your Quilt Borders
accurately in blocks, and I always pin when adding borders. After I’ve
decided on the measurement for my border strip, I mark it with a pin.
Then I align that pin with one end of the quilt and align the other end
of the border with the other end of the quilt. I don’t cut the border
strip before sewing. Once both ends are pinned, I pin every 8-10 inches until I’ve pinned the entire border strip.
Sew your Quilt Borders Carefully
in the border strip. I sew slowly, making sure the edges stay aligned
and that my seam is straight. (It’s easy to want to sew really fast when
adding borders, and this can sometimes result in uneven seams).
Press your Quilt Borders
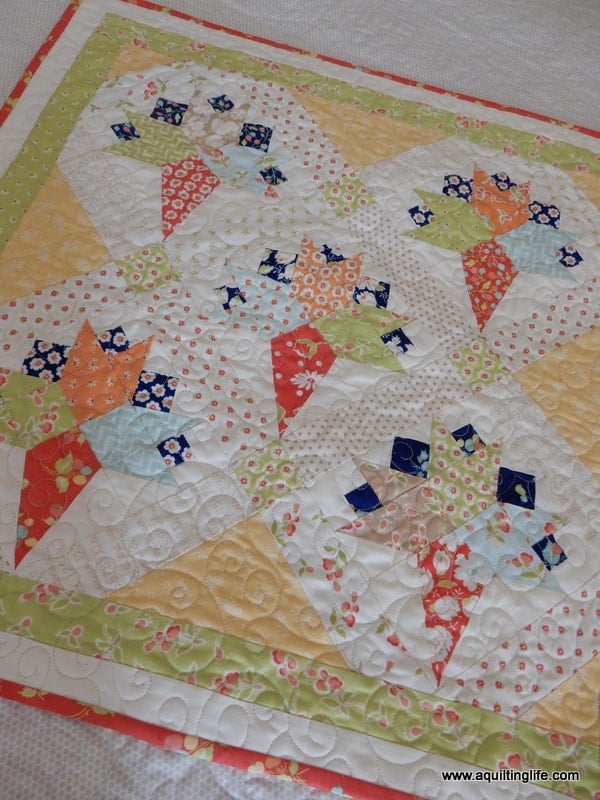
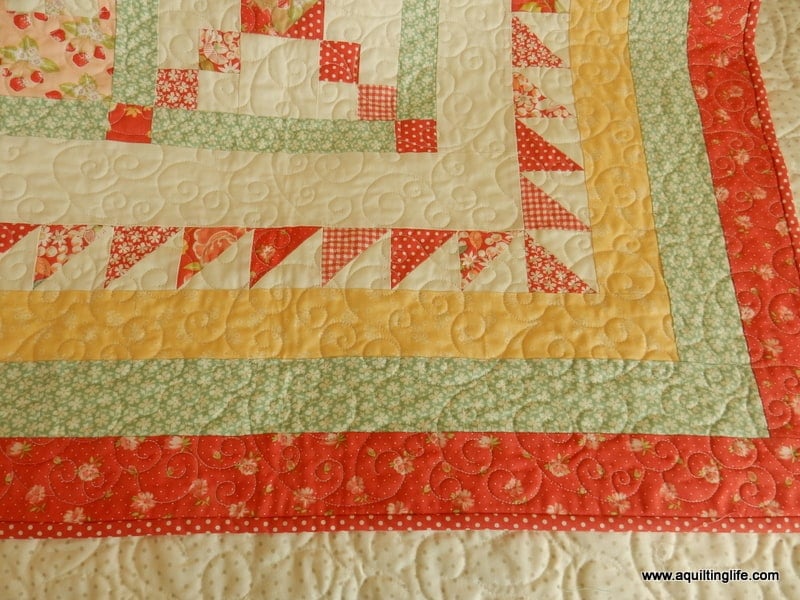
After each border is added, press gently to set the seam. Then press the border out from the wrong side of the quilt. Be careful to press in short, straight strokes so you don’t add waves into the border through your pressing. Finally, turn the quilt over and press the border out from the right side of the quilt. You can often catch small puckers or places where the border has not been fully pressed using this technique. Repeat this pressing for each and every border, and always press before adding another border.
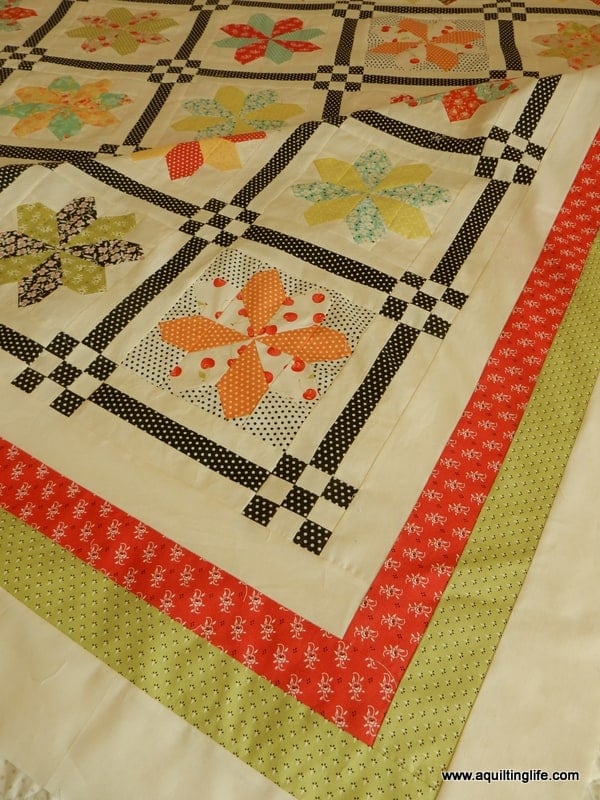
Be Specific about Quilt Border Choices
Border colors can change the color-focus of an entire quilt. Colors used in border choices will definitely become more prevalent in the quilt center. So pick your favorites or pick a color that needs more emphasis. Sometimes you’ll want a background break border before adding additional borders, and sometimes that background border is all that is needed with the binding providing a frame to the quilt.
Additional Quilt Borders Tips:
- If your border is pieced you may need to press seams open so the border section measures the correct length. You’d be surprised how much “space” is taken up with seams pressed to one side, and if there are many of those seams it can affect the finished measurement of the border section.
- You can also shorten pieced border sections by taking slightly larger seam allowances in a few different places to achieve the desired measurement without altering the pattern.
- Back-stitch at the beginning and ending of your seam when sewing border sections together. It keeps border sections from accidentally pulling apart before the next section is added or before quilting.
- Stay-stitch (sew ⅛″ from the outside edge) when a pieced border is the outer border of a quilt. Again, this will help everything stay together until it’s quilted.
- Finally, always start border sewing with a fresh bobbin…it will keep you from running out of thread somewhere along the line and having to do a lot of re-stitching!
Here’s to hoping you have lots of straight and beautiful borders in your quilting future!
Thanks so much for stopping by!

Little Quiltsong says
Thank you for this post, Sherri! I seem to dread sashes and borders, due to the fact – things get wonky along the way. Maybe that is why I like smaller quilts best – not so much drape and pull because of heaviness. I especially like your tip on measuring, but not cutting the border length, just pinning. I'm going to note many of your suggestions.
Linda Menkes says
Thank you for some great information! What is the difference between a stay stitch and a back stitch?
Terry says
A great post Sherri, I'm sure there are many who can benefit from the info (or reminders)
Judy H says
Lots of great information. Thanks for sharing.
iowagirl says
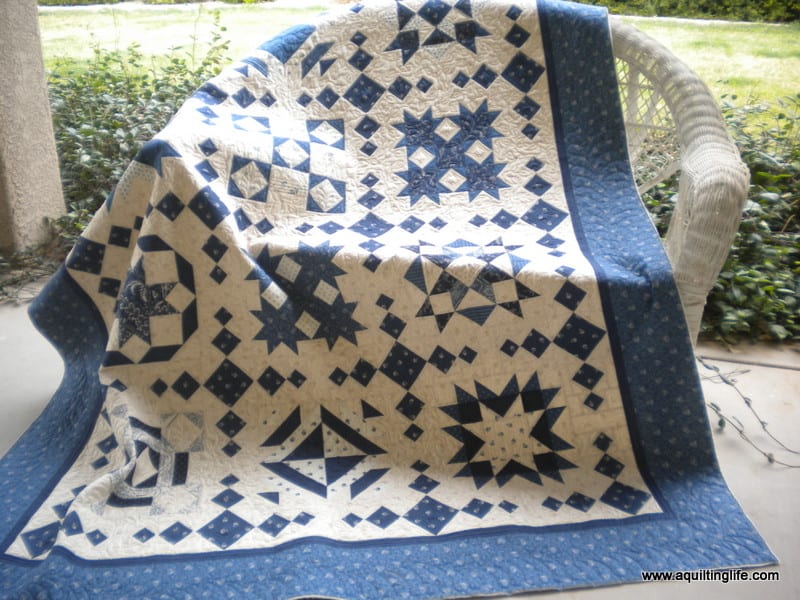
Very informative post. Love the blue/white quilt. Can you tell me the name of the pattern?
Loris says
I agree with you about the straight seams in borders. I was taught to do the diagonal seam supposedly because it would make it less noticeable …or something. But I don't really like them that way and maybe because of that, the diagonal seams seem more noticeable and not in a good way 🙂 Great tutorial!
AnnieO says
Lots of great tips. I tend to make a lot of quilts without borders, but when I do, I'll remember theses ideas.
Hildy says
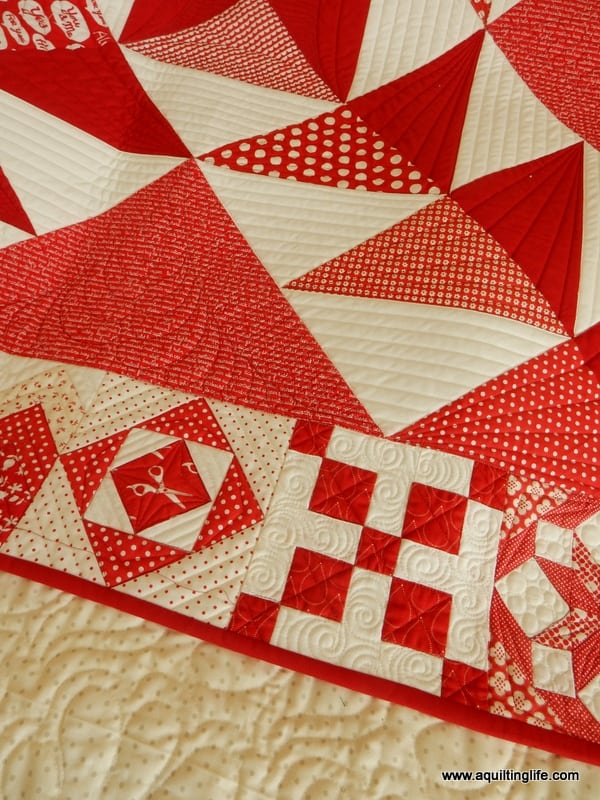
Borders are not my most favorite part either but it adds really a lot to the quilt (and I love the green and red you choose for your County Fair quilt). I become quite good at adding them but your tip with pressing them from the wrong side first is new to me I'll try it the next time I'll add a border.
Rosemary B❤️ says
excellent Thank you Sherri for sharing this important and very pertinent information.
I will print it out.
Happy Tuesday
jorn says
So many helpful tips for this old newbie (retired nurse). Great info. Thanks. Jo
Stacy Gregerson says
It too, tend to stay away from borders. Your tips are wonderful! When measuring through the center of the quilt to determine border size, how much should I smooth out the quilt out to measure? I'm afraid of stretching it too much, but also not enough to get the accurate measurement. This is my biggest question/problem when doing border.
Thanks for sharing your expertise!
Judy says
Wonderful tips. I add borders quite a bit. I'm going to try the border on the bottom sewing method; it sounds like a great way to go.
Roseanne says
Hi Sherri,
I appreciate all the tips you have provided. I love to add borders to my quilt – someone has to enjoy it! I try to purchase on of the coordinating fabrics from the same collection if possible, as then I'm sure the colors will match. Or as you suggest, my favorite(s) from the patterns in the middle of the quilt top. 🙂 I enjoy your website very much!
Monica says
Thank you!! This is good to know and I don't believe I've read this anywhere before –esp the pressing!
jes1776 says
What is the purpose behind not cutting your border strips until after they are sewn on? I should think that would lead to a lot of inaccuracies, and possibly ruining your quilt top by accidentally cutting into it.
Barb Neiwert says
As a longarmer, I was thrilled to read this article. If everyone who brings quilts to a longarmer would go through these steps, it would make their lives SO much easier! Taking these steps helps eliminate The Wave that ends up at the bottom of a quilt that has borders added incorrectly. Longarmers hate The Wave, lol.
Susie Hoover says
Fantabulous tips!!! I hate sewing on borders too. I think it's because they tend to be large and sometimes heavy. I will try that part about pressing the seam, then pressing the border from the back first. Never tried that and will give it a shot.
Have a great day!