
Note: This post was originally published in January 2018 and updated in January 2020. Hello! Today I’m sharing a Valentines Pillow Tutorial. Here is the little story behind it. A couple of year’s ago I made a super cute Valentine’s pillow and wanted to make a companion pillow for it; however, things got really busy right before the holiday, and the left-over fabrics were put away in a bin.
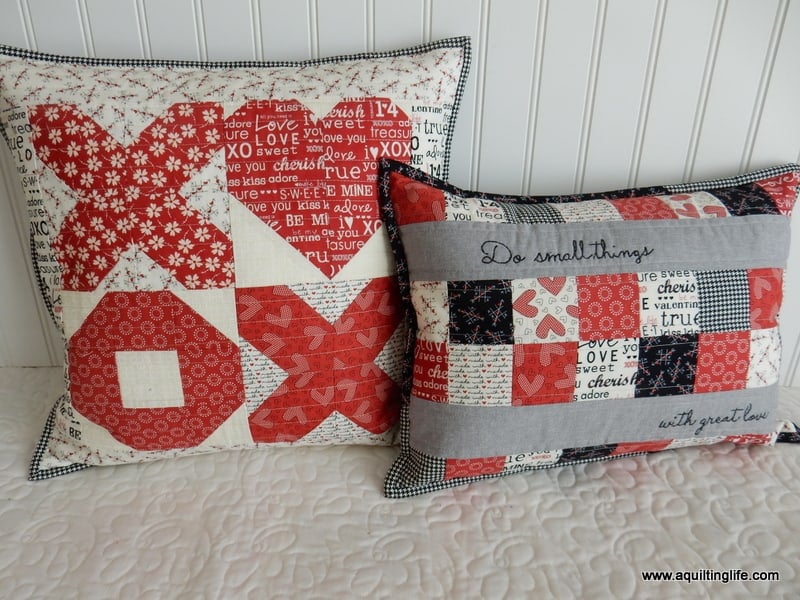
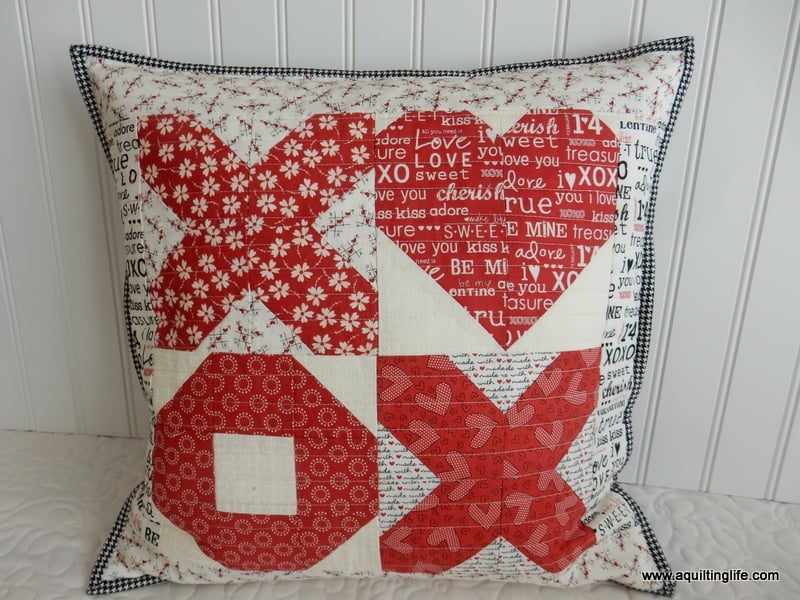
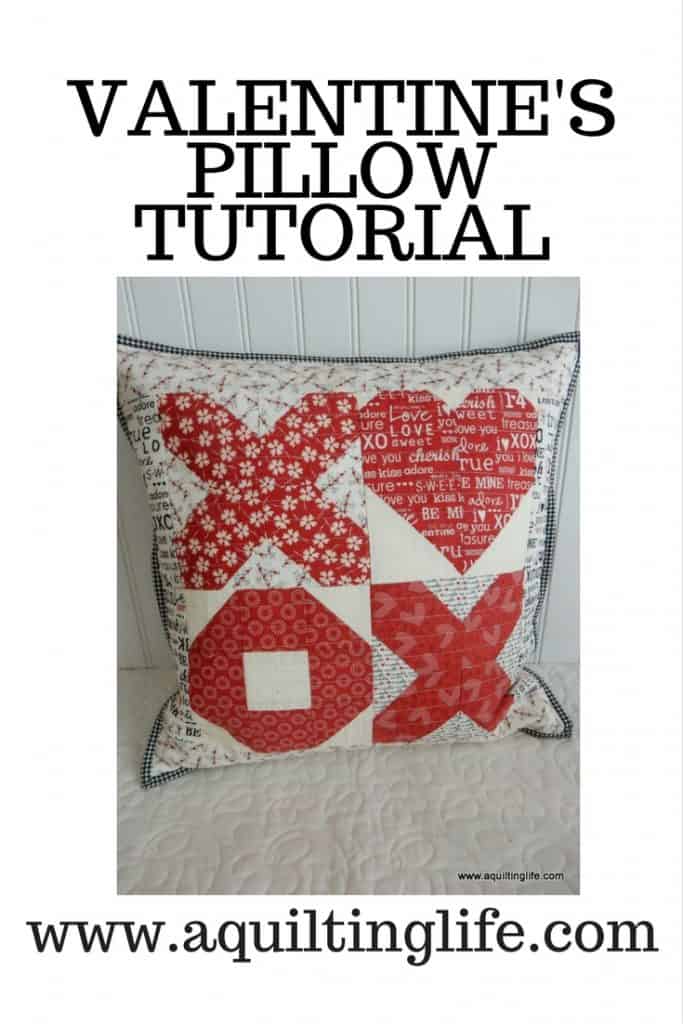
Valentines Pillow Tutorial
Thankfully, I was able to find my left over fabrics with lots of organizing and sorting, and my companion pillow is now finished! I thought it would be fun to share the directions for my X,O, and Heart Block pillow pictured above on the left.

(You can see the original post on last year’s pillow here–it’s a free tutorial by Amy Sinibaldi). The fabrics are from an older Sweetwater collection called First Crush. I actually added one print from their original Mama Said Sew collection in my new pillow…I went looking for another red to add in and found that one that matched just perfectly! If you are looking for fabrics available now to work with for this project, I found some really cute Valentine’s fabrics here.
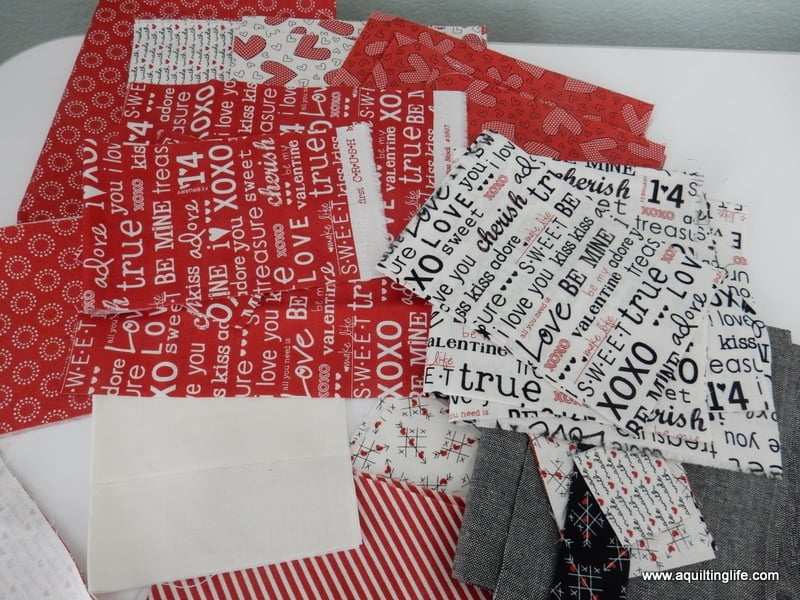
Fabric requirements for the Valentine’s Pillow:
For one Heart Block:
- Two rectangles print fabric 3 ½″ x 6 ½″
- Two squares background fabric 3 ½″ x 3 ½″
- Four squares background fabric 1 ¼″ x 1 ¼″
For one “O” Block:
- Two squares print fabric 3″ x 3″ for half-square triangles
- Two squares background fabric 3″ x 3″ for half-square triangles
- Four squares print fabric 2 ½″ x 2 ½″
- One square background fabric 2 ½″ x 2 ½″
The “X” Block (make two of these):
- Four squares print fabric 3 ½″ x 3 ½″
- 8 squares background fabric 2″ x 2″
Additional fabrics/notions for finishing:
- Two rectangles 2 ½″ x 12 ½″ for side borders
- Two rectangles 2 ½″ x 16 ½″ for top and bottom borders
- 2 strips 2 ⅛″ x WOF for binding
- 18″ long (or longer) zipper
- 20″ x 20″ batting
- 20″ x 20″ muslin for pillow front backing
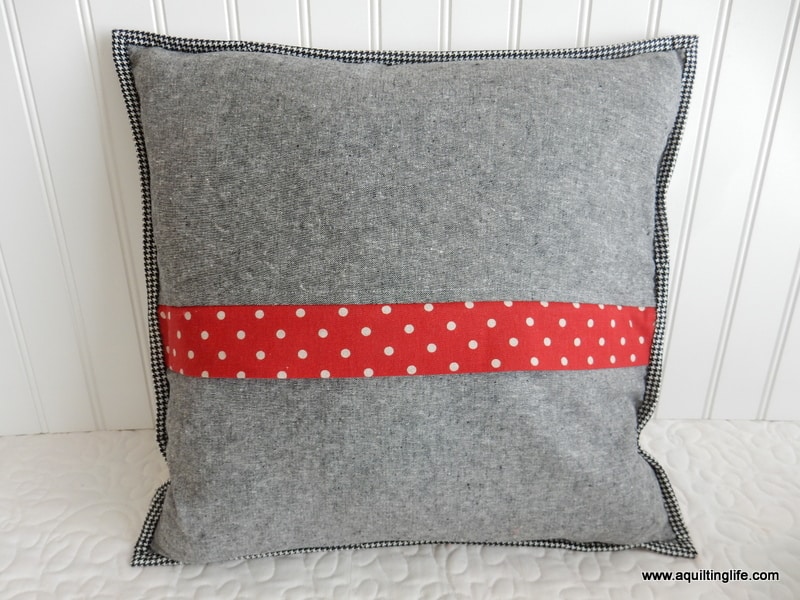
- Pillow backing fabric–I used two rectangles 8 ½″ x 17″ and one rectangle 4″ x 17″ and used this method to make a zipper pillow back with a flap. For an envelope pillow back use two rectangles 12 ½″ x 16 ½″ and see the directions below.
Make the Heart Block
1. Draw a diagonal line on the wrong side of each 3 ½″ X 3 ½″ background square and place right sides together with each 3 ½″ x 6 ½″ print rectangle as shown in the block diagram. Sew on the drawn line, press out, and trim (For more details, use the easy easy corner triangle method found here to attach the squares to the rectangles).
2. Draw diagonal lines on the wrong side of the 1 ¼″ x 1 ¼″ background squares. Add the 1 ¼″ x 1 ¼″ background squares to the top right and top left of each print rectangle as shown in the block diagram using the method above.
3. Sew the left and right sides of the heart block together. This block will measure 6 ½″ x 6 ½″.
Make the “O” Block
1. Use this method to make two half-square triangles from each pair of 3″ x 3″ print and background squares. You will need four half-square triangles that measure 2 ½″ x 2 ½″.
2. Assemble the four half-square triangles, the four 2 ½″ x 2 ½″ print squares, and the 2 ½″ x 2 ½″ background square as shown in the block diagram. This block will measure 6 ½″ x 6 ½″.
Make the “X” Blocks (directions for one block):
1. Use the easy corner triangle method you used for making the heart block to add 2″ x 2″ background squares to two opposite sides of each 3 ½″ x 3 ½″ print square.
2. Turn the four squares as shown in the block diagram to make the “X” block. Sew the squares together. This block will measure 6 ½″ x 6 ½″. Make two.
Assemble the Pillow Top
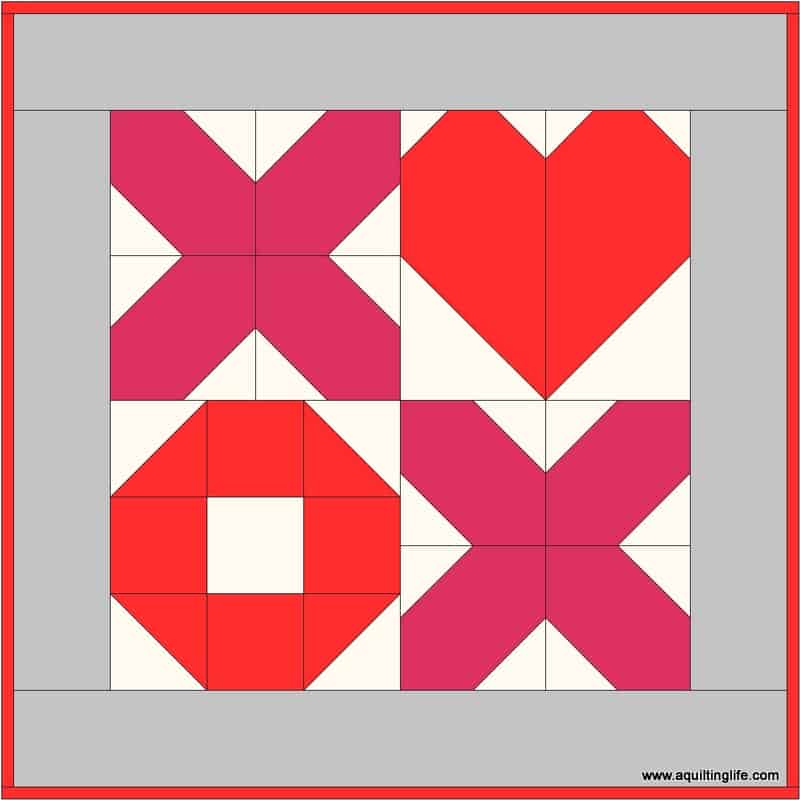
1. Sew the four blocks together as shown in the pillow diagram.
2. Add the left and right borders to the pillow center. Press out toward the pillow border fabric.
3. Add the top and bottom pillow borders. Press out toward the pillow border fabric.
4. Layer pillow top, batting, and muslin. Quilt as desired. I quilted horizontal straight lines about ⅝″ apart.
5. Trim pillow front to measure 16 ½″ x 16 ½″.
6. Use your desired method to make a pillow back (if you don’t want to put a zipper in, use two rectangles 16 ½″ x 12 ½″ for an envelope back. Turn under ½″ on one of the 16 ½″ sides of each rectangle. Place one rectangle right side down with the finished edge toward the center. Place the other rectangle on top, right sides down with the finished edge toward the center. Overlap these two rectangles so they measure 16 ½″ wide. Place the finished pillow top on top of these pieces, right sides up). Pin together or use Wonder Clips to hold everything in place. Sew the pillow front and the pillow back wrong sides together using a ¼″ seam allowance).
7. Bind the pillow with the prepared binding.
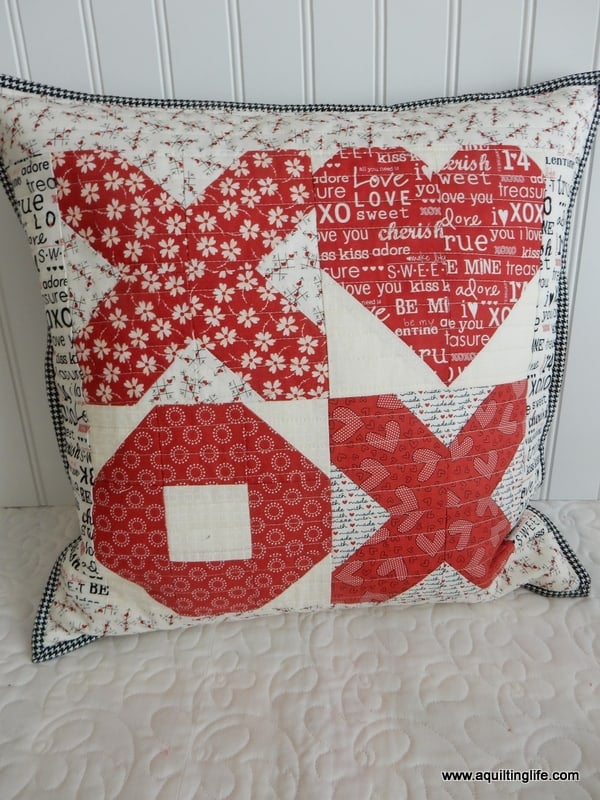
I’m pretty happy with how it turned out…is it too early to put out the Valentine’s Day decor?
I hope that you’ll have fun making one of these…thanks so much for stopping by for this Valentines Pillow tutorial!

Hildy says
It's so cute and pretty! Thank you for the tutorial and no, it's not too early to put the Valentine's decor out.
Monica says
Adding both projects to my list-SEW CUTE! I'm not sure I'll get both done (as i do sewing in pairs- one for me one for my daughter) and i do have the same charm pack and one other Valentine one too. Thanks for the tute! 🙂
Barbara Opett says
The pillow that says:” do small things with great loveL is that not Nancompany pattern by Amy??? Just wondering why you did not give her any credit for it. I love the pattern , it looks nice in Valentine colors also.
Tanya Quilts in CO says
Thanks for the tutorial! I needed a quick project this afternoon to distract me from my daughter going back to college today. I will be hand binding it tonight.
Karen says
I love the pillow. Thanks for the tutorial!
Melanie says
Super cute! Thanks for sharin the tutorial!
Little Quiltsong says
Beautiful Valentine pillows. Never too early to decorate. Thank you for the tutorial – I just might use them in a baby quilt :).
Mom of Three Quilter says
My birthday is on Valentine's Day so I am all about the celebration! I'm on the way to the quilting store for some V Day fabric! I'm going to to whip up a pillow this weekend! Thanks for such a great idea! I love your blog.
Mom of Three Quilter says
I've already made two of the pillows! One for my Mother and one for a dear aunt. I found the same fabric you used on your pillow, Sherri! I am going to go back and get more so I can make a pillow for me! Thank you so much for sharing and for the great tutorial! I put zippers in the back and the blog you share for learning that was so clear. Thank you! Thank you!
Hildy says
Thanks for the tutorial your heart pillow is super cute!
Terrie says
I’m working on this right now! Made two of the blocks yesterday. Fun.
Robin Preston says
Adorable!! Thank for sharin your talents with us. I’m really lookin forward to makin this.
Lynn says
Thanks so much for sharing how to make these sweet pillows!