Hello, friends. I hope you’re ready for the weekend. I know I am. We did more painting this week, and I filmed six new videos for you as well. So I’m hoping for some relaxation (quilting for fun)! The tutorial I’m sharing today came about because I filmed a video tutorial where bias binding was required. And then I realized I’d never shared my bias binding method. So I hope you’ll enjoy the Bias Binding Tutorial video here today. I’m also sharing my best tips for regular binding in this post as well.
Bias Binding Tutorial
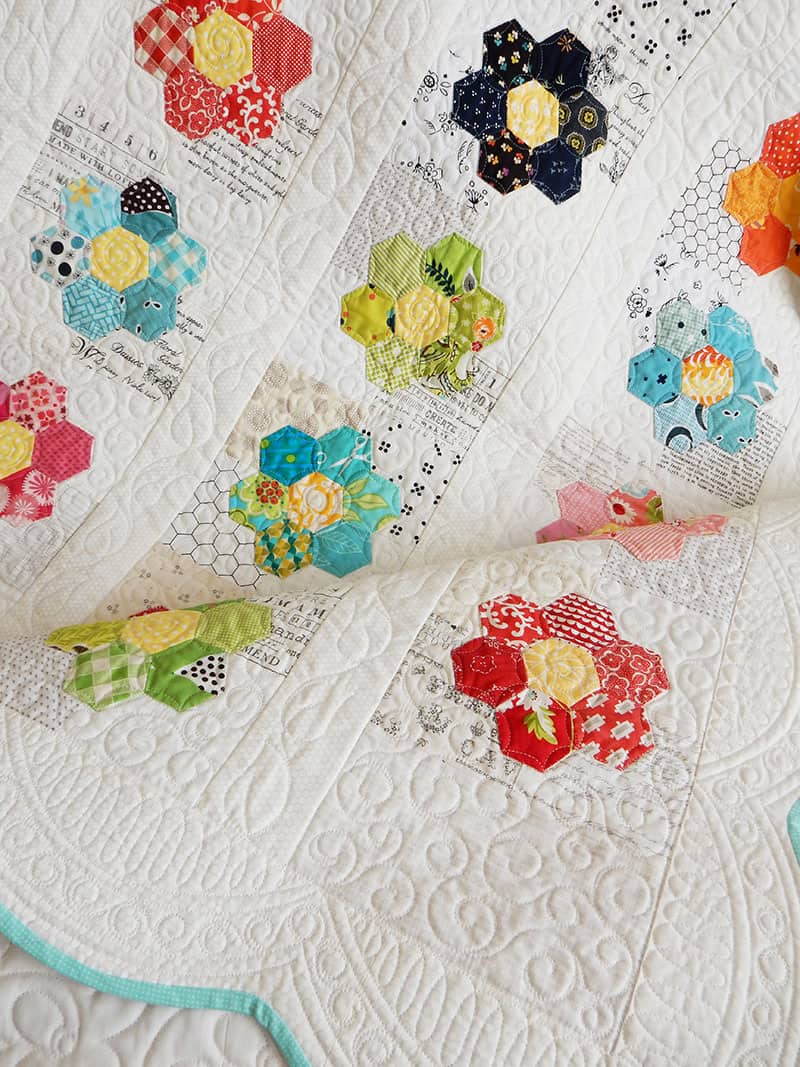
While some people use bias binding for all of their quilts, others try not to use it because of the extra work it requires. (I have friends who insist on only using bias binding because they feel like it is a stronger, more durable binding than a straight grain binding). But if you are binding curves (a quilt with scalloped or curved borders or some pot holders and bags), you’ll definitely want to use a bias binding. It will allow you to beautifully bind those curved edges without any wrinkles or puckers.
Bias Binding Video
Watch my bias binding video above or watch it on my YouTube channel here. And keep reading for more binding tips for straight-grain and bias bindings.
Straight-Grain Binding Tips
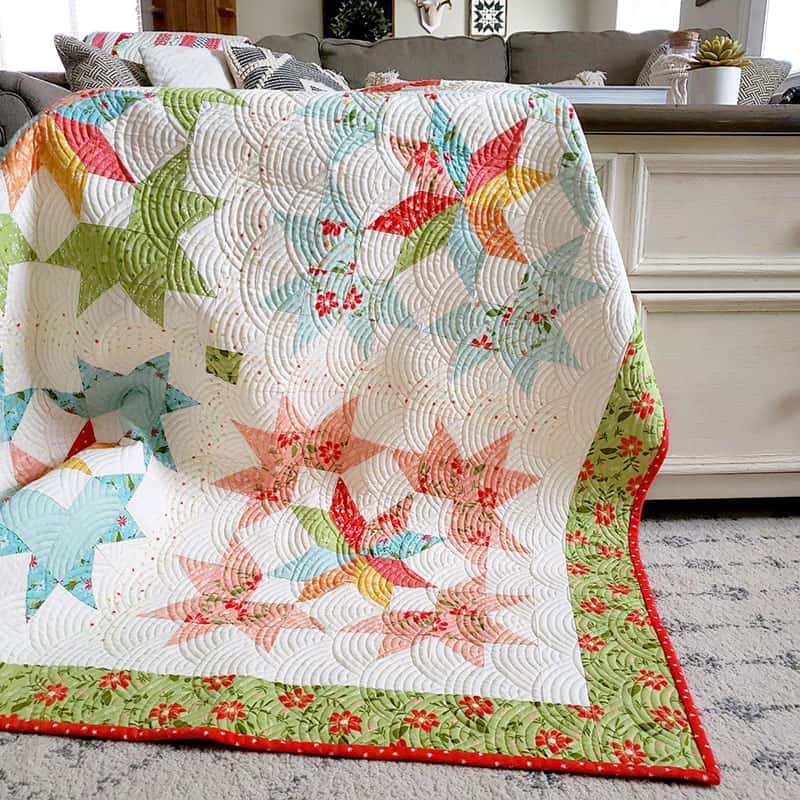
- First, if you struggle with adding binding to your quilt, you’ll want to watch my video binding tutorials where I share how to apply binding to your quilt. Watch part 1 here, and watch part 2 here.
- My favorite tip for binding is something my grandmother taught me. After machine stitching your binding to the right side of your quilt. Iron all the way around, pressing out toward the binding fabric. This will give a clean finish on the front of your quilt and ensure you don’t leave gaps on the front of the quilt.
- Another tip is to also hand-stitch your mitered corners together when hand-stitching your binding to the back of your quilt. This makes for a sturdier binding and keeps anything from catching the fold there and pulling on your binding.
Scrappy Binding
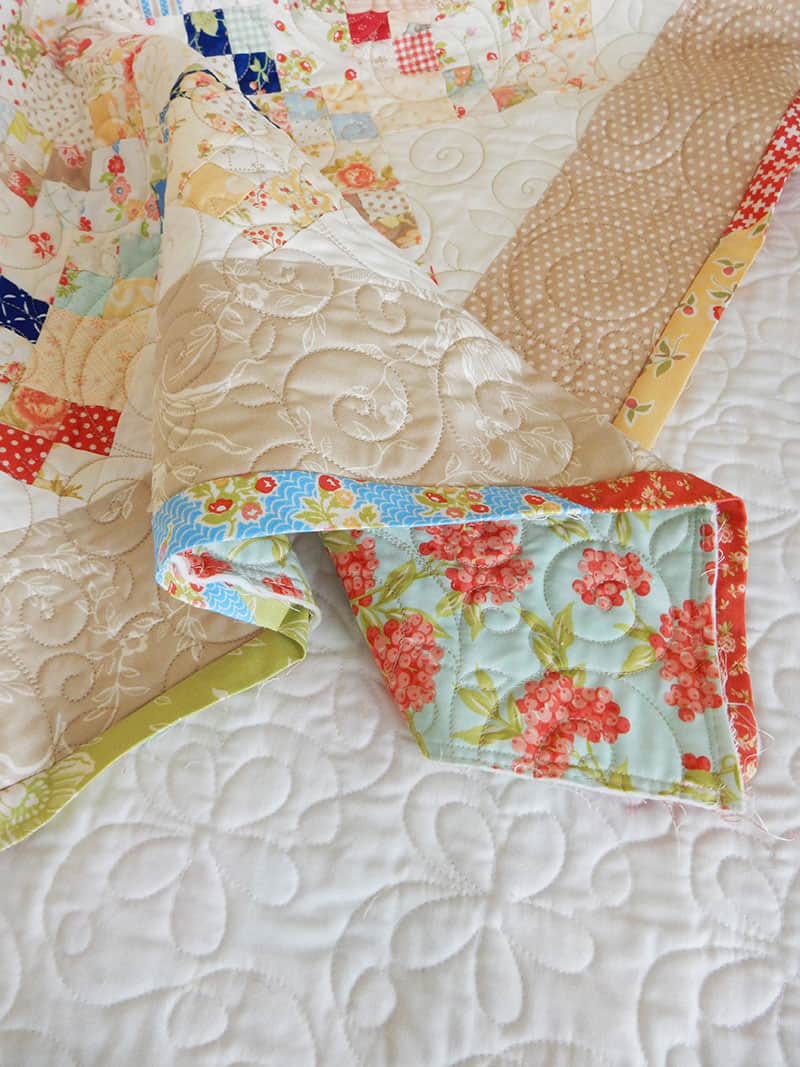
- I love a fun scrappy binding! Save extra binding pieces from projects in one place so you have ready-made bindings to sew together for scrappy bindings.
- For smaller projects and for small to medium size quilts I like to use pieces about 11″ long to make the scrappy binding. With a queen or king sized quilt you can use longer pieces. I just finished a scrappy binding for a king-sized quilt and used strips 20″ – 22″ long.
- Get more ideas on scrappy binding from this post.
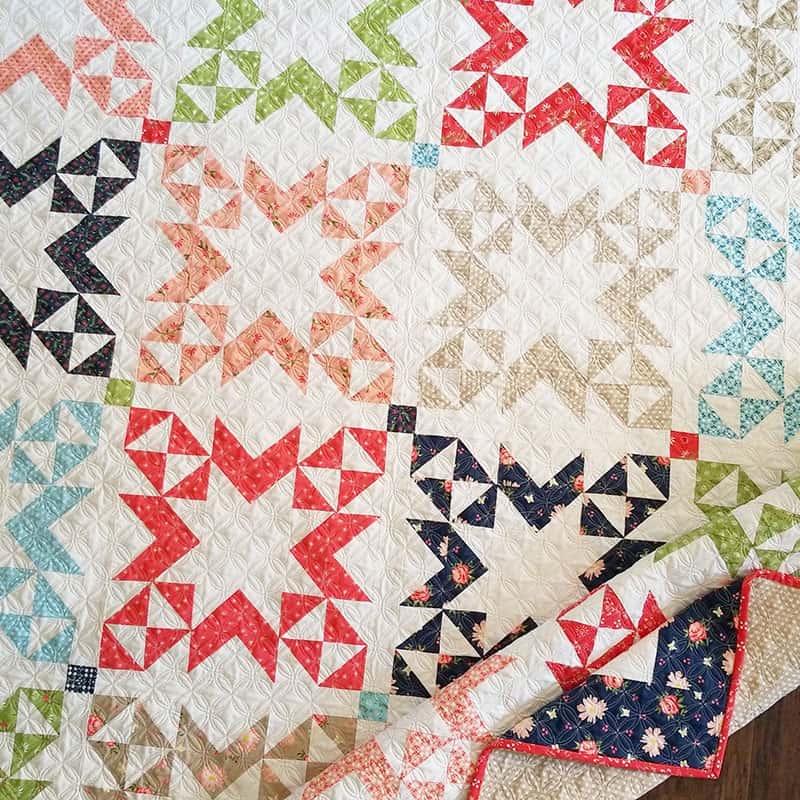
I hope you enjoyed today’s binding post and video tutorial. I can’t wait to share the projects I made that required the bias binding:)
Happy quilting, and thanks so much for stopping by!
PS…I uploaded a few kits for the Labor of Love Quilt Along (pre-orders that will ship in September). Get the information in my shop here.

Marsha Gibbons says
Thank you for this tutorial! I am a new quilter and I need all these tips and lessons!! Also, I wanted to thank you for your post regarding Block Heads 3, block 1. I am late to the party and just starting. I attempted the first block and it did not turn out right at all. I couldn’t find a tutorial or youtube instruction, but I found your post about stitch and flip. I tried it and success! I also used a lot of spray starch on the various pieces so they would stack nicely before sewing and I am pleased with the results. Thank you so much. I wish I could take in person classes with you. If you ever teach an on line zoom class, let me know!
Mary B Hibbert says
Thank you for a easy to understand tutorial on bias binding. It made the idea of bias binding less intimidating. I enjoy watching your videos.
Barbara says
When I made your “Harbor” pattern from the Moda All-Stars “Mix It Up!” book (a great book!) I really liked the red polka dot binding you used. So I searched for a red polka yardage that would go with my other red polka dot in the quilt (I had used leftover layer cakes). I’m so glad I searched because I love it! I’ll definitely use red again!
Thanks!
Cathy says
Today’s post is very timely as I am currently working on my Flowers for Emma, though it will be a while before I get to the binding stage.
Ann Casey says
Thanks for this binding tutorial! I really like that you cut your binding strips from the parallelogram rather tnan drawing a million lines and joining those edges off centre and making really awkward cuts in a circle with scissors. I take the yardage and slice through the entire thing to get my strip, but I am usually binding a big quilt with scallops when I’m after bias binding, so the resulting waste triangles are acceptable. Your method is a great compromise; no wasted fabric but no struggling with awkward cuts.
marsha wold says
I always look forward to your posts and enjoy your tutorials…been quilting for many years- but appreciate the clear way you show us how to do something new…thanks so much.
Connie J West says
Hi Sherri,
I love your tutorials. I am going to try to make your potholders and I have a question. What thread type and needle do you use when you hand bind? Also do you recall how much binding fabric was needed for a 16 square and an 18 square potholder. I want to make the bias binding but am not sure how much fabric is needed for the pair of potholders. I also love your fabric. Thank you for sharing all that you do to help us new quilters and all quilters.
sherri McConnell says
I use regular 50 weight Aurifil thread for binding. And I love the Primitive Gatherings Binding Needles for binding as well. I used 1/2 yard and had enough for three pot holders, I believe.