Happy Monday! Today I’m sharing a favorite how-to post from a few years ago. (This post was originally published in July 2015). I’ve also added a brand new video with even more ideas on my process for piecing and sewing a Scrappy Quilt Binding. I hope you’ll enjoy learning about this method for binding and have fun trying it out on your next quilt.
Scrappy Quilt Binding
If you have left-over binding bits and pieces from other quilt projects, you can sew together a pieced scrappy binding in a hurry. But even if you’re cutting strips from your scraps or stash, this is a great way to make a fun binding. The first couple of times I made scrappy bindings I was super concerned about what size to cut the strips. I even emailed some of my friends to ask what size strips they used. After finishing several quilts with scrappy binding, I have some definite preferences on strip sizes depending on the size quilt I’m working with.
Scrappy Quilt Binding Video
Watch my new video on scrappy binding above, or go here to watch it on my YouTube Channel. In the video I share even more details about what sizes strips to use depending on the finished size of the quilt you are binding.
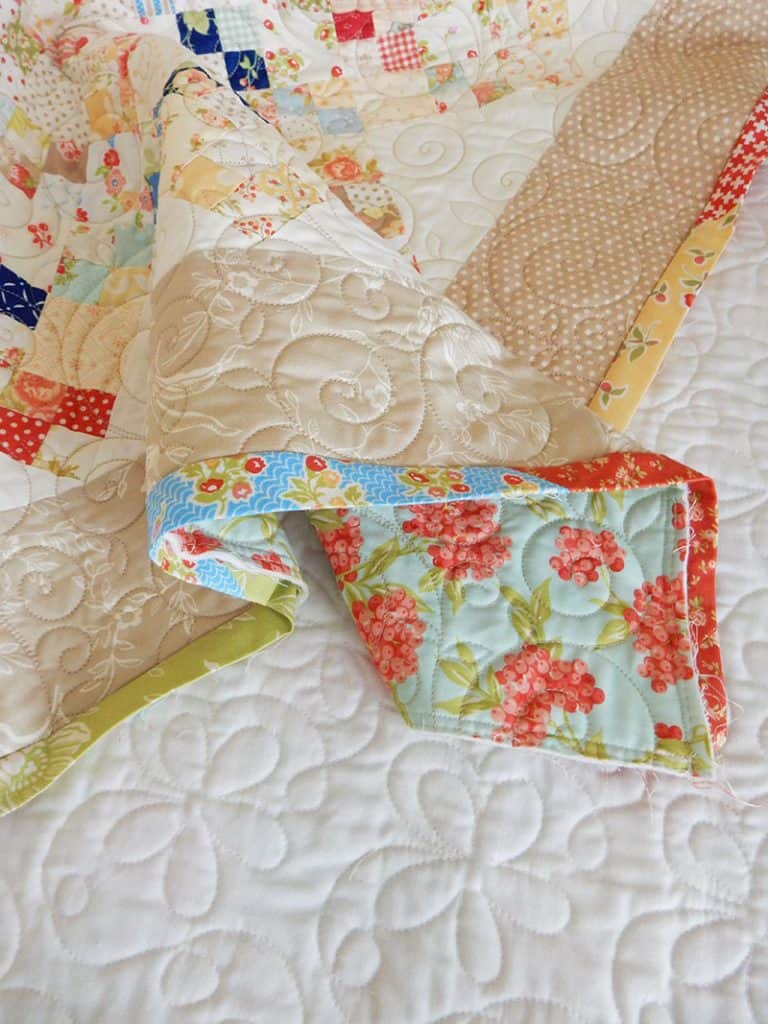
When to Use a Scrappy Binding
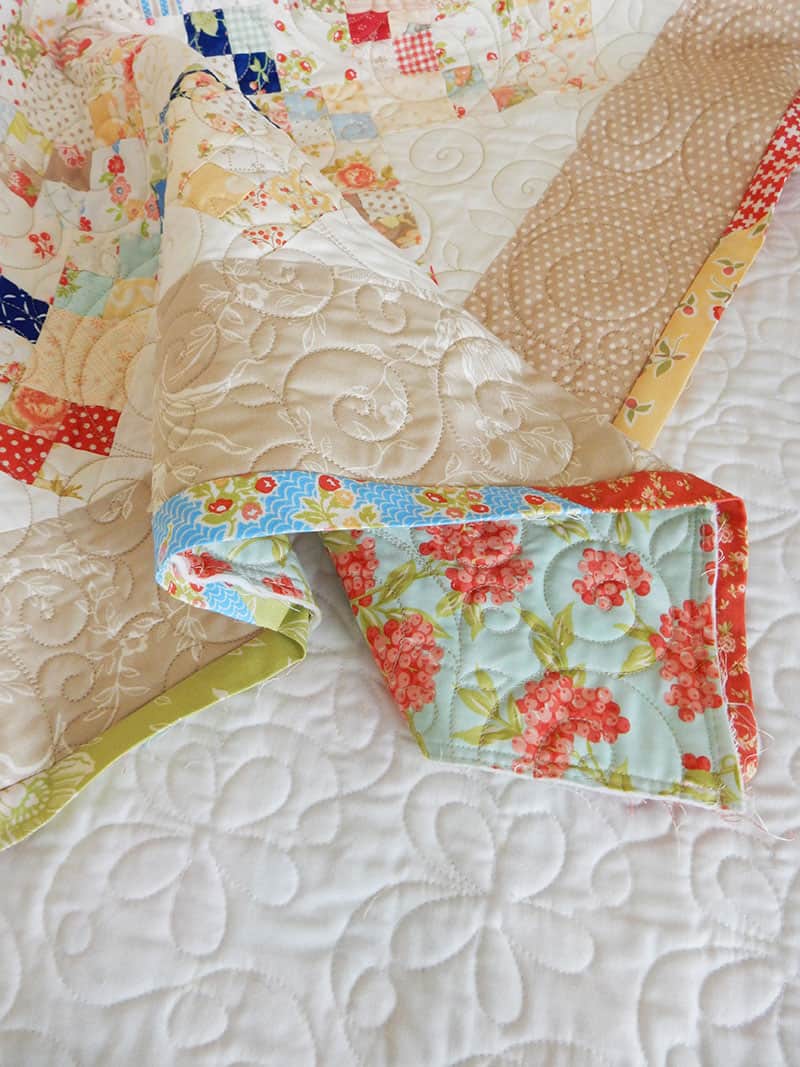
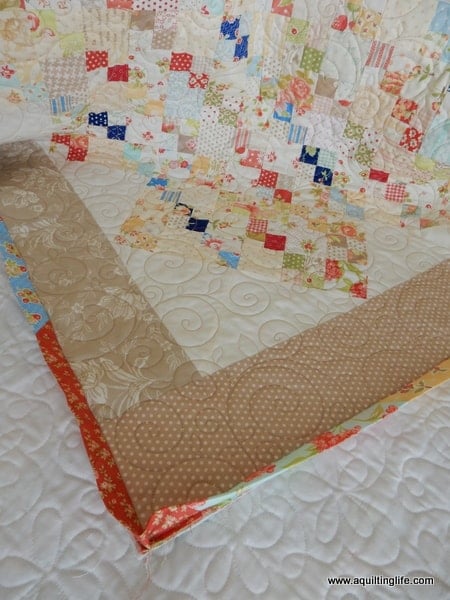
I generally use scrappy bindings when my outer border isn’t too “busy.” (Or when I don’t have enough of one fabric for a binding). With the neutral-colored outer borders on the quilt above, a scrappy binding was definitely a good option. (While you can make a scrappy binding with a variety of fabrics in one color family, multi-colored scrappy bindings are also a lot of fun).
Save Left-Over Binding Strips for Use in Scrappy Bindings
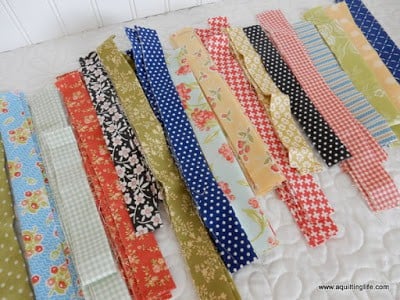
I keep all of my left over binding strips in a bin so they are easy to find when I need them. My first step in making a scrappy quilt binding is to sort and pull the ones I think I might want to use. For the quilt in this example I pulled out my favorites in Fig Tree collections. I even had extras I wasn’t sure I needed to use.
Strip Sizes for Scrappy Bindings
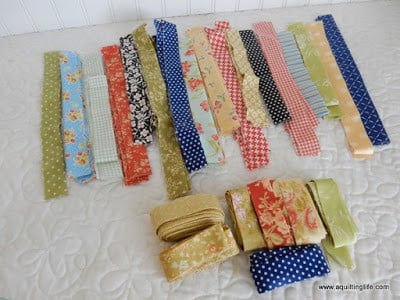
For this quilt (it’s king-sized), I cut all of my left-overs into lengths close to 11″ long. Most strips were right at this size, but some were a bit smaller and some a bit bigger depending on what I had to work with. I’ve also used strips up to 20″ long, though, for a king-sized quilt. (I talk more about strip sizes in the video). Next I put the strips into a row so that the colors were distributed evenly.
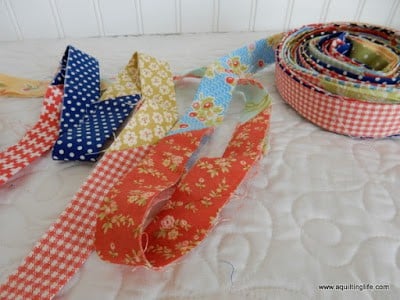
After putting all of the strips in piles, I began sewing them together with diagonal seams as shown above. As strips ran out in some of the piles, I shifted the piles a bit to keep contrast between the strips. Chain-piecing the strips together made the process go quickly.
Finishing + Some Quilt Math for Scrappy Binding
After trimming and pressing the new seams I rolled up the binding so it would be easier to manage while stitching to my quilt top. In the end I had about 50″ of left-over binding. (This makes a great beginning for a future scrappy binding).
In order to figure out how much binding you’ll need, measure the perimeter of your quilt. Then add 10″ for going around the corners. I also added an additional 25″ since there are so many seams in scrappy binding.
I was pretty happy with the look…so glad I went with scrappy for this quilt instead of with just one color or even with a scrappy version of one color.
Binding Tip…
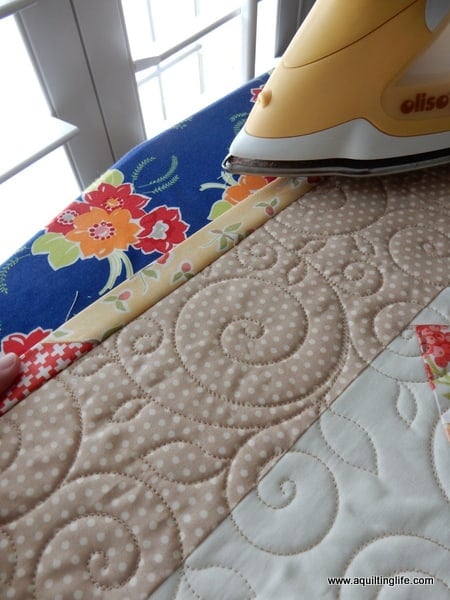
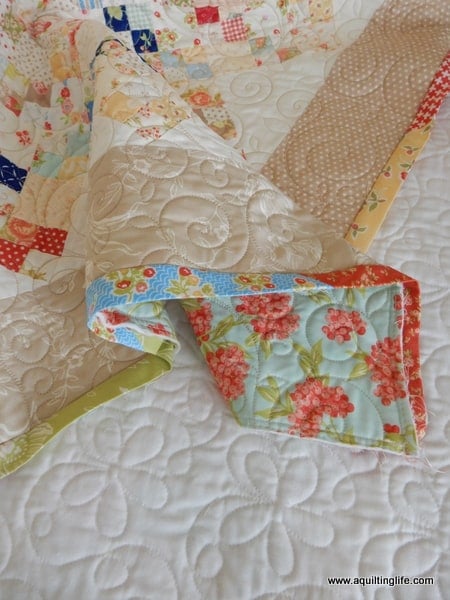
One of my favorite tips for binding is to press the binding out away from the outer border after I’ve machine stitched it to the quilt top. I do this before I hand-stitch it to the back of my quilt. My grandmother taught me this over 25 years ago, and it’s a step I never leave out. It really makes the binding look crisp. However, if you are using bias binding you can sometimes distort the binding when ironing. Always use care when pressing bias bindings.
More on Quilt Bindings
For more information on quilt binding, here are a couple of binding tutorials you can watch on my You Tube channel for even more information:
I also have an earlier binding post you might be interested in:
Hope this week is a great one…thanks so much for stopping by!


KathyinMN says
Very pretty. Great instructions.
Chrissy says
I have never thought of ironing binding before. Maybe I need to read your other binding posts.
I love a scrappy binding. Your quilt looks great.
Karen - Quilts...etc. says
I have never pressed it after sewn on but other than that I make my scrappy binding the same way. When I get done with my quilting this week and get the binding on I need to remember to try that step
Needled Mom says
I always press mine out too. The scrappy binding is beautiful on that quilt.
Rhonda says
I've never thought of ironing the binding! Good idea for my next quilt finish – thanks!
Hildy says
I love scrappy bindings! It gives a quilt a playfulness that wouldn't be there with an one-color binding. I know I'll use a scrappy binding on your Summer Sew-along quilt … I want it to be extra cute:-)
Judy says
I have only used two fabrics to make the binding but yours is so pretty! You have the most lovely scraps! I will ck out your binding tutorials. I have such a hard time doing the "tails" at the end. I cross them at the 45 but it's not tight enough. Maybe I need to leave 12 inches or more to do it. I usually have about 6" on each side. I just did one last night and has trouble. I can sew it straight without a problem but getting that 45 is hard. Thank you for the tips. I will try them. I sure enjoy learning from your blogs!!
Judy says
Just watched your binding tutorail. Thank you very much!! I will do this on my next quilt!!
jenni says
This is extremely helpful! Thank you!
chapman1531 says
I'll try NOT ironing….it'll be hard, as a 60 year old lifelong seamstress, it was drilled into me "sew, press, sew, press!"
Stacy says
I love scrappy bindings and use them quite often. The problem I have is not knowing how many inches I'm losing when joining on the diagonal. I don't like ending up with an odd sized strip at the end. Any tips?
Lynne Tilley says
Thanks for the ironing tip! I'm going to do that from now on. Makes sense to me!! Your quilt and binding are just awesome!
linda mcginley says
great idea , I just finished a scrappy quilt and was thinking what way to bind it .I will use all the strips left and bind it this way.