
Hello, and happy Monday, friends. I hope you had a nice weekend. We were home and busy, but also had some time for relaxing. Today I’m sharing How to Make an Envelope Pillow Back. This is a fast and simple way to finish a pillow. Late last week I made a pillow that called for this type of finishing, so I decided to film a step by step tutorial and also write this post.
How to Make an Envelope Pillow Back
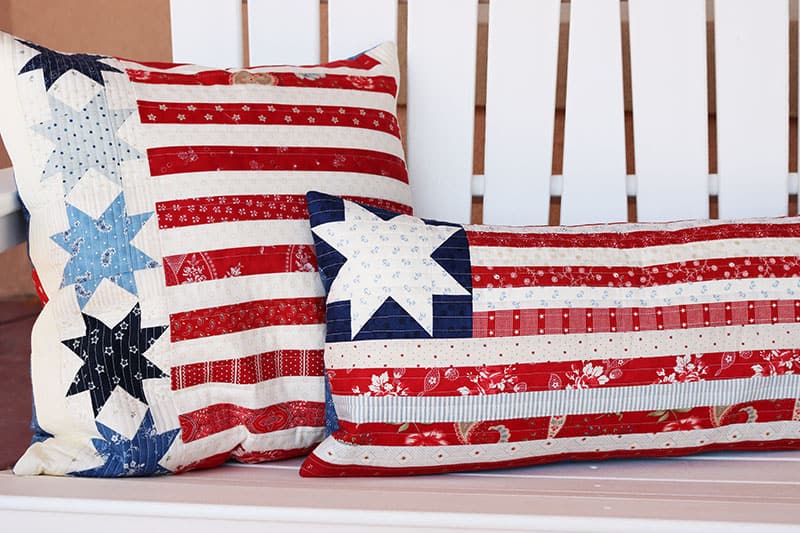
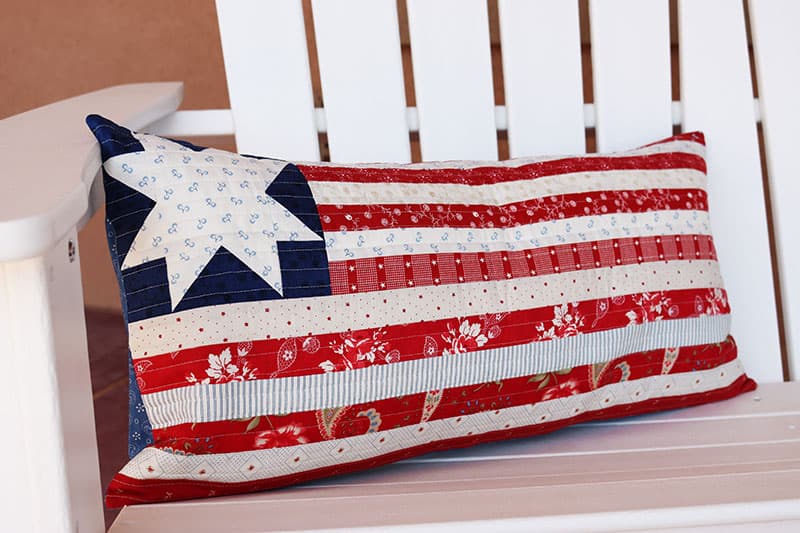
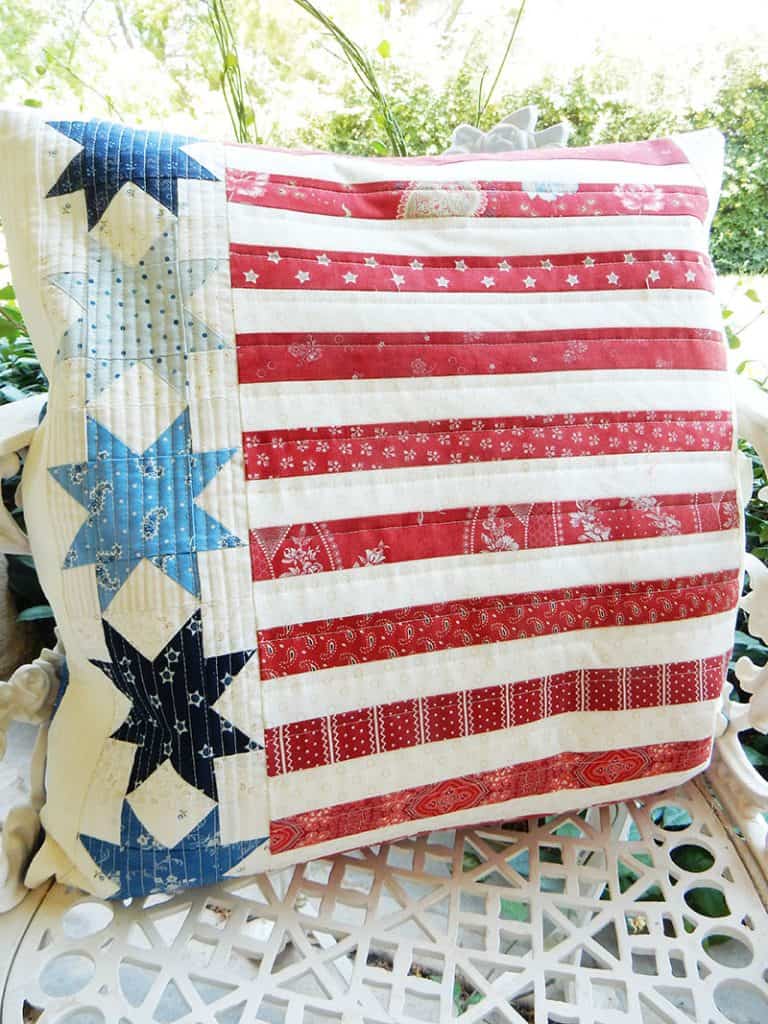
If you read this week’s Saturday Seven post, you might have seen the photo above featuring my last years stars and stripes pillow and the one-star and stripes pillow on the right I finished up last Friday. (Both patterns are free and can be found on this post). The pillow on the left is made from my Minick & Simpson scraps; however, the pillow on the right combines my scraps with a good amount of pieces from the latest Minick & Simpson group, Mackinaw Island (here).
Generally I like to add a zipper to my pillow backs and also finish the edges with a binding. But I felt like a binding would take away from both of these pillows since the focus should be the stars and stripes. I went ahead and put a zipper in the back of the square pillow without a binding (see my method for a zipper pillow back finishing here). And I decided on an envelope pillow back for the longer pillow I made last week.
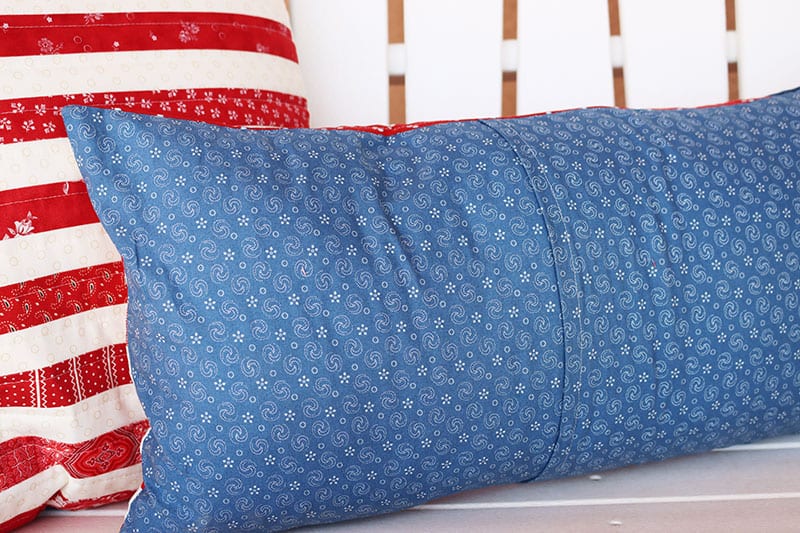
What is an Envelope Pillow Back?
An Envelope Pillow Back is created when you use two overlapping fabrics for the pillow backing. Each backing piece is sewn to the pillow front on three sides. The opening between the backing fabrics allows the pillow form to be inserted through the opening. While no fasteners are required, some people do like to add a snap or button to the back. My grandmother used to add a snap closure to her envelope pillow back openings, but I’ve found that if you overlap generously, the snap or button is really not needed.
Step by Step Video Tutorial
Watch my video above or here on my YouTube Channel to see exactly how I make my envelope pillow back.
Tips and Tricks
I share my tips and tricks for this type of pillow finishing in the video. Here are some of the key points:
- I finish the outer edge of each back section with a narrow hem.
- Use Clover Wonder Clips to secure the pillow back sections to the pillow front section while sewing.
- Sew from the front of the pillow and then double check the back to make sure all of the edges are securely sewn.
- Use That Purple Thang for making sure the edges are pushed out fully.
- You might also consider adding small pieces of batting to the pillow corners if you’re not happy with the way the pillow form fills the pillow.
- I got my 12″ x 24″ pillow insert for the one star and stripes pillow here.
I hope you enjoyed this quick tutorial on How to Make an Envelope Pillow Back. It’s a terrific way to finish up a pillow that doesn’t take a lot of time or require special notions.
Happy quilting, and thanks so much for stopping by!
Jan Weicksel says
Thanks for the video!! It is easier to make a pillow than I thought! And I love the flag block… so I will search my stash today and get started!
Margot says
So pretty, patriotic and inspiring!
Linda says
I look forward to your daily post. I’ll be using your star pattern pillows. Thank you!
Jackie Lohrey says
Great post as usual but more importantly my quilting like is spiraling out of control…I could really use that planner you’re teasing us about right now 🙂
KAT WALKER says
Love the Stars andStripes pillows! Can’t wait to make them!
Kat Walker