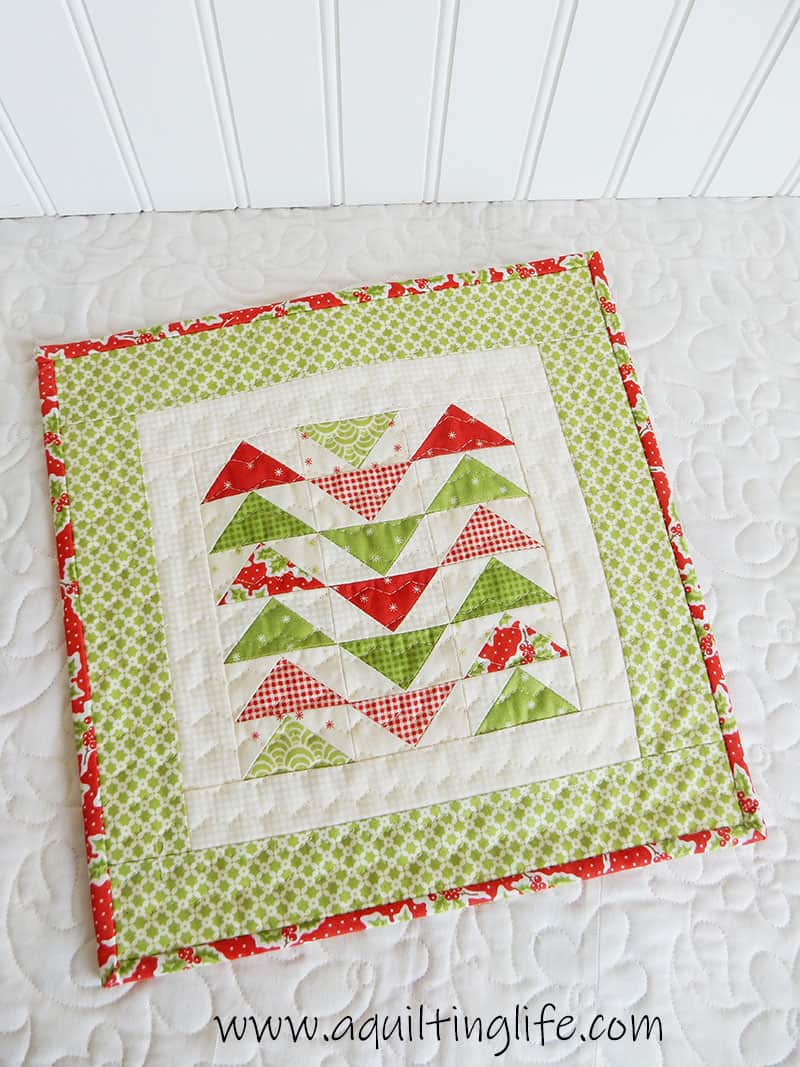
Hello and happy Friday! Today I’m sharing the second tutorial in my Christmas in July series! I loved making this Christmas mini quilt and hope you enjoy it as well! This little project makes a perfect mini and would also be great as a small pillow. You could even add another border or two to make it larger! My Christmas Mini Quilt actually started as a challenge to myself to use some left-over flying geese sections from another project. I was determined to use those extra blocks!
While piecing my Christmas Table Runner a few weeks ago I made several flying geese units that had the darks and lights reversed from what I needed for my star blocks. So I put these little units into a drawer to use for another project. I’m happy to say I was able to add just a few more flying geese to mix with them and create this project!
Make the Christmas Mini Quilt:
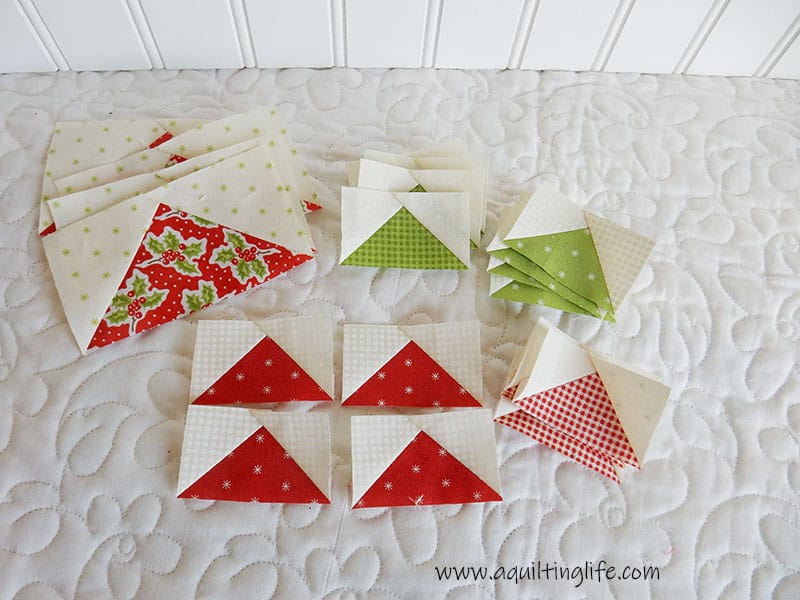
For the Christmas Mini Quilt you’ll need a total of 18 flying geese units (instructions will be at the end of the post). I used 9 red and 9 green flying geese with a few different backgrounds.
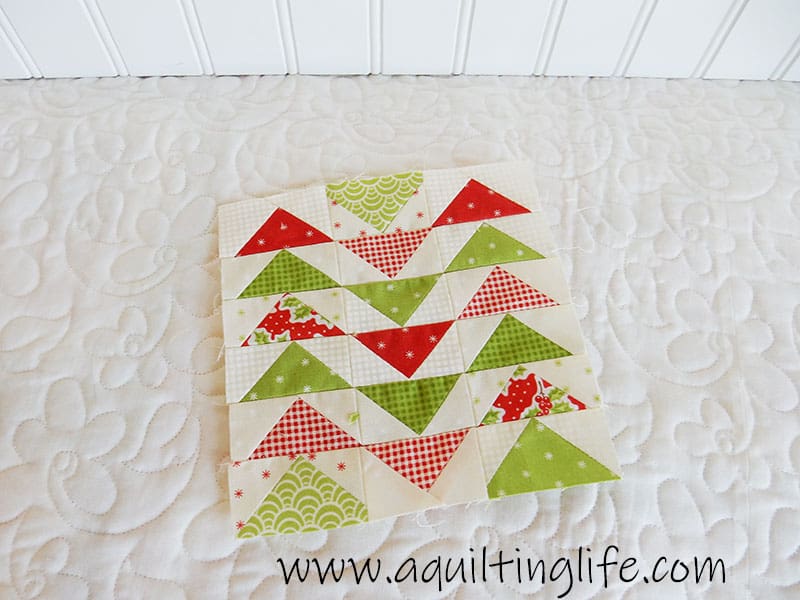
This is the Christmas mini quilt center section. Sew six rows of three flying geese each, alternating the positions and colors of each unit. Of course, you could definitely make this completely scrappy as well, and it would still be cute! Press the seams open between flying geese units and between the rows.
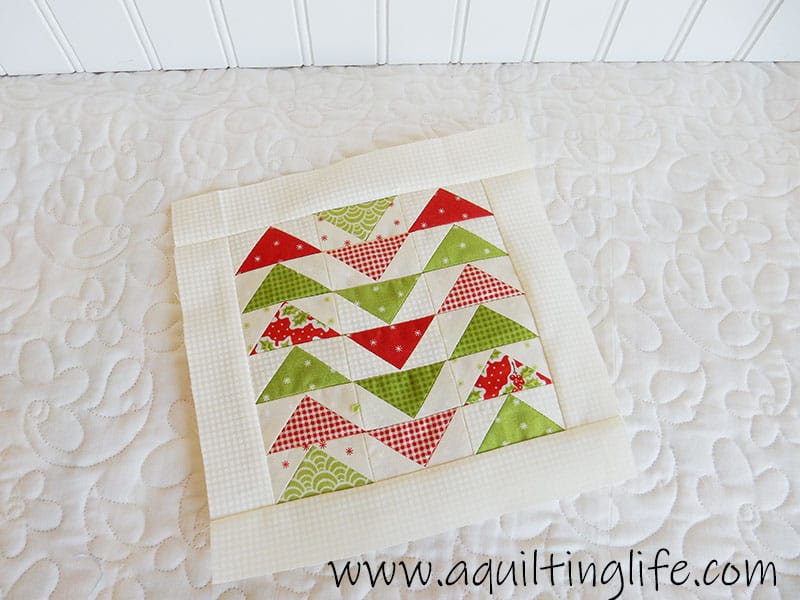
Next, add the side inner border rectangles to the flying geese center. Press towards the side rectangles. Then add the top and bottom inner border pieces, again pressing to the rectangles. I love the fabric I’ve used for the inner border (and some of the geese backgrounds). It’s a great neutral that will work well with other projects and collections.
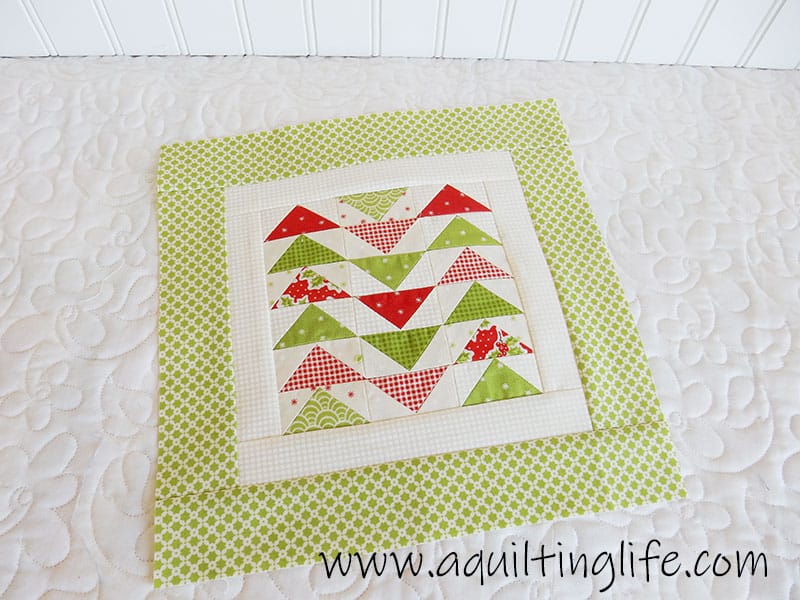
Next, add the outer borders. Add the side outer borders first, pressing to the outer border rectangles. Then add the top and bottom outer borders, again pressing toward the border fabrics.
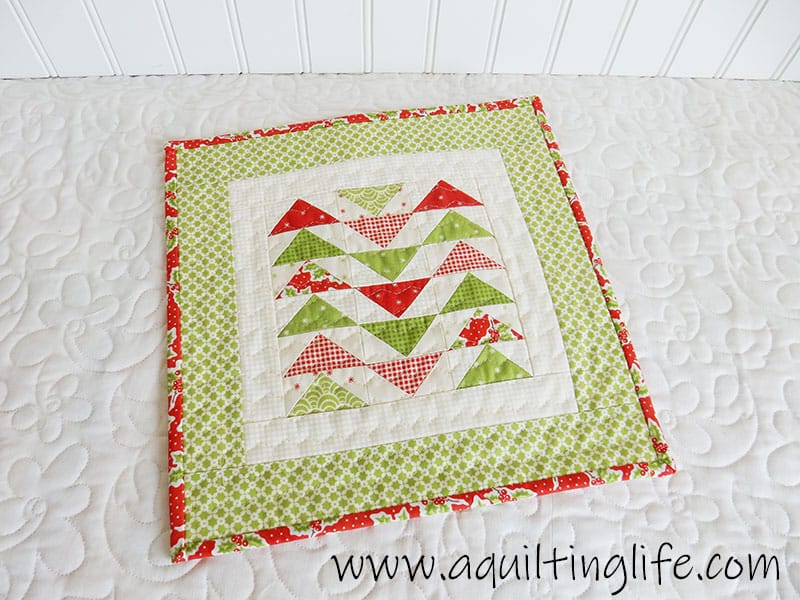
Next, quilt the Christmas Mini Quilt as desired. I quilted using a large, wavy zig-zag stitch on my Janome (stitch details below) and then added binding with my favorite print from the Christmas Figs collection. I just love how the Christmas mini quilt turned out! This pattern would be perfect in reds, whites and blues (is it too late to make that version for this year?)! And I also think it would be really fun in fall colors!
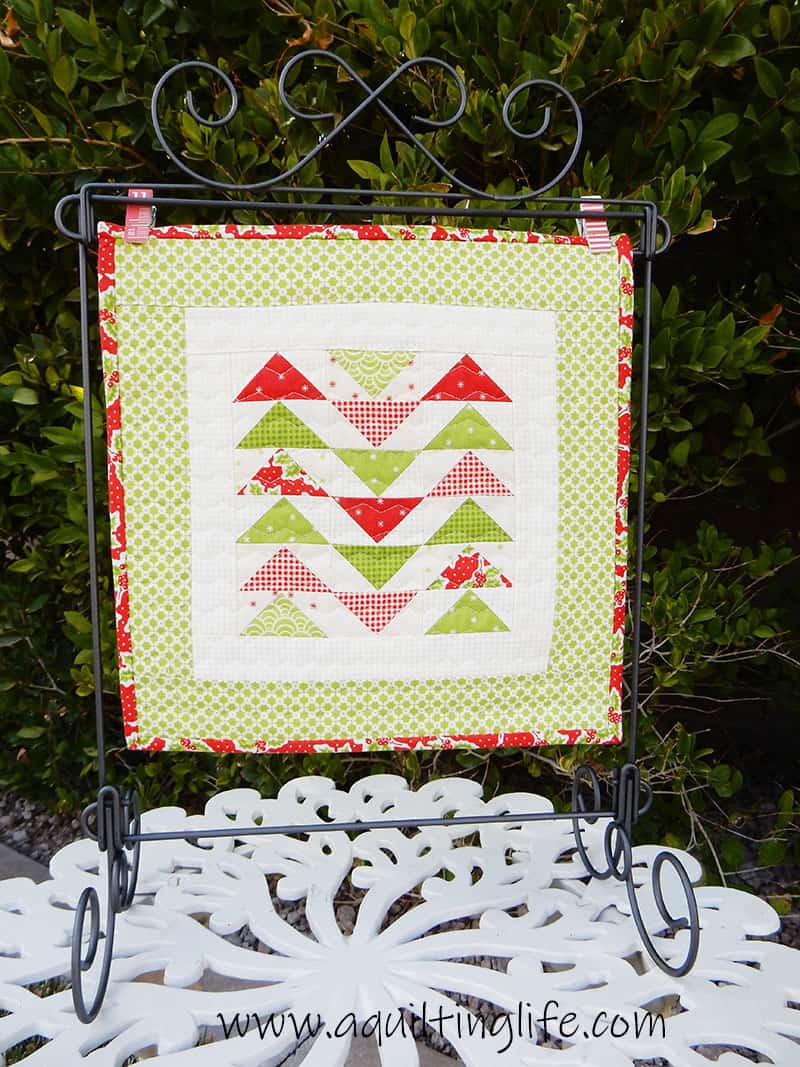
The Christmas Mini Quilt looks cute on this wire stand I got just a little while ago. I plan to make several minis for this stand and change them out seasonally! Okay…now on with the tutorial!
Materials for the Christmas Mini Quilt:
- 3 red charm squares
- 3 green charm squares
- ¼-yard background fabric for flying geese units and inner border
- ⅛-yard outer border
- ⅛-yard binding
- 16″ x 16″ cotton batting
- 16″ x 16″ backing fabric
Christmas Mini Quilt Cutting Instructions:
- Cut 9 red rectangles 1 ½″ x 2 ½″ from the red charm squares and 9 green rectangles 1 ½″ x 2 ½″ from the green charm squares.
- From the background fabric cut 36 squares 1 ½″ x 1 ½″ (you can use a variety of backgrounds for a scrappier look. Also cut 2 rectangles 1 ½″ x 6 ½″ and 2 rectangles 1 ½″ x 8 ½″ for the inner borders.
- From the outer border fabric cut 2 rectangles 2″ x 8 ½″ and 2 rectangles 2″ x 11 ½″.
- From the binding fabric cut 2 strips 2″ x width of fabric. (I really like using small binding for mini quilts. If you are nervous about using 2″ wide strips, try 2 ⅛″ or 2 ¼″).
Christmas Mini Quilt Piecing Instructions:
- Make 18 small flying geese blocks (9 red and 9 green) using the instructions from the Christmas Table Runner Tutorial part 1 here.
- Sew the 18 flying geese units together as shown above. the center section of the Christmas Mini Quilt should measure 6 ½″ x 6 ½″.
- Add the inner borders as shown above.
- Add the outer borders as shown above.
- Layer the Christmas Mini Quilt top, batting and backing and quilt as desired. (I used Stitch 9–a large zig zag–on my Janome Memory Craft 6600 and set the stitch width to 5 and the stitch length to 4).
- Trim the backing and batting.
- Bind using your prepared binding. (For information on binding see my two binding videos on my Videos page here).
You can easily substitute your favorite 6″ x 6″ finished block pattern for the center section of this Christmas Mini Quilt! There really are a lot of possibilities here!
I hope you’ll enjoy making this Christmas Mini Quilt! Thanks so much for stopping by!

gailss1 says
A great way to use up the left over flying geese and I love that they were put to something so cute. I do save all my extra geese and every once in a while will pull them out and think about what to make with these….I think a seasonal mini would be fun…?
Joanne says
I just love your work! How do you do it all!
Karen Dean says
Thank you so much for this tutorial, I just love it. I appreciate that you share so much. Karen
Jocelyn says
Very cute!
Hildy says
So cute thank you for the tutorial! Of course, I was nosy about your wire stand and found it here https://www.amazon.com/Ackfeld-87747-Scroll-Single-Stand/dp/B001MWV1PS/ref=sr_1_4?ie=UTF8&qid=1532098459&sr=8-4&keywords=wire+stand+quilt and the best is that they even have a shop on the German amazon site so I can buy one too:-)
LINDA says
THANKS SO MUCH FOR SHARING THIS NEAT CHRISTMAS IDEA!!!!