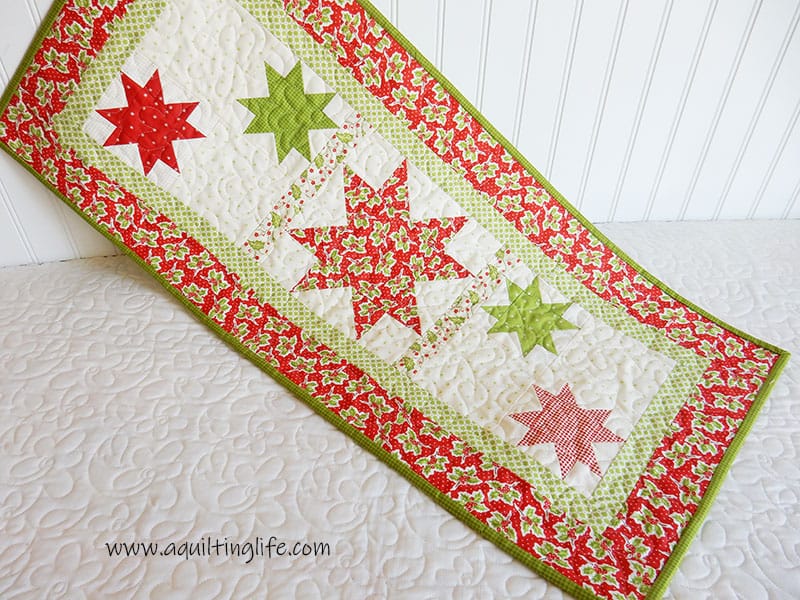
Hello and happy Friday! Welcome to part two of the Christmas Table Runner tutorial I shared last Friday. In last week’s posts I gave directions for the star blocks and for cutting out the rest of the pieces needed for the runner. This week, you’ll be able to quickly put everything together! This is such a fast and fun project that you could easily make several, assembly-line style, for gifts! Happy quilting!
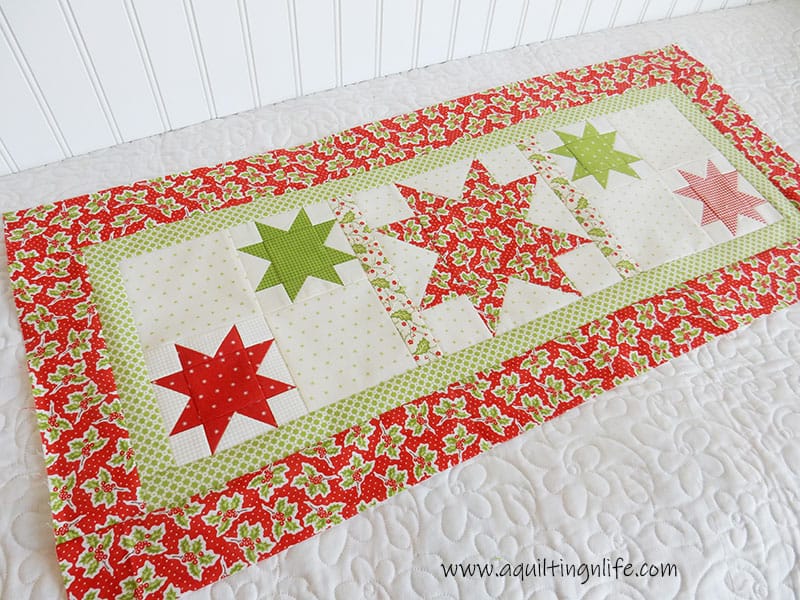
Create the Christmas Table Runner Center:
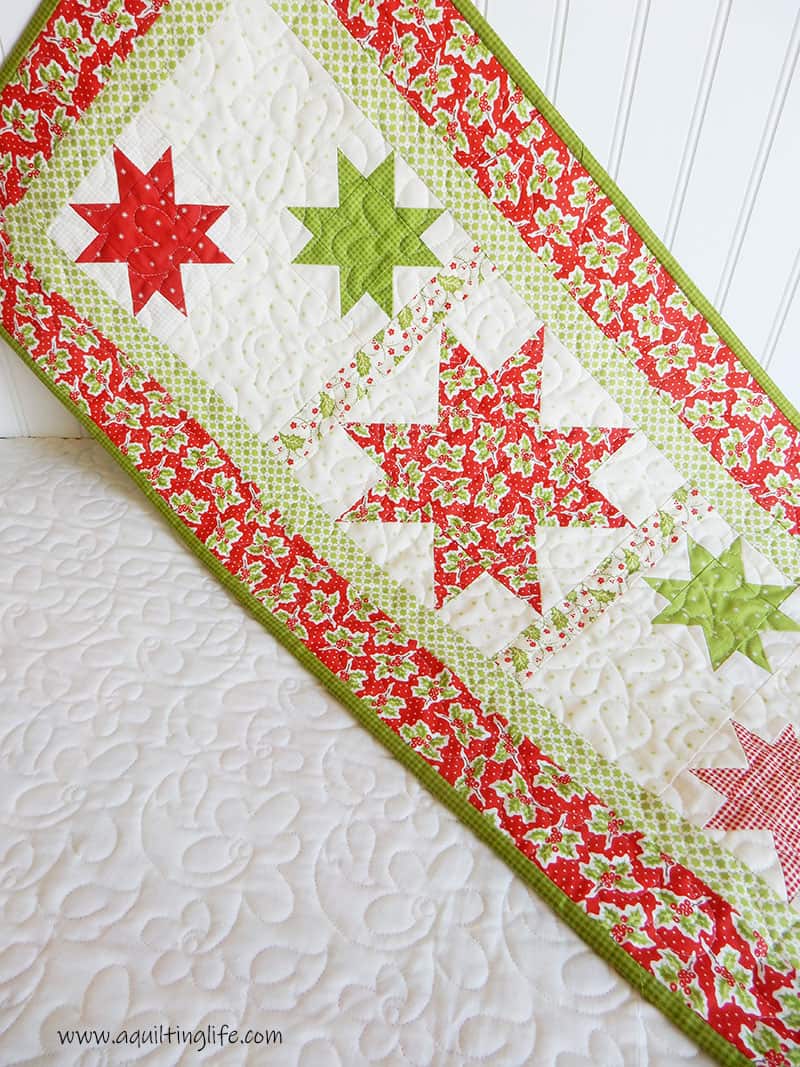
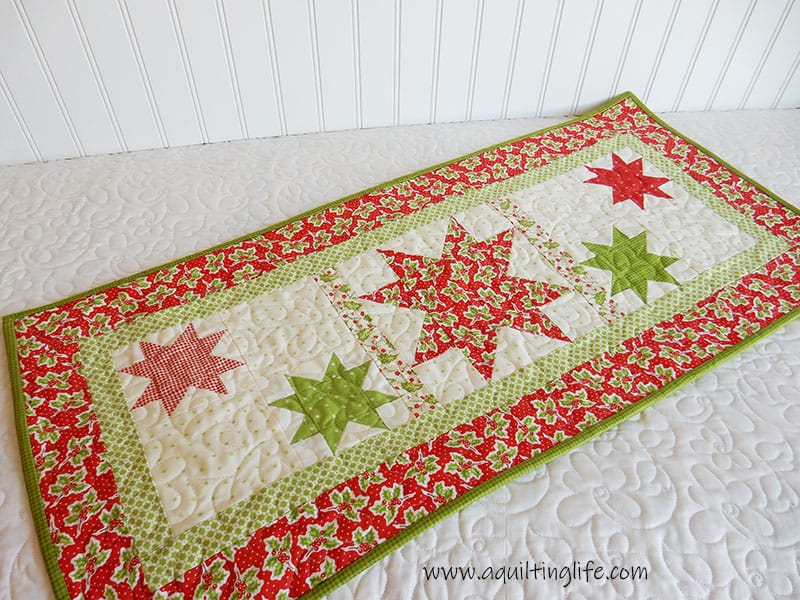
- Sew each small star block to a background square as shown in the photo above. Press towards the background fabric squares.
- Sew the small star background square units together to make two four-patch units. Note placement as above.
- Next, sew each small star/background square unit to a sashing rectangle. Press seams toward the sashing rectangles.
- Sew the large star in the middle of the two sashing rectangles. Press seams toward the sashing rectangles.
Add the Inner and Outer Borders to the Christmas Table Runner:
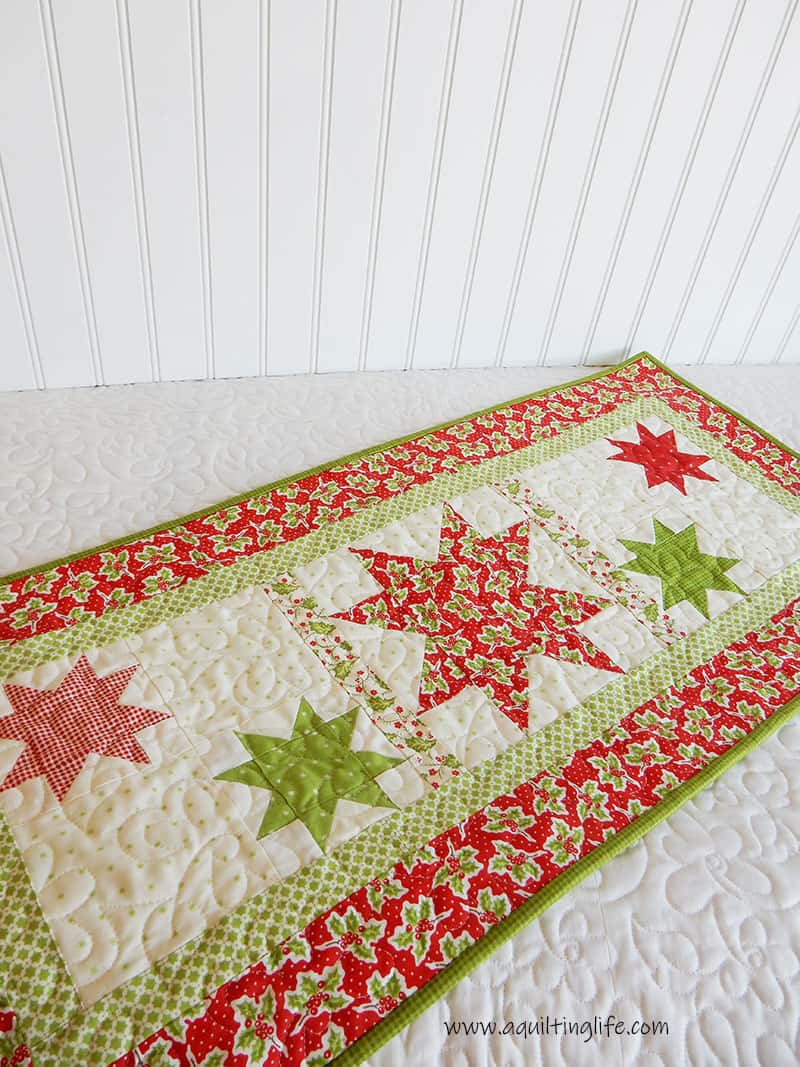
- Cut two strips 1 ½″ x 40″ from the inner border fabric. You will cut one side inner border rectangle and one top/bottom inner border rectangle from each strip.
- Cut two inner border rectangles 1 ½″ x 8 ½″ and add them to the left and right sides of the runner center. Press seams towards the inner borders.
- Cut two inner border rectangles 1 ½″ x 28 ½″ and add them to the top and bottom of the table runner center.
- Cut three strips 2 ½″ x 40″ from the outer border fabric.
- From one strip, cut the two side outer border rectangles at 2 ½″ x 10 ½″. Sew these to either side of the runner and press out towards the outer border rectangles.
- From each of the remaining two strips, cut a rectangle 2 ½″ x 32 ½″. Sew these to the top and bottom of the table runner. Press out towards the outer border rectangles.
Finishing your Christmas Table Runner:
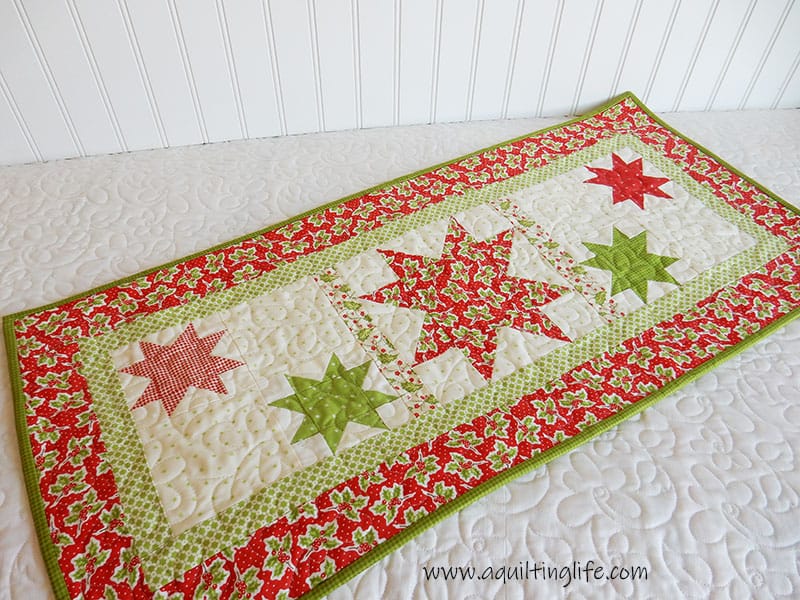
- Layer Christmas Table Runner top, batting and backing fabric and quilt as desired.
- Trim the excess batting and backing even with the edges of the runner top.
- Cut three strips of binding from the binding fabric (I cut my strips 2 ⅛″ x width of fabric because I like smaller bindings on smaller projects).
- Piece the binding strips together for length and make binding. (For additional information on binding see my two binding videos on my videos page here).
- Bind and enjoy your Christmas Table Runner!
- Additionally, if you’d like to purchase a PDF of these instructions, you can find one in my shop here.
Happy quilting, and thanks so much for stopping by!

gailss1 says
Really like this table runner and am going to try it out……thinking you could do in any holiday fabric and have all year long.
Thanks Sherri
Janice says
The table runner is beautiful! Thank you for the detailed instructions. I’m definitely going to make this one!
Vicki S. Winders says
This runner is wonderful. Would it be possible to give the fabric yardages needed in total, not just for the individual blocks pls? Many thanks.
Sharon Wood says
I really like this table runner. I made the stars last week and hope to finish up the runner this weekend. I would like to make several for gifts. Thank you for sharing your talent with us!
Hildy says
That’s so cute! I love that the stars kind of dance it givesa light and airy feeling. Thanks for the tutorial:-)
Gale says
I have my stars done and hope to be able to finish the top after the weekend. Love how simple but beautiful it is. Also looking forward to Friday again. Thanks for hosting the freebies.
Mary says
Love this Christmas table runner. What is the finished size of the table runner?
Sherri says
14″ x 32″…thank you for asking! I need to edit my post and add that in!