Hello, friends! Today I’m sharing Dresden Quilt Block Tips and Ideas. I love sewing Dresden quilt blocks and thought it might be fun to share some tips on these blocks here!
Dresden Quilt Blocks
Dresden quilt blocks are one of my favorite blocks to make. They are the perfect block to make when you want to use all of the fabrics in one collection, and they are also a terrific scrap quilt block. The Dresden block is also a pretty quick block to construct–looking much more complicated than it really is!
Tips for Dresden Blocks
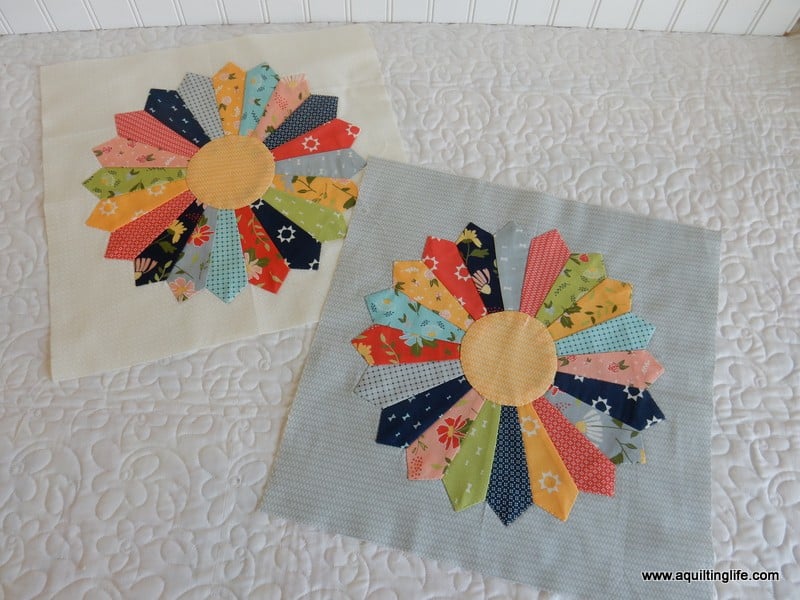
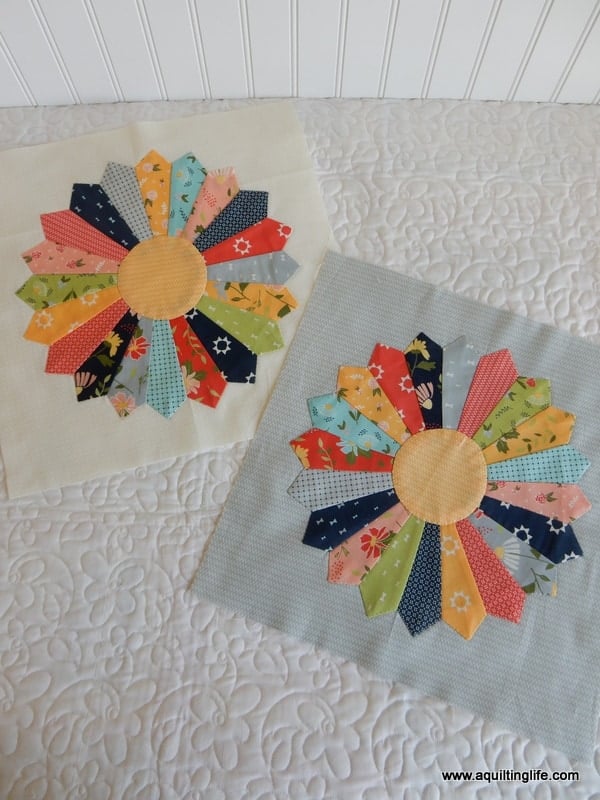
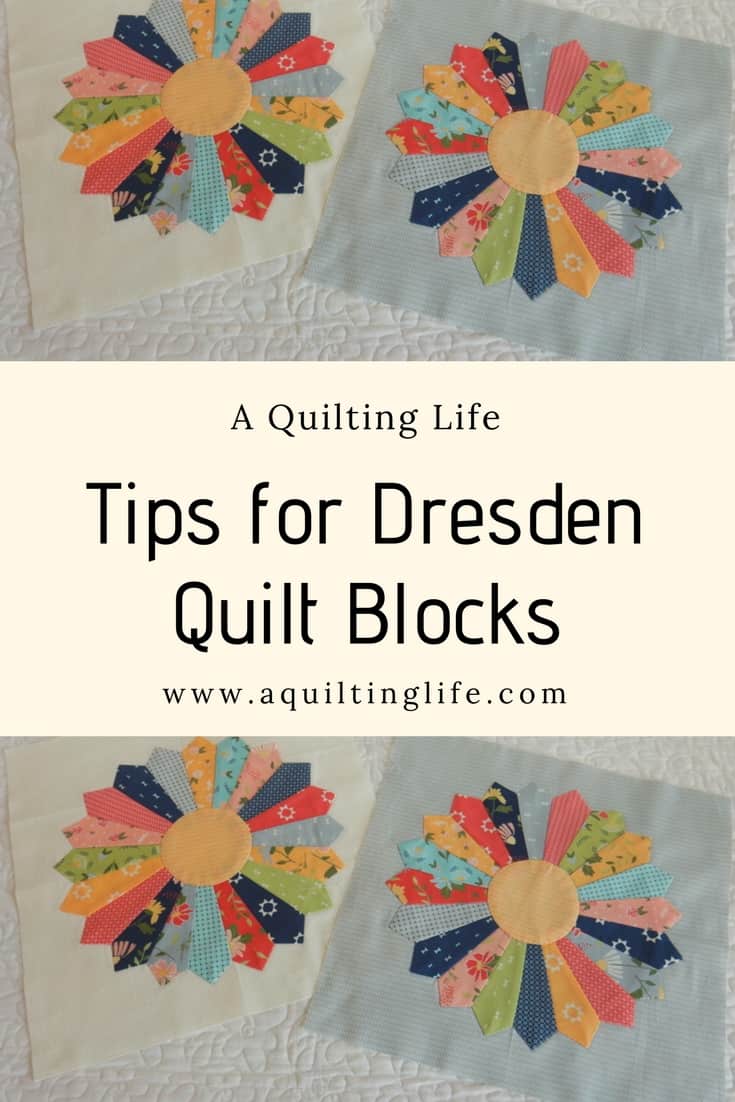
First, decide the size of your block and blades. (My Clover Hollow Dresden blocks above were made using 5″ tall Dresden quilt blades. I used 15″ x 15″ background squares and will trim them down a bit smaller to use for pillow fronts). I really like using the 5″ tall blade for a couple of reasons:
- Using this size blade makes a Dresden that is the perfect size for a 12″ finished block.
- And using this size blade makes it perfect to use charm squares and jelly roll strips for cutting. (Jelly roll strips can be cut into 5″ lengths and are just wide enough for the Dresden template to fit).
- I love using the EZ Dresden Ruler for cutting all of my templates.
Small Dresden Blocks
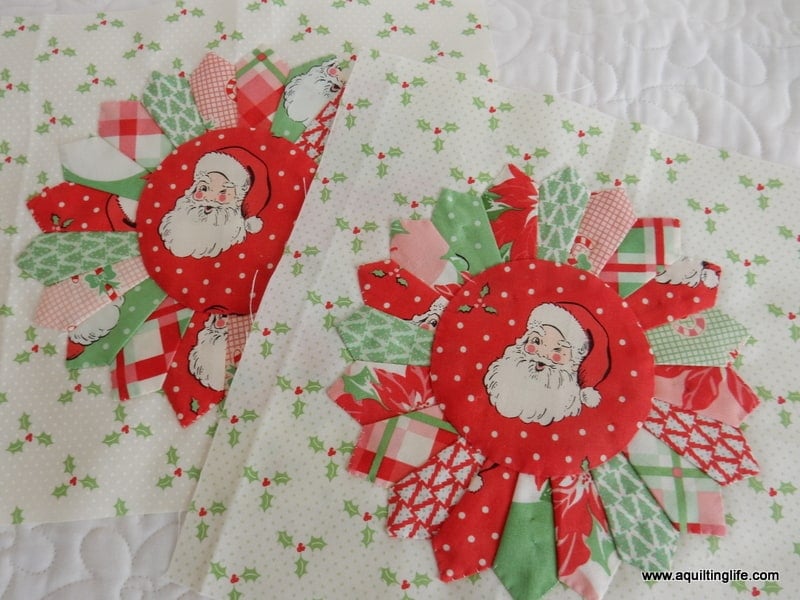
Dresden quilt blocks are cute even when using the smallest of blade sizes! (These blocks are from my Swell Christmas quilt using my Pot Luck quilt pattern). I love the way the center circles can also be fussy cut to show off a particular print as I did with the Santa fabric above. I use the Bigger Perfect Circles templates or freezer paper for making my center circles.
Dresden Block Background Ideas
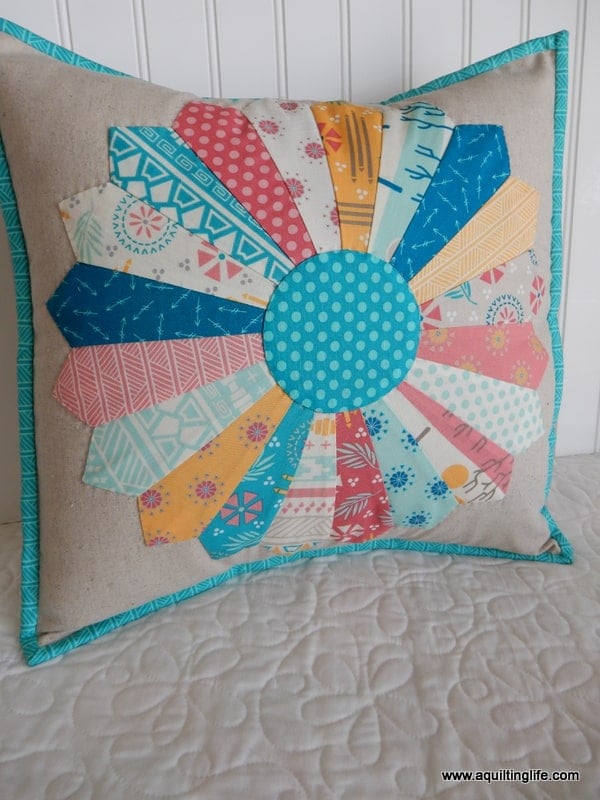
Another thing I love about the Dresden quilt block is that you can really have a lot of fun with background choices. I used a Mochi Linen background for this Dresden block pillow I made with our Bright Sun collection back in 2015. The linen provides so much extra texture! Low-volume prints are another terrific option for Dresden Block backgrounds.
I experimented with my Clover Hollow Dresden quilt blocks by using two different background fabrics. And I ended up liking both of them. I plan to make both of these blocks into pillows for now and then make a scrappy quilt using a variety of different backgrounds later on.
Tips for Making Dresden Quilt Blocks
- Use this block to use fabrics from one collection or from scraps
- After deciding on a blade and block size, cut all of the fabrics for your blades into the desired blade length before cutting (5″ length pieces for 5″ blades)
- Jelly roll strips and charm squares work perfectly with 5″ blades
- Clover Applique’ pins work wonderfully and this Glue Baste It is my favorite if you want to use small dots of glue to hold pieces in place. (if you are new to applique’ the Applique’ Basics Starter Kit is a good one)
- Experiment with fussy-cut and fun center options
- Experiment with different background fabrics–even in the same quilt
- Watch the video tutorials below for more ideas
I have two different video tutorials that go over the entire process of making these blocks. In the first video you’ll learn tips and techniques for how to cut the Dresden blades and assemble the basic unit.
The second video goes over making the perfect center circle! If you are making your first Dresden quilt block, I highly recommend watching both videos.
I’m planning to get at least one of these blocks finished up into a pillow right now. If only I could pick a favorite!
Happy quilting, and thanks so much for stopping by!

Hildy says
I love dresden plates too they are fun to make and oh, so cute!
Little Quiltsong says
Love your Dresden Blocks, and I can see how hard it is to decide on these two backgrounds. Love your rich fabrics in these and the lovely buttery yellow centres – so pretty! Thank you for your tips and sizes you have used. Makes me want to drop everything and just sew Dresden’s today :)!
Gwyn Welliver says
I’ve made cute little Dresdens by hand with 2 1/2 inch squares and a tiny template. It was a fun travel sewing project. The Dresden plate is my mom’s favorite block. 🙂 Your Clover Hollow blocks are super cute.
J says
Great tutorial. I could not tell for sure if, on the tip of the blades, you also pressed those seams to the side, or did you press them open to distribute the bulk? Thank you.
Sherri says
Hi! I actually do press those to one side. The bulk hasn’t seemed to be a problem.
Happy Quilting!
Sherri