Hello and happy Thursday! I don’t usually post on Thursdays, but since yesterday was Moda Block Heads Day, I moved the Minis and More post to today! Today’s post features some absolutely wonderful mini Barn Block quilts and projects! I just love these…and I might warn you that they can be a little addictive! Once you make one, you’ll be thinking of all of the others you can make in different fabrics!
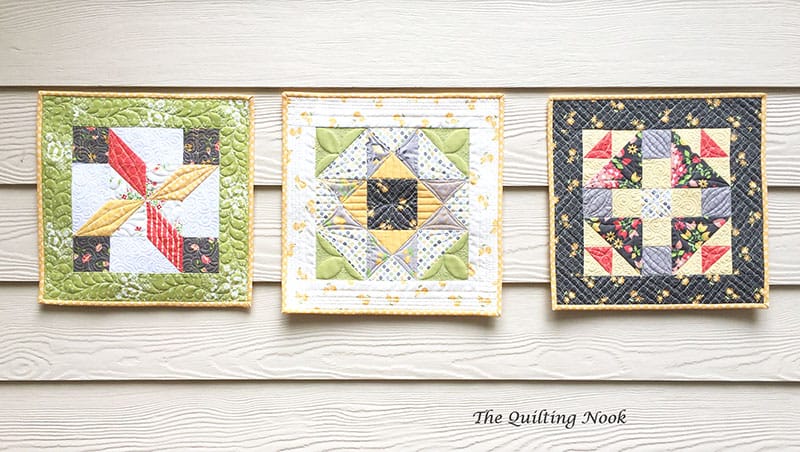
First, I’m sharing Brenda’s lovely Barn Block Mini Quilts! Brenda used a variety of fabrics by Corey Yoder for her blocks and did free-motion and ruler quilting using her domestic machine! You can see more on Brenda’s blog here.
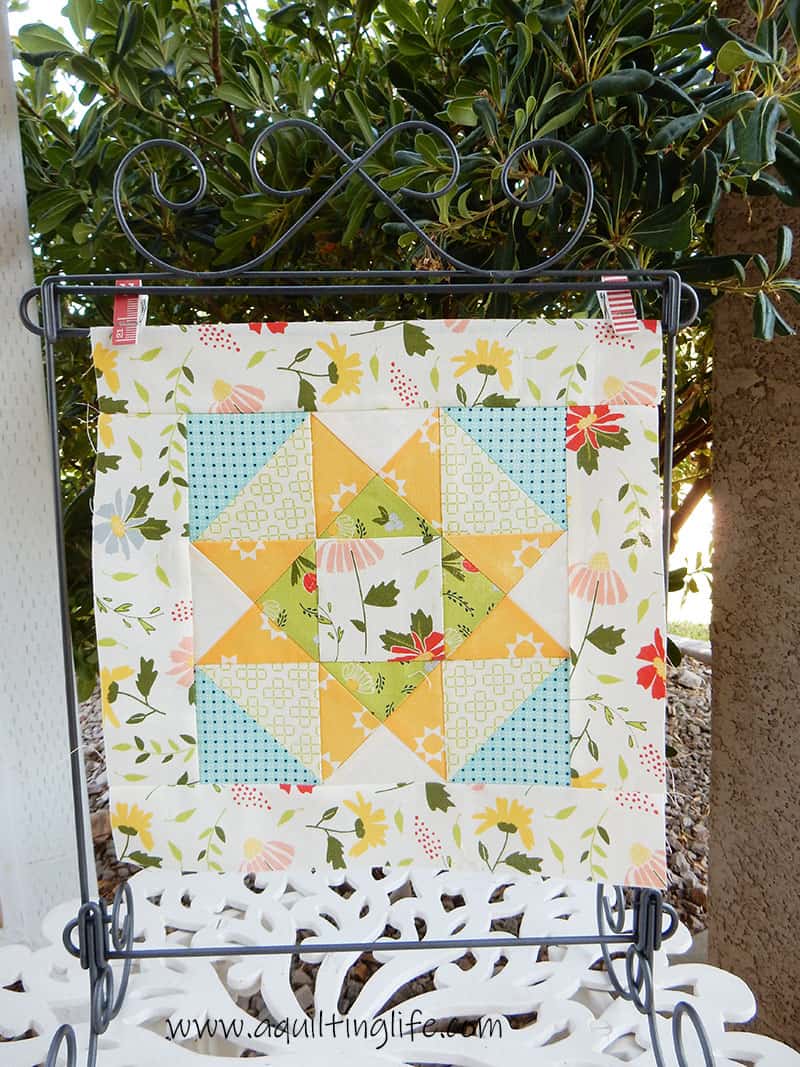
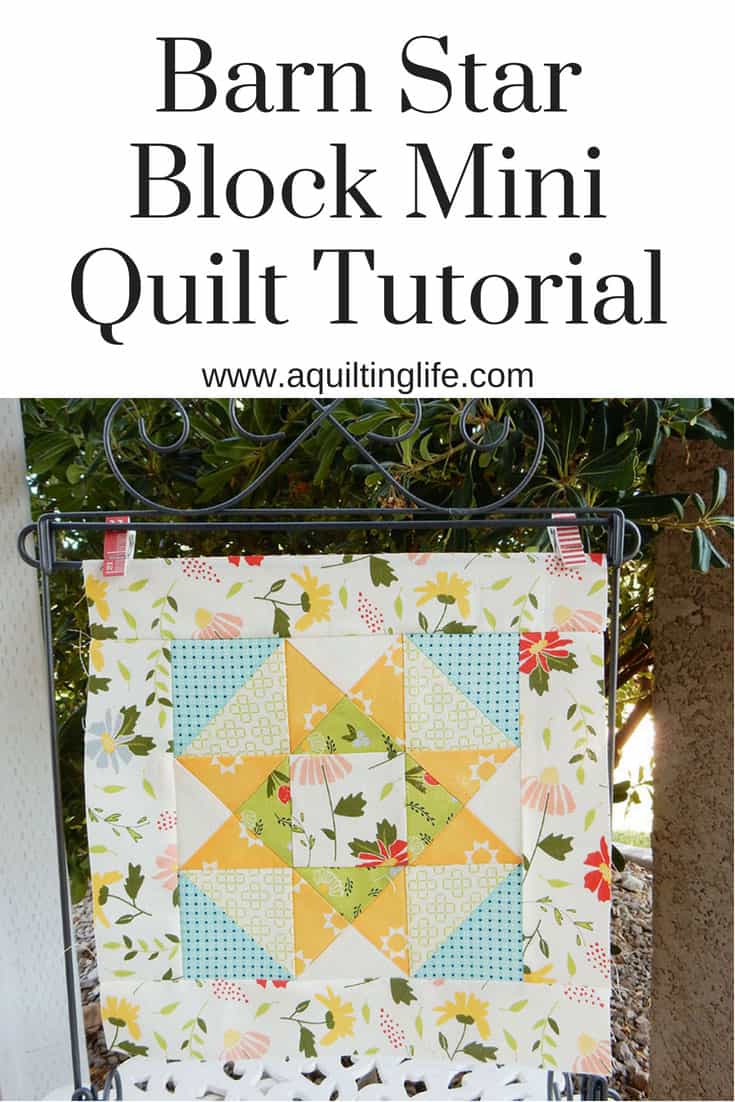
I was also able to make a mini barn quilt block for this parade! A mini Barn Block is a perfect project to use to change out on my small stand each month (for Christmas time I’ll use this one), so I couldn’t wait to make mine! (Find this quilt stand here). I’m even hoping to get my little mini Barn Block quilted and bound today! (I’ll share a picture when it’s finished). I did make my block smaller than the Bake Shop tutorial for this block so that it would fit on the frame and still have a nice border. Here are the details for my mini Barn Block:
11″ x 11″ Mini Barn Block Quilts Cutting Requirements (for one block):
- First, cut 2 squares medium and two squares light 3 ½″ x 3 ½″ for the half square triangles (blue dot and green lattice on cream above)
- Next, cut 2 square 3″ x 3″ for the center
- Cut 2 matching squares medium or dark 4″ x 4″ (yellow above), 1 square 4″ x 4″ light (cream dots above), and 1 square 4″ x 4″ medium (green above) for the quarter-square triangles
- Cut 2 border strips 2″ x 8″ for left and right side borders
- Finally, cut 2 border strips 2″ x 11″ for the top and bottom borders
- (For binding I used 2 strips cut 2″ x WOF).
Mini Barn Block Quilts Assembly:
- Using the medium and light squares 3 ½″ x 3 ½″, make four half-square triangles using this method or your favorite method.
- Make four quarter-square triangles using this method or your favorite method. Be sure to match each of the matching squares with one of the other squares for this first step.
- Assemble the half-square triangles, quarter-square triangles, and center square as shown.
- Add the side borders, pressing towards the side border fabric.
- Add the top and bottom borders, pressing toward the top and bottom border fabric.
- Quilt as desired and bind!
- Enjoy!
And we have more mini barn star quilt blocks project to share! Hildy used fabrics from the Nest collection by Vanessa Goertzen to make her mini barn block into a lovely pillow! Be sure to visit Michele’s blog to see Hildy’s pillow and Michele’s entry!
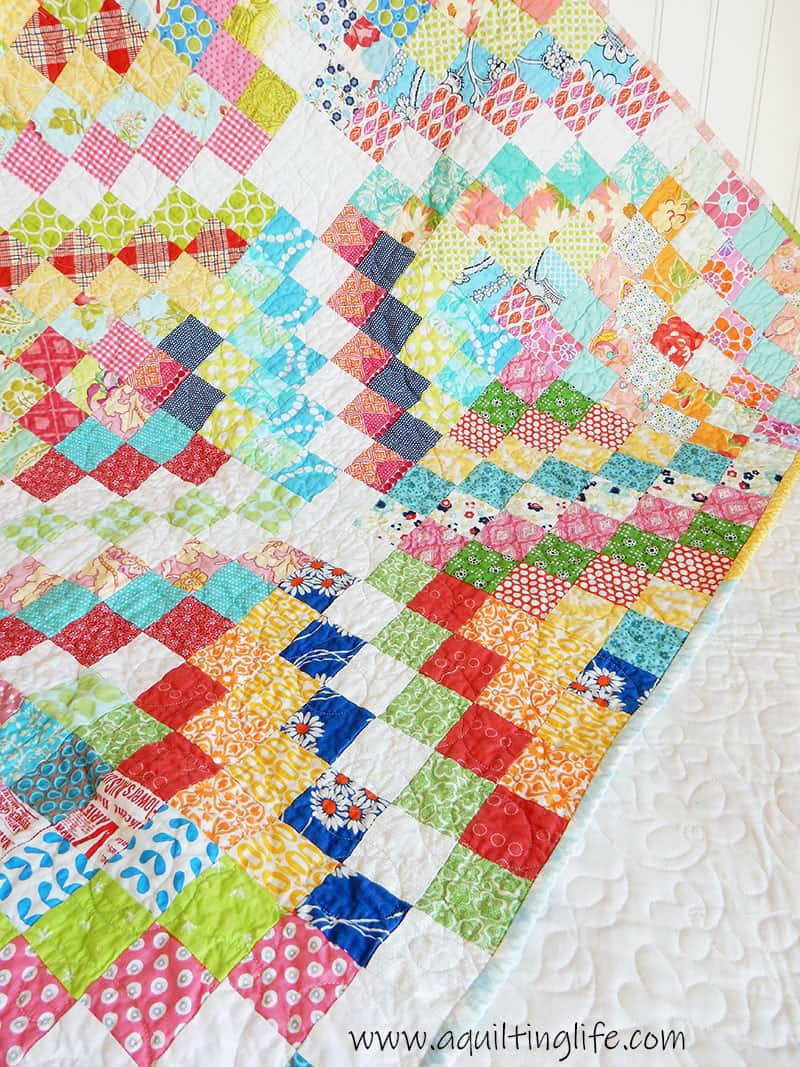
Next month Michele and I thought making a mini Trip Around the World quilt would be a lot of fun! There is a terrific tutorial you can use by Aqua Paisley Studio here, but of course you could also come up with your own mini trip around the world variation! I’m really excited to make this one, too! And I’ll be sharing some fun new fabrics in my version! I made my first large Scrappy Trip Around the World quilt back in 2013 (pictured above) and immediately started a Christmas Scrappy Trip Around the World that I finished in 2014. I used the Bonnie Hunter method for both of my quilts that you can find here!
Happy mini-making! And Scrappy Trip Around the World making! Thanks so much for stopping by!


Michele says
Brenda’s mini’s are absolutely adorable and I love that you made yours fit the quilt stand. I definitely need to order one of those! Great Parade!
Hildy says
I love Brenda’s mini her quilting is amazing! And your little mini is so great what a great idea! Next month project sounds like a lot of fun it’s been a few years since I’ve made this pattern for a pillow swap.
Thanks for hosting the parade and have a great August!
Carol says
Do you need a blog to participate? I no longer have my blog but do everything on my Instagram account. Just wondering if possible to join mini parade by posting photo on Instagram.
Sherri says
You don’t need a blog to participate! You can just email me your photo for the parade! We would love to have you join in!
Annie O says
I love the mini quilts! I have a wooden mini quilt stand and quite a few mini quilts for it, but can always find a reason for another in the collection! Thanks for the tutorial.
mary says
I love Brenda’s minis. I can see how they could be addictive. Thanks for the fun tutorial too.
I am looking forward to the Trip mini.