
Hello, friends! Last week I met with a quilter interested in beginning English Paper Piecing so she could make Grandmother’s Flower Garden block projects. I realized I have a lot of content on this subject spread out in several different places. In today’s Simple Guide to English Paper Piecing, you’ll find everything you need in one place so you can learn the basics of this easy to master quilting technique. In addition, you’ll also find links to all of my videos on this topic along with project ideas in several sizes.
A Simple Guide to English Paper Piecing
What is English Paper Piecing?
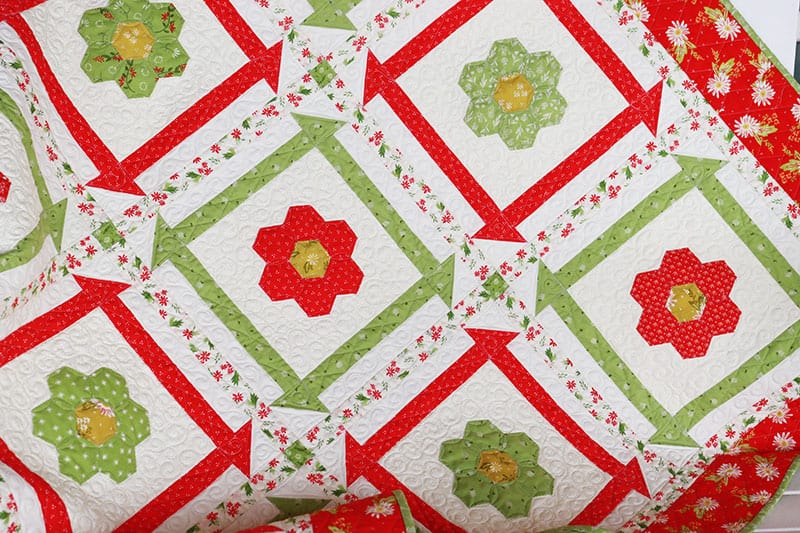
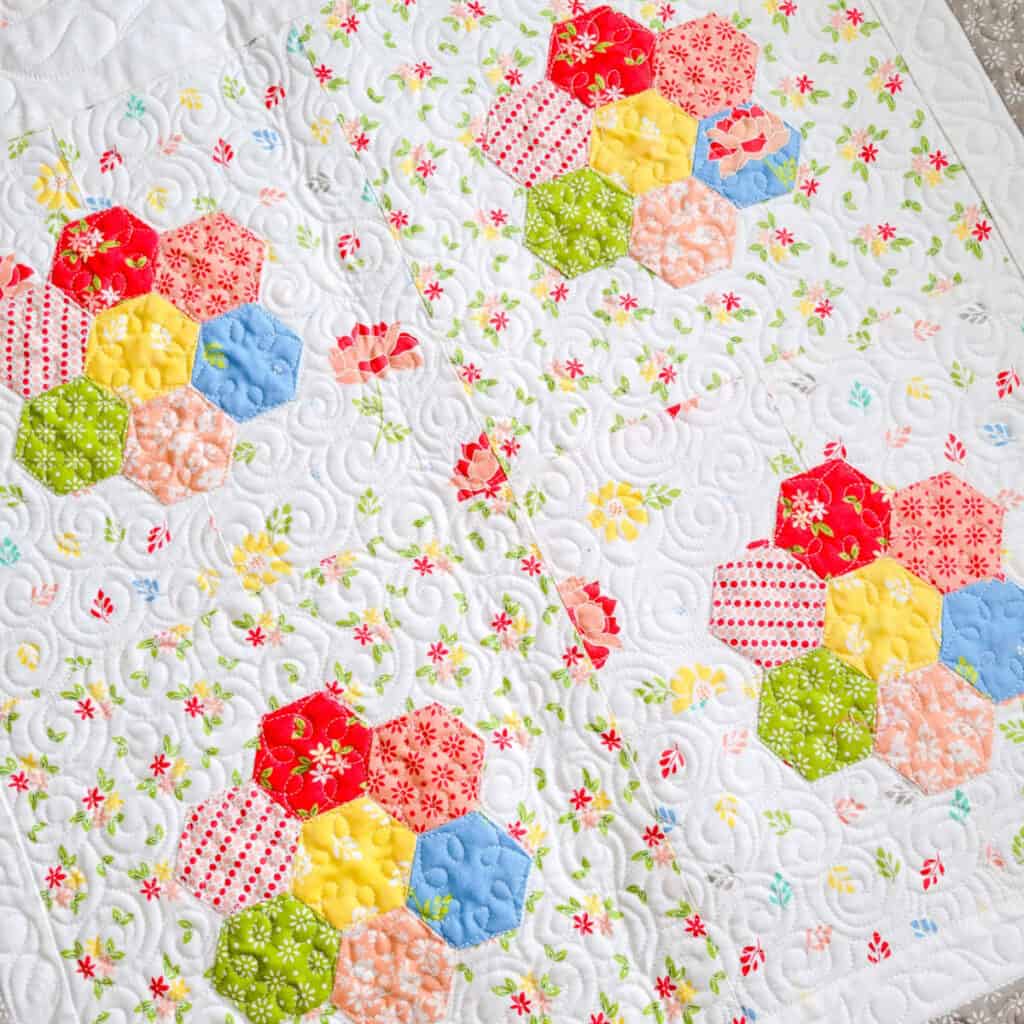
English Paper Piecing uses paper templates and fabric to create perfect shapes that can be put together in a variety of ways for unique and beautiful quilt blocks. English Paper Piecing can be used for a wide variety of blocks; however, in today’s post I’ll focus on the Grandmother’s Flower Garden blocks. All of the different methods I share here today, though, also apply to other English Paper Piecing projects. There are several other types of English Paper Pieced blocks that I hope to make soon. I have a little list started!
English Paper Piecing Supplies
In order to utilize the English Paper Piecing technique, you’ll need just a few simple supplies:
- English Paper Piecing Templates from Paper Pieces. I use this exact paper template for all of my Grandmother’s Flower Garden quilt projects.
- Cardstock if you are making your own templates
- Fabric or fabric scraps
- Sewing needle (I like these needles for stitching, applique, and binding)
- Thread (I use the same thread I use on my machine, 50 wt. Aurifil)
- Glue (optional–I don’t use this technique, but many quilters love this brand)
- Hole punch (optional)
Cutting Basics for English Paper Piecing
When cutting fabrics to use with English Paper Pieces, add a scant ⅜″ on all sides of the template. I use my Accuquilt Go! Cutter and the middle template on this hexagon die to cut out the fabric shapes for 1″ hexagon paper pieces. I can cut up to eight fabric pieces at a time using this. You can also use this acrylic template to cut fabric pieces.
Stitching (and Glue Basting)
I use a simple slipstitch (going through the fabric only–not the paper) to secure the fabric around the English Paper Piecing template. Other quilters like to use a simple dot of glue to hold the fabric in place. By using just a dot of glue in the center of each side of the template, the template can still be easily removed when ready.
Then, I use a whipstitch to sew basted units together. You can see a demonstration of both of these stitches along with the simple applique’ stitch I use in the videos I’ve linked below.
Removing Papers
I leave all of my papers in the fabric until I’m ready to applique’ the finished unit onto background fabric (or attach it to other finished units). When I’m ready to remove the papers I simple pinch them and they pull right out. I also iron my used paper pieces and can use them over again for several projects.
Attaching to Background Fabrics
I use a simple applique’ stitch to sew my finished English Paper Pieced units to background fabrics. Watch the video linked below where I demonstrate my technique step-by-step. You can also machine-stitch your finished blocks to background fabric if desired. I’ve seen a lot of beautiful quilts creating using a machine stitched method.

Project Ideas
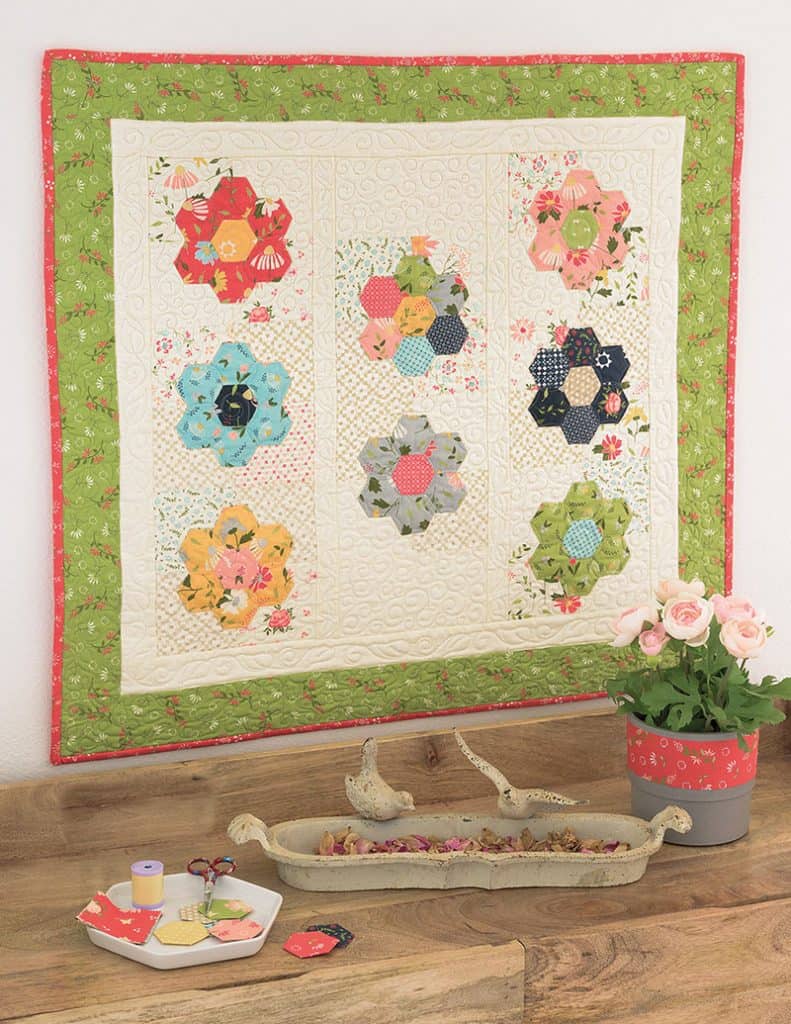
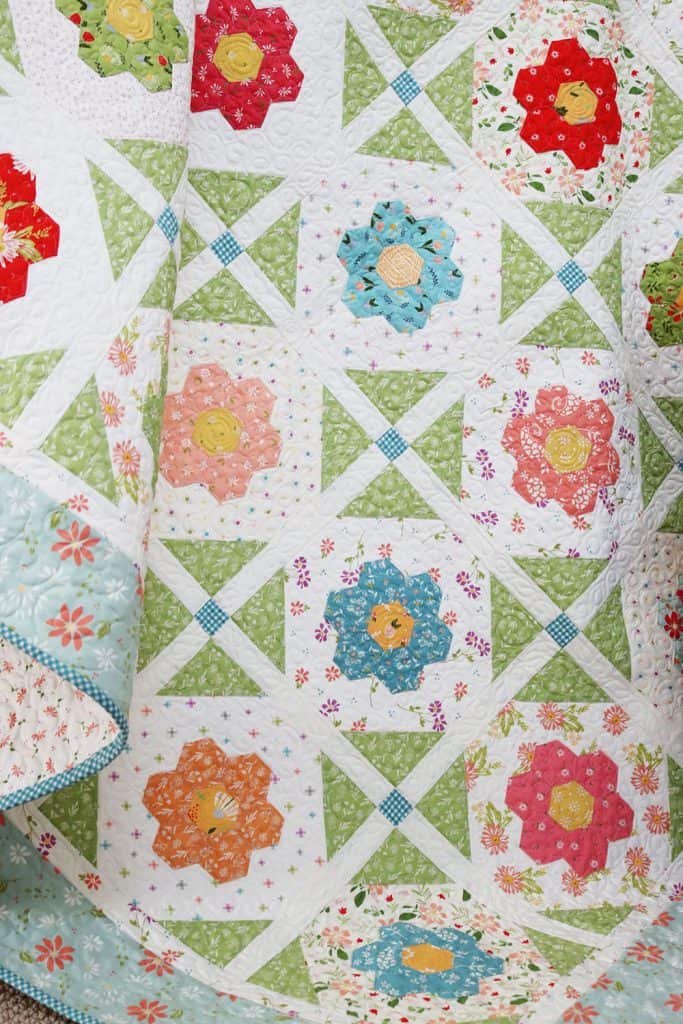
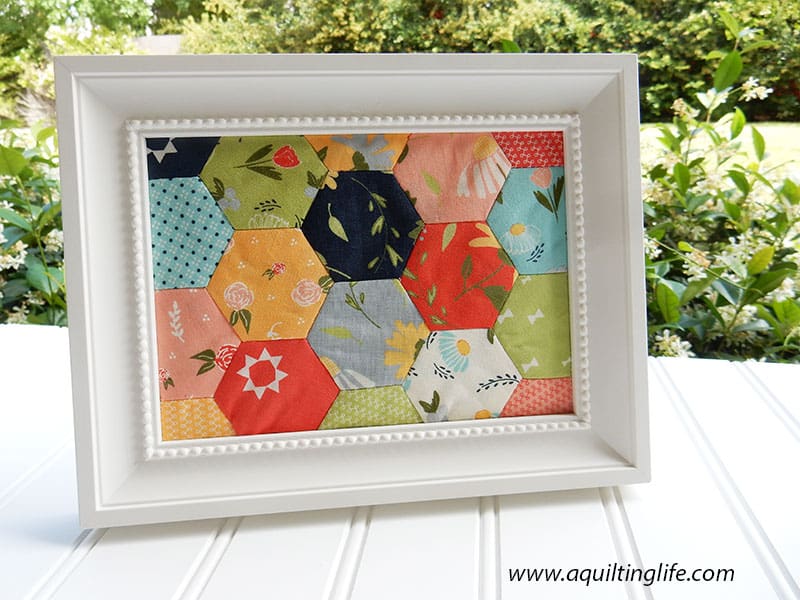
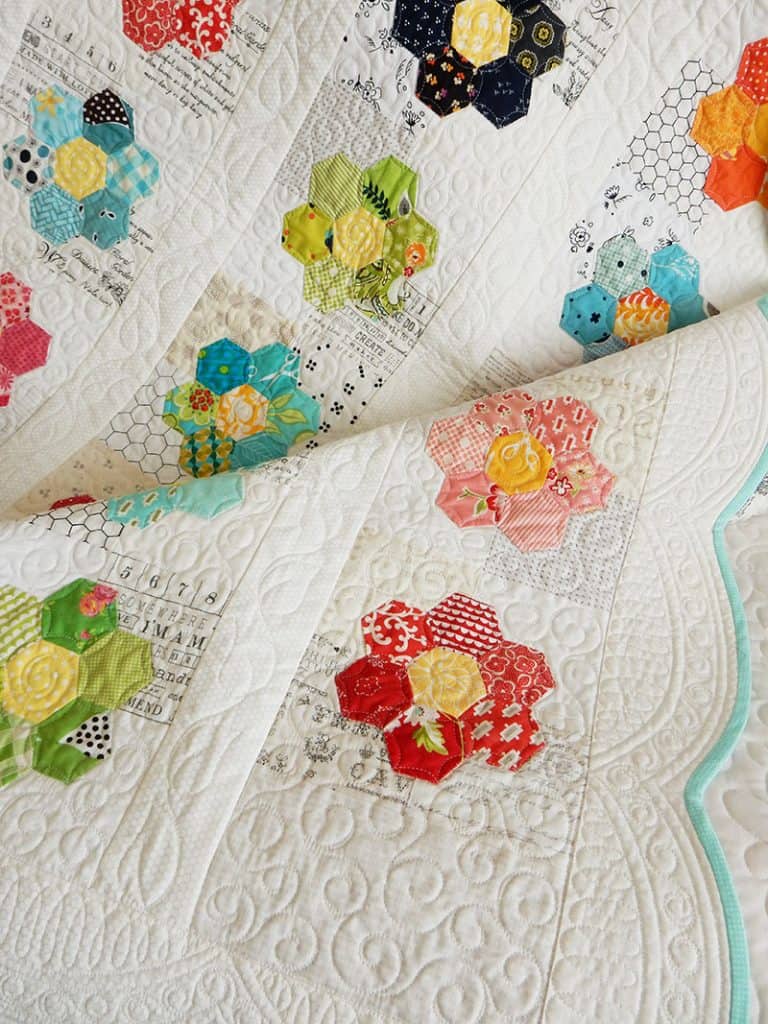
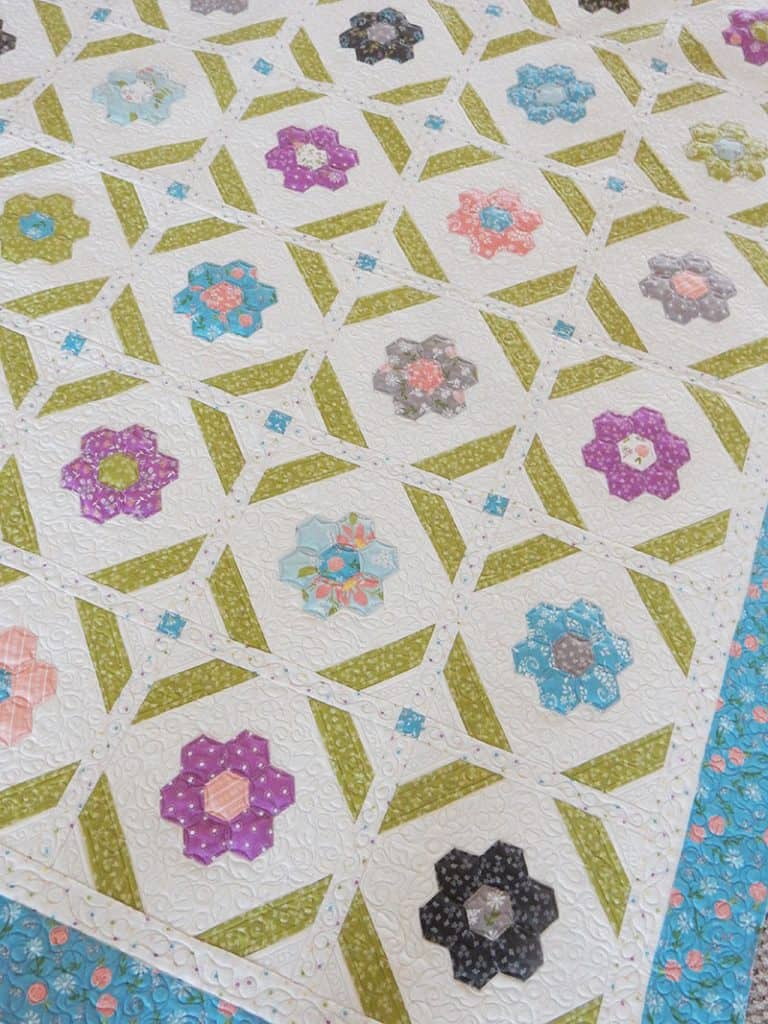
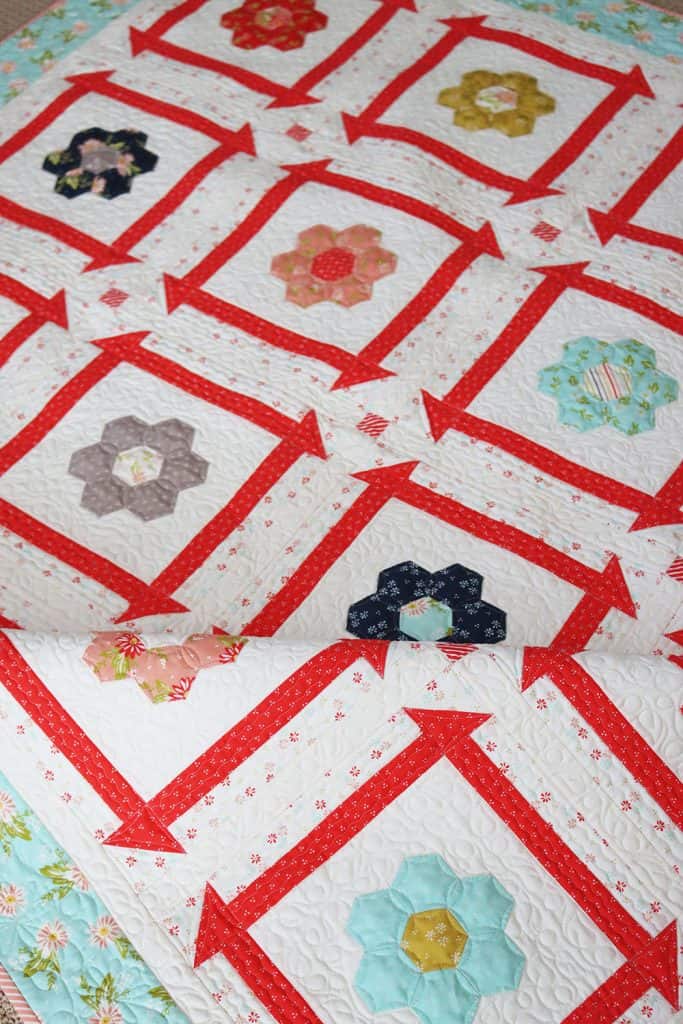
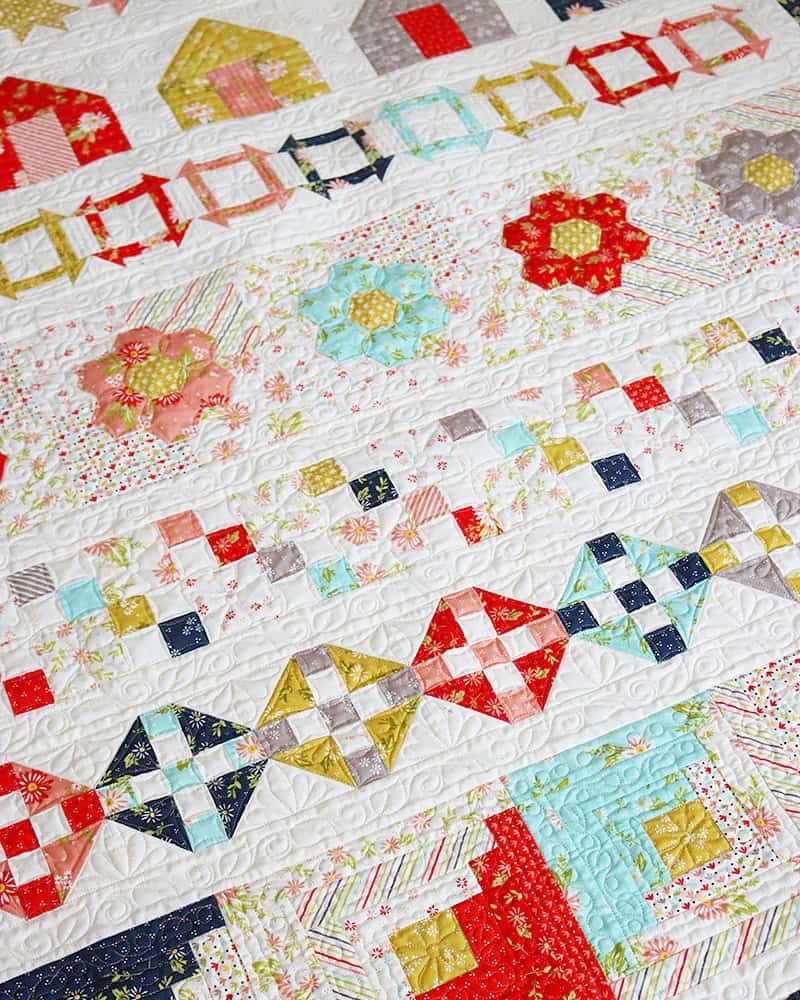
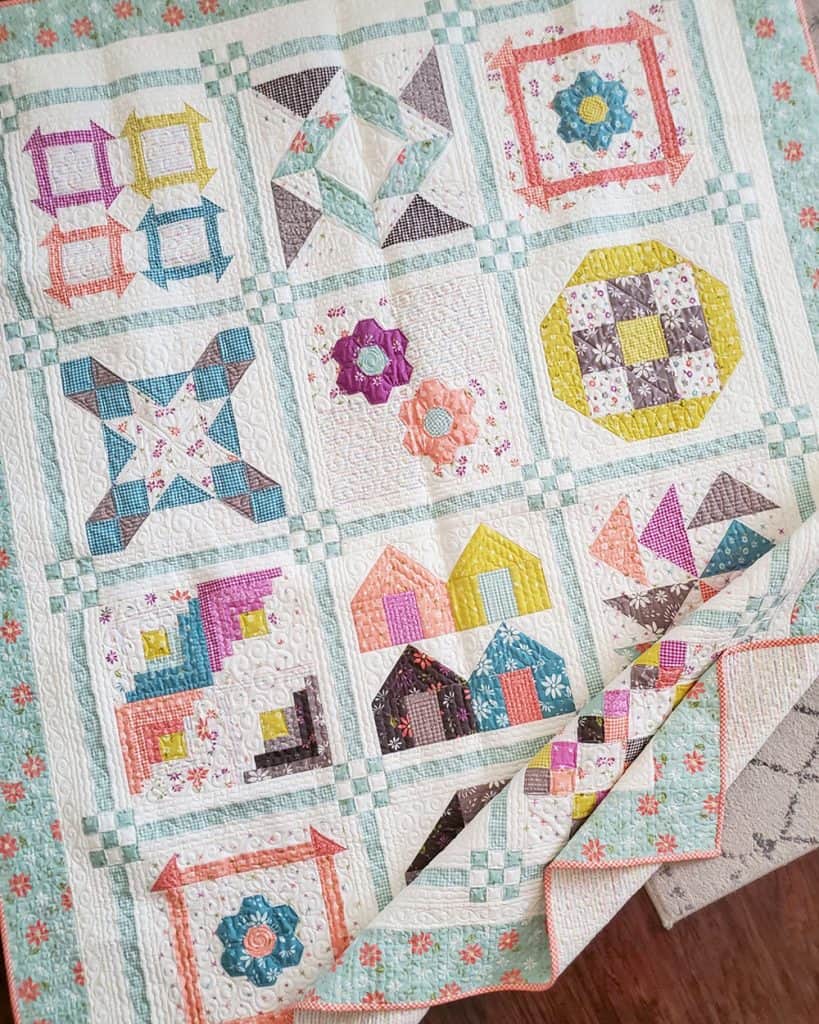
Here are some of my favorite English Paper Piecing Grandmother’s Flower Garden block projects:
- Framed Hexagons (free tutorial)
- Window Box from Labor of Love
- Bouquet (lap size and mini included)
- Sweet
- Blooms
- Flowers for Emma
- Beach House
- Summer Fun
Video Links
Here are links to my videos on English Paper Piecing techniques where you can see a step-by-step demonstration of the techniques I’ve shared in this post:
I hope today’s Simple Guide to English Paper Piecing has been helpful and informative for you. Please don’t hesitate to leave any questions below and I’ll get back to you and/or update this post as needed.
Happy quilting!
Tammy E says
Thank you for this. I enjoy p English Paper Piecing but I am pretty much self taught. My grandmother did some but unluckily I didn’t start until she was gone ? So any tips are GREATLY appreciated, thank you.
Monique says
Hi Sherry! Thanks for this. I’m working on the flowers for the Sweet quilt now. I notice you did not remove your basting stitches before you appliquéd the flower. Other quilters say to do that. Does it matter? It seems like removing basting stitches that are not seen on the front would be a waste of time unless there was a reason. Do you ever remove them?
sherri McConnell says
I never remove the basting stitches and have never had a problem 🙂
Nicole says
Do you have any tips on cutting without a cutting machine?
sherri McConnell says
Yes, I linked an acrylic template that is easy to use. Also, you can just use your ruler and cut fabrics a scant 3/8″ larger than your purchased paper templates.
Annette says
Thank you for attaching where to find the template. I’ve been searching everywhere.
Pam Davison says
Thanks so much. Several years ago at the local quilt show resale store I bought a collection of a womans English paper piecing. She had passed and her niece wanted to sell them. I thought it would be an honor to finish the quilt. She had already put some of the hexagons into a grandmothers flower garden. And she had at least 50 flowers already done. But I like the way yours looks so I am putting each flower in multiple white on beige background fabrics.
Deanna Feldman says
Thank you, for making this happen, I have been making flowers all day 12 down 18 more to go. I am using the Epp iron on 1″ hexagon and the packaging and reviews I have read says that you do not need to remove the paper. What would you suggest doing?
sherri McConnell says
I always remove the paper right before I applique to the background.
Patti McConnell says
I almost have my 24 flowers made. Thank you for such great advice!
Joan Rattray says
I would love to see a tutorial on machine piecing these to the background fabric.
Thanks.
Joan Rattray
Teresa Wittmer says
Thank you. I have to save this because I am going to work on a friends grandmother’s quilt. Perfect timing.