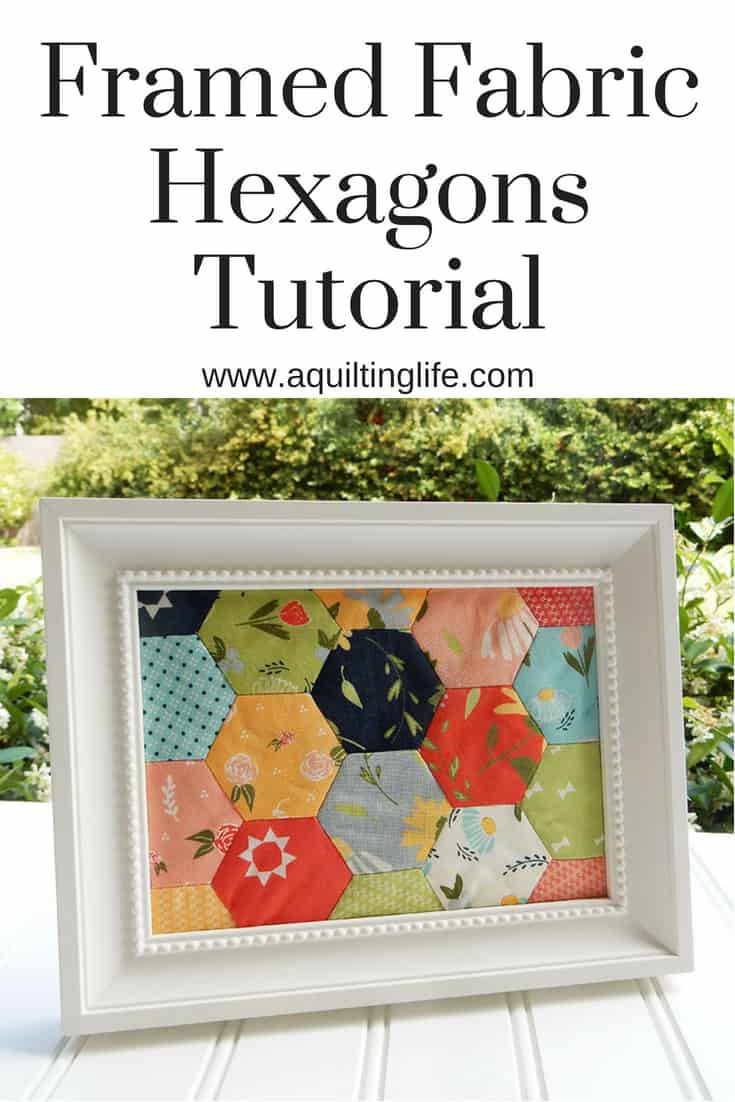
Hello and happy Tuesday! Today I’m sharing my framed fabric hexagons tutorial, and it’s a fun project! I love hexagons and wanted to make something with them for display in our International Quilt Market booth. After finishing this up it was so cute I decided a tutorial was in order! This is a great project and would also make a fantastic gift. I’ve already started my second one in a larger size.
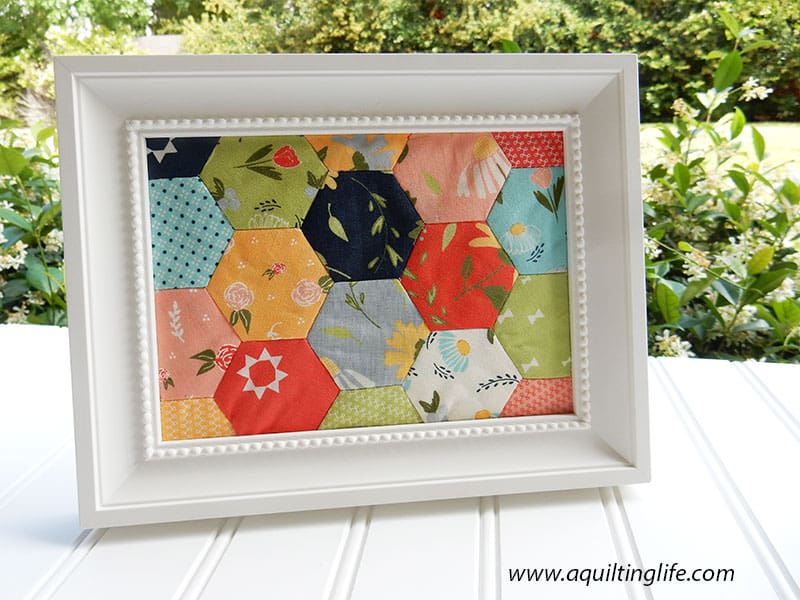
I got my cute little frame at Ikea the other day and could hardly wait to get my hexagons sewn together so I finish this framed fabric hexagons project! I used a 5″ x 7″ frame for this smaller version of the project, but the directions are easily adaptable for use with an 8″ x 10″ frame. You’ll just need a few more hexagons!
You will need 22 English Paper Pieced hexagons for the small (5″ x 7″) framed project. (Use 44 hexagons for an 8″ x 10″ frame). If you are new to English Paper Piecing hexagons, you can see how I make mine here and here. An additional tip is that it does help to punch a small hole in each paper hexagon to make paper removal easier.
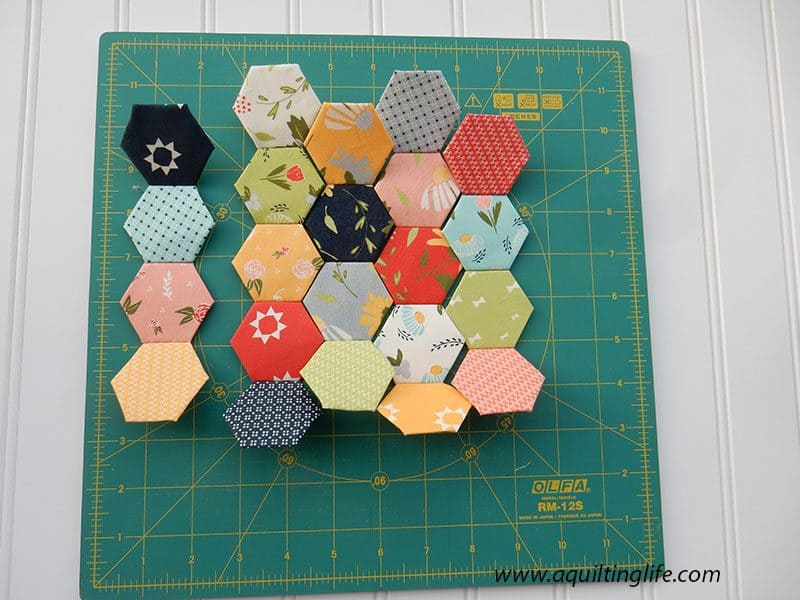
After you’ve prepared the hexagons, lay them out in columns so that your fabrics and prints are evenly distributed. I took a picture of my final lay out using my phone for a reminder. However, I did end up shifting a couple of hexagons around. Make three columns of four hexagons and two columns of five hexagons for a 5″ x 7″ frame. (Make four columns of six hexagons and four columns of five hexagons for a 8″ x 10″ frame). Sew the hexagons together into columns by placing two hexagons right sides together and whip-stitching the edges. Be careful to sew through just the fabric and not catch the papers in the seams.
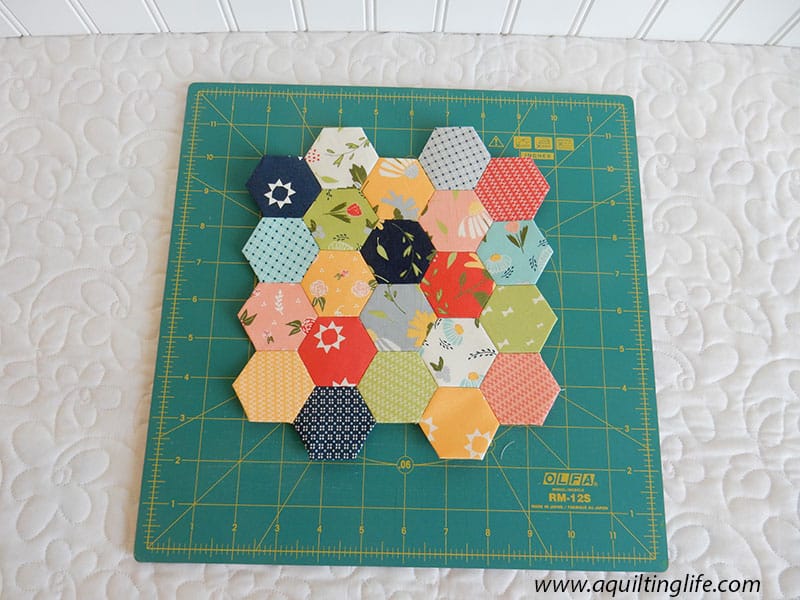
Next, assemble the rows together to create your project. Begin by sewing the hexagons together just as you did when making columns. At this point you will be sewing hexagon sides together, moving the hexagon columns as needed to sew each seam. I began by sewing the seam between the yellow loop the loops and the blue micro dots. Next, I sewed the seam between the yellow loop the loops and the red sun print, moving up between the first two columns on the left sewing sides. Continue adding columns until all of the hexagons are sewn together.
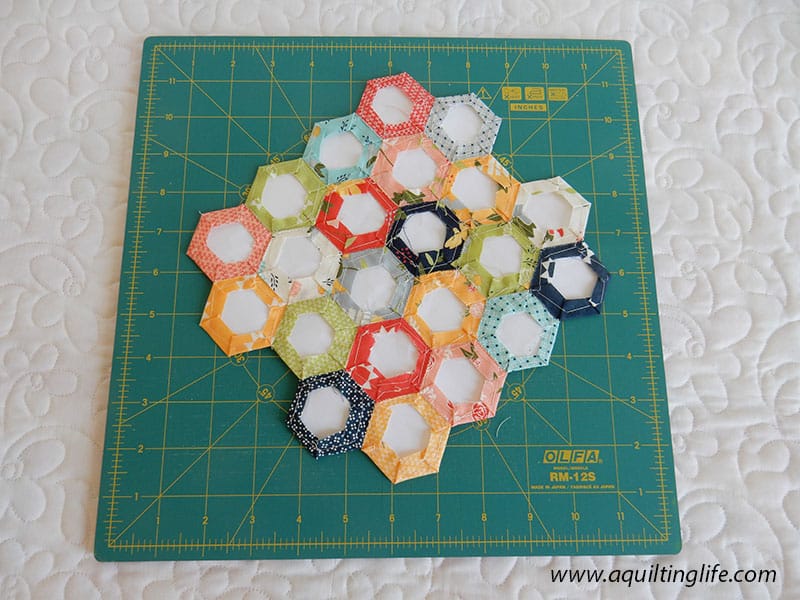
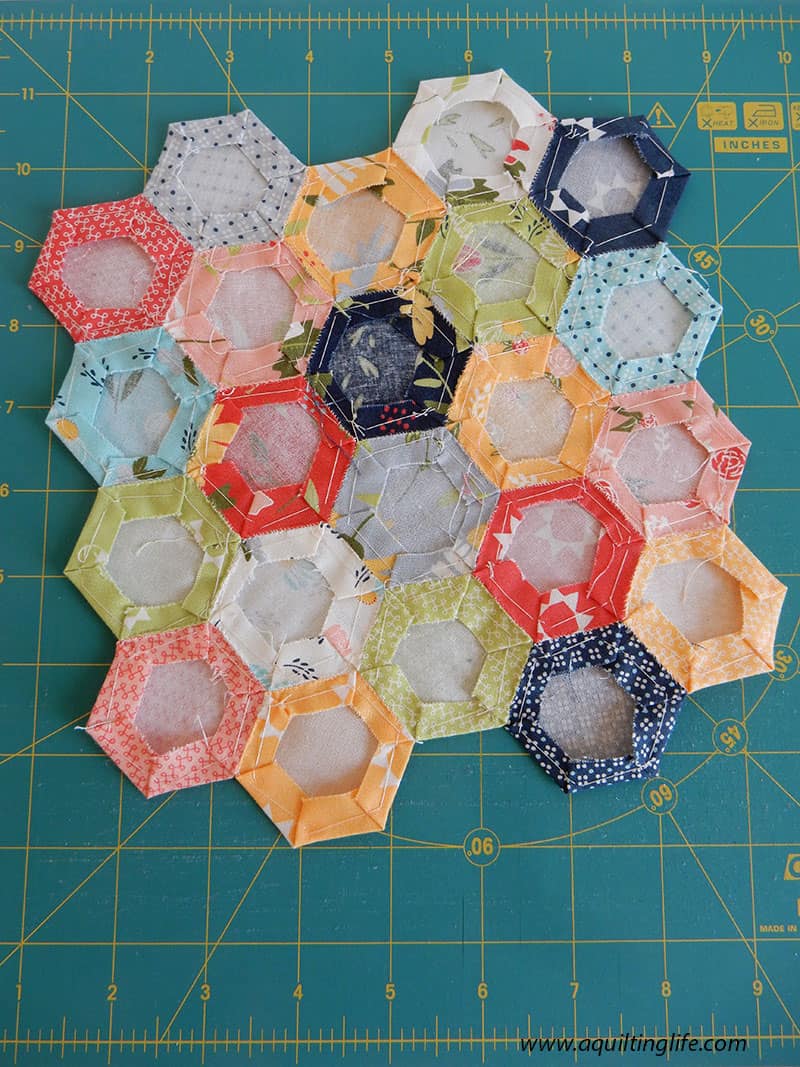
This is what the piece looks like from the back after all of the hexagons have been joined in rows. Notice that all of the papers are still inside the fabric. The next step is to remove the papers, beginning with the inside hexagons and removing papers from the outer hexagons last.
And here is what the back of the piece looks like with the papers removed. I always iron on the front and back sides after removing the papers. And I iron my papers after removal so I can use them again and again.
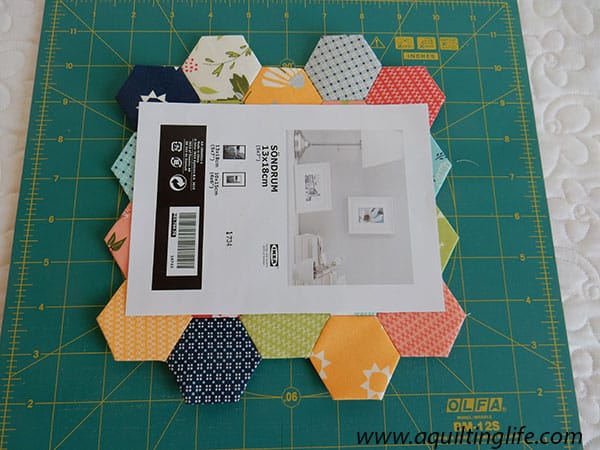
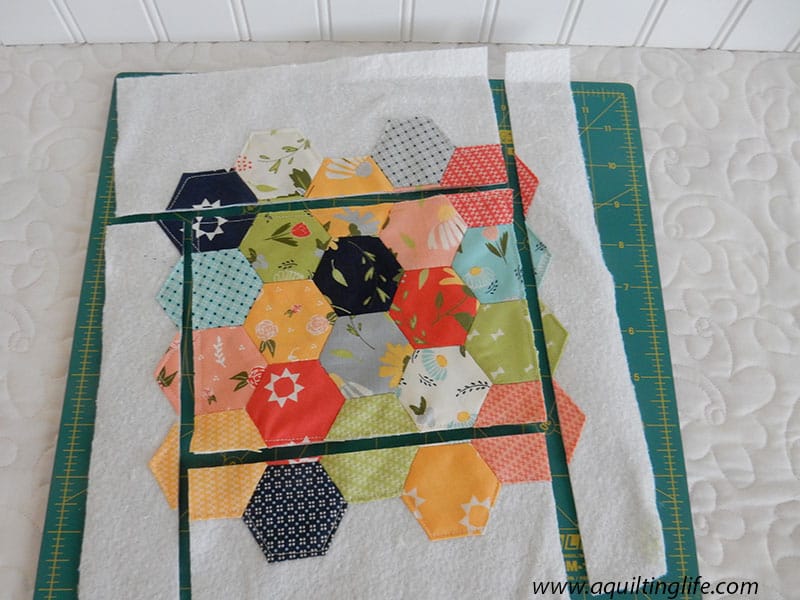
When you are ready to trim, use a piece of paper the same size as the frame opening as a guide. I used the paper insert included with my frame as a guide. I actually have four hexagons that will be completely trimmed off in the project above. You can probably use just 18 hexagons for a 5″ x 7″ frame; however, if you will be doing hand quilting before framing you might want to use 22 just in case your fabric piece “shrinks” a little after quilting. Don’t trim yet, though, if you want to add batting to your project. I love the texture the batting adds to this project whether you are adding quilting or not. If I hadn’t been in such a hurry to get this done for market I would have hand-quilted the entire piece.
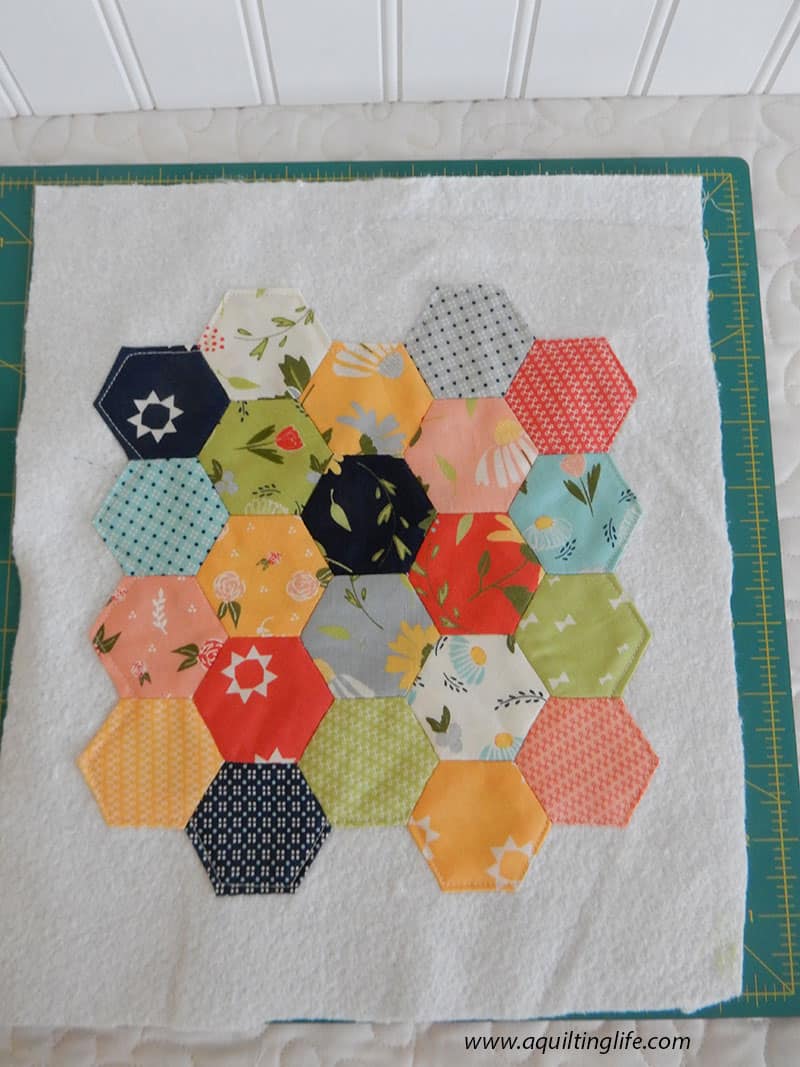
Instead of quilting this piece I centered my piece on a scrap of batting and sewed ⅛″ around all of the edges to keep everything secure while I trimmed the piece using the frame insert as a guide.
What you’ll need for your Framed Fabric Hexagons project:
- Fabric scraps
- English Paper Pieces in 1″ size (you’ll need 18 – 22 for the small frame and 44 for the large frame)
- Batting 9″ x 11″ for 5″ x 7″ frame or 12″ x 14″ for 8″ x 10″ frame
- Needle and thread ( I use regular 50 wt. Aurifil and a Straw Needle size 9 or 10)
- Frame in chosen size
- Rotary Cutter, Cutting mat, and Acrylic Ruler
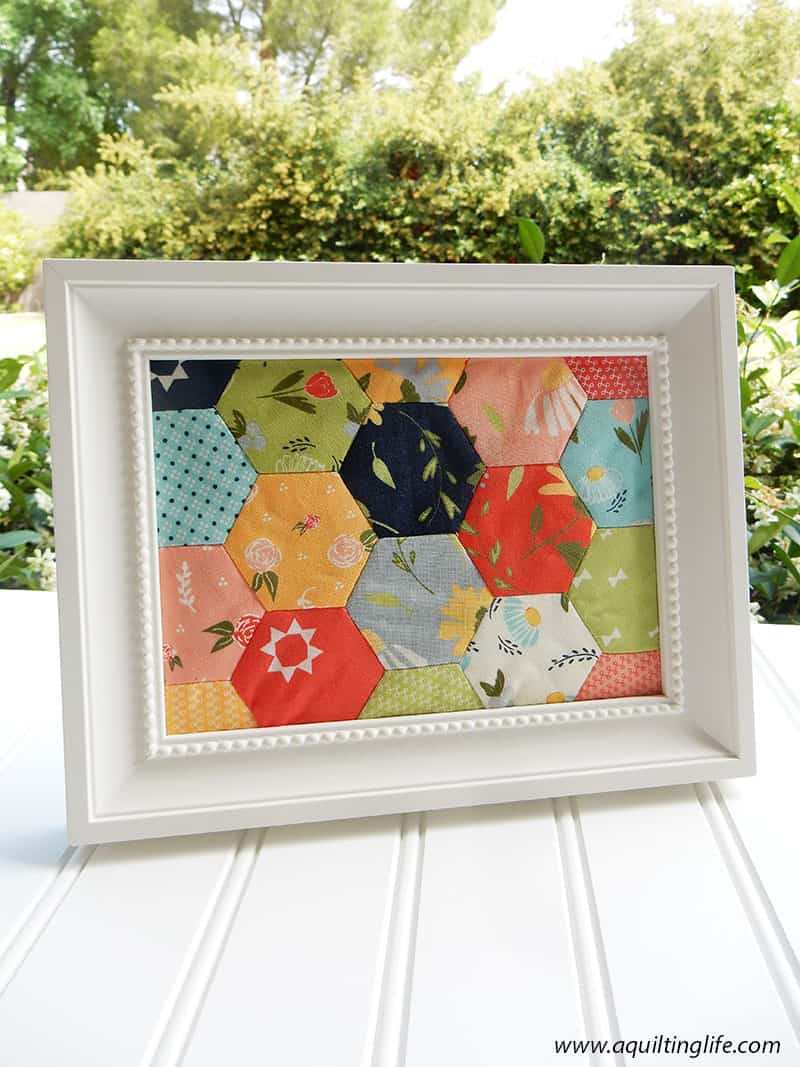
This framed fabric hexagons project is one of my favorite ways to use and display hexagons. Starting with the smaller sized project is a terrific way to practice all of the different techniques used in sewing hexagons before starting a larger project.
I hope you’ll enjoy making this framed fabric hexagons project! It’s a terrific way to dive right into the fun world of English Paper Piecing! If you are going to be at International Quilt Market, I will be demonstrating this technique at 11:00 a.m. on Saturday morning and at 11:30 a.m. on Sunday morning in booth 2237. Stop by and say hello!
Thanks so much for stopping by and happy quilting!
Hildy says
Cute little project I never thought about putting my hexagons in a frame. Thanks for the idea and the tutorial:-)
Sharon says
You’re creative talents always amaze me. Thank you so much for sharing this wonderful tutorial with us. Have fun at Quilt Market.
Sherri says
Thank you so much! Happy quilting!
Sew Busy says
I think after all that hexie work, I will back and bind it and use it as a mug rug! But great way to keep your most favorite fabrics in view.
Monica Kostak says
I will need to try my hand at paper piecing. My husband bought me an Acquilt hexagon die cut and GO Cube This will be perfect esp for my scraps. I think even adding a recipe card (hand written from my mother) would be nice gifts for my sisters and the girls in our family and this can be displayed in the kitchen. The wheels are in motion… Thank you 🙂
Judith (Judy) Sturm says
I love your idea of framing those sweet hexagons and I really appreciate you providing a tutorial. Thank you so much!