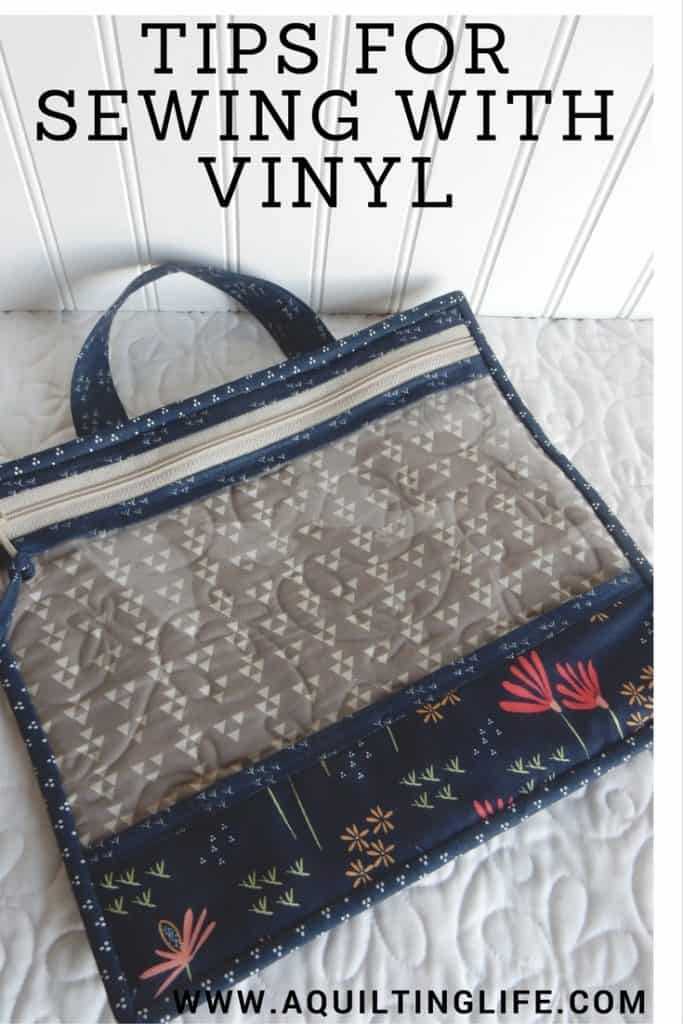
Hello! I recently received a reader request to write about sewing with vinyl. I was actually getting ready to make another project bag with a vinyl front, so I was happy to write up some hints and tips.
I had some extra quilted Desert Bloom fabric left over from a Quilt Market
project, and I’ve been wanting to use it to make a new project bag (one can never have too many project bags, right?)!
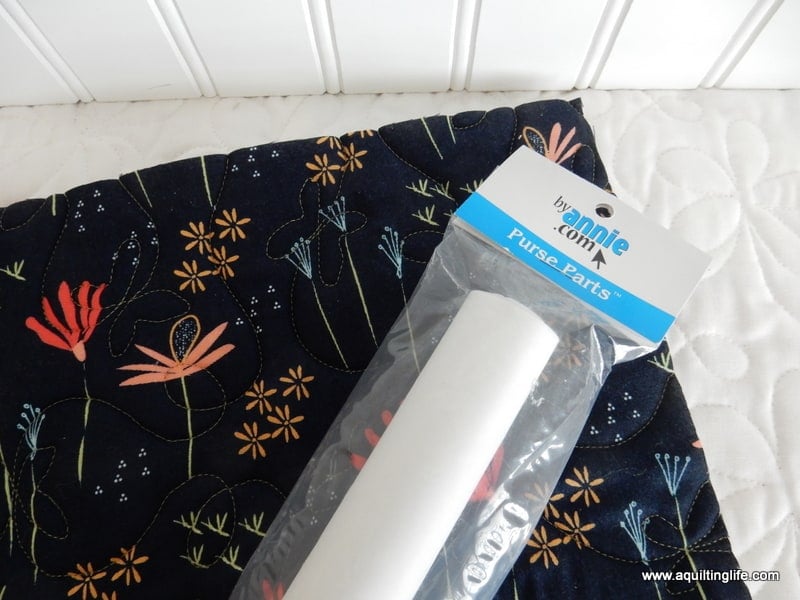
First of all, I highly recommend the clear vinyl from by Annie. One reason I like purchasing this vinyl is because it comes rolled up and lined with tissue paper. It is really easy to cut from the roll and then to put the roll right back into the storage bag. The tissue also comes in really handy when using the vinyl as you’ll see below.
Buying a roll will also ensure you have plenty of vinyl for lots of project bags!
The tissue paper that comes with the vinyl comes in handy for cutting and for sewing the vinyl. Keep the tissue paper underneath the vinyl while measuring and cutting to make it easier to see.
The first thing to keep in mind when working with vinyl is that you won’t be able to do any pressing with your iron on the vinyl; be sure to finger-press any time the instructions call for pressing!
When you start sewing, sew with the tissue paper under the vinyl. This will keep the vinyl from sticking to your machine and will help it to slide smoothly under the presser foot. If you sew through the paper you can easily remove it by simple tearing it away after you’re finished sewing.
When at all possible, use a metal foot when sewing with vinyl. If you still experience sticking, you can put painter’s tape on the bottom of the presser foot (I’ve done this before, and it works wonderfully). Many machine manufacturers also make Teflon presser feet which also allow the vinyl to slide smoothly as you stitch.
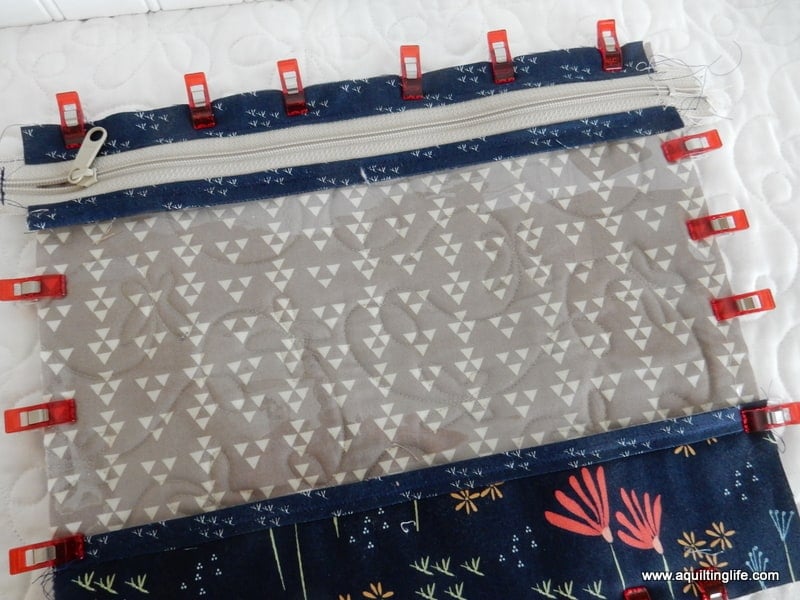
Clover Wonder Clips are another “must have” tool for working with vinyl. While they are extremely useful for bag making regardless of whether you are working with vinyl, the Clover Wonder Clips hold the edges of the bag together with the vinyl eliminating the need to try and pin through the vinyl or take a chance of the vinyl slipping before you have it sewn.
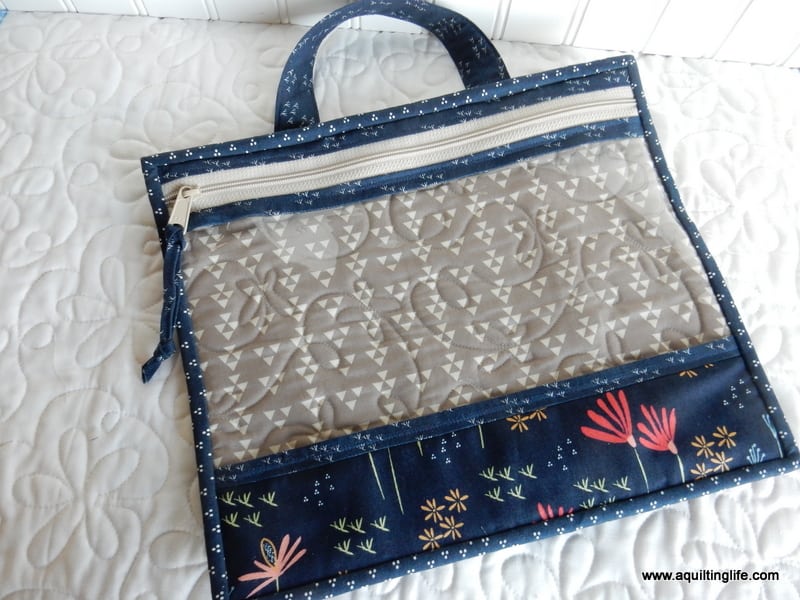
If you want to add a vinyl front to the project bags I shared over at Fat Quarter Shop and in this post, simply substitute a piece of vinyl measuring 8 ½″ x 10 ½″ for the front patchwork section (for the smaller project bag, substitute a piece 6 ½″ x 10 ½″).
Note: It’s easier to stitch the vinyl to a thin fabric strip rather than stitching it to the zipper tape as I’ve done in the by Annie Project Bag below. You can easily add a 1 ½″ x 10 ½″ fabric strip in between the zipper and the vinyl, following the instructions in my original tutorial/video. Then you will just need to trim the front of your zipper bag so it is even with the bag back before binding. If you do attach your vinyl directly to the zipper strip, attach with a ¼″ seam and finger press toward the zipper strip. Then top-stitch along the zipper strip to keep the vinyl folded under.
I hope some of these tips have helped…sewing with vinyl might be a little out of your comfort zone the first time you work with it, but with these tips and a little practice, you won’t have any reason not to sew with it!
Thanks so much for stopping by!


Little Quiltsong says
Thank you for these great tips. I'm going to have to bookmark this post for future reference.
Cocopatch says
thanks for your tips!
Loris says
Great tips! thank you!
Hildy says
Thanks for your tips! I've never sewn with vinyl but now I might give it a try.
n Carter says
I just made a few of the smaller bags this weekend and I agree with everything you said. The clear vinyl from ByAnnie is perfect for this bag. I'm making some to hold colored pencils. With the coloring book craze going on now, they will make great gifts. I use the larger sizes for hand stitching projects. I love these bags.
Mary Burnette says
Thank you so much for all your tutorials. They are so appreciated. I have not sewn one of these yet but do they open up wide enough to store several items in. They look like if they had items inside they would not be able to zip? thank you. Mary
mburnette912@bellsouth.net
Mary Howland says
Thanks for the tips on sewing with vinyl. I have several large pieces which I planned to cut smaller and now I'll use the tissue paper tip. Have you ever used a large piece to place on a quilt and then tryout drawing different quilting designs? I think Becky Goldsmith mentioned doing that. Thanks again for the post.
lily Greener says
Thank you , it helped me to finish up a vinyl project that I had been afraid of cause of the frustrations that it comes with the foot presser 🙁
Jan Taylor says
Hi Sherri, Thanks for the tips. As always you share so much information on your blog it is fantastic. One question for you… What size needle do you use to sew through the vinyl? ?