Hello, and welcome to part 4 of the Stitch Pink Together sew along. I’ve previously shared how to make all of the different block styles found in the quilt. Today we’ll make the sashing rectangles and 9-Patch Posts that will complete the quilt. While there are a lot of units to make this week, strip piecing will once again save lots of time. Also, read to the end for details on the Together quilt wall hanging I talk about in today’s video.
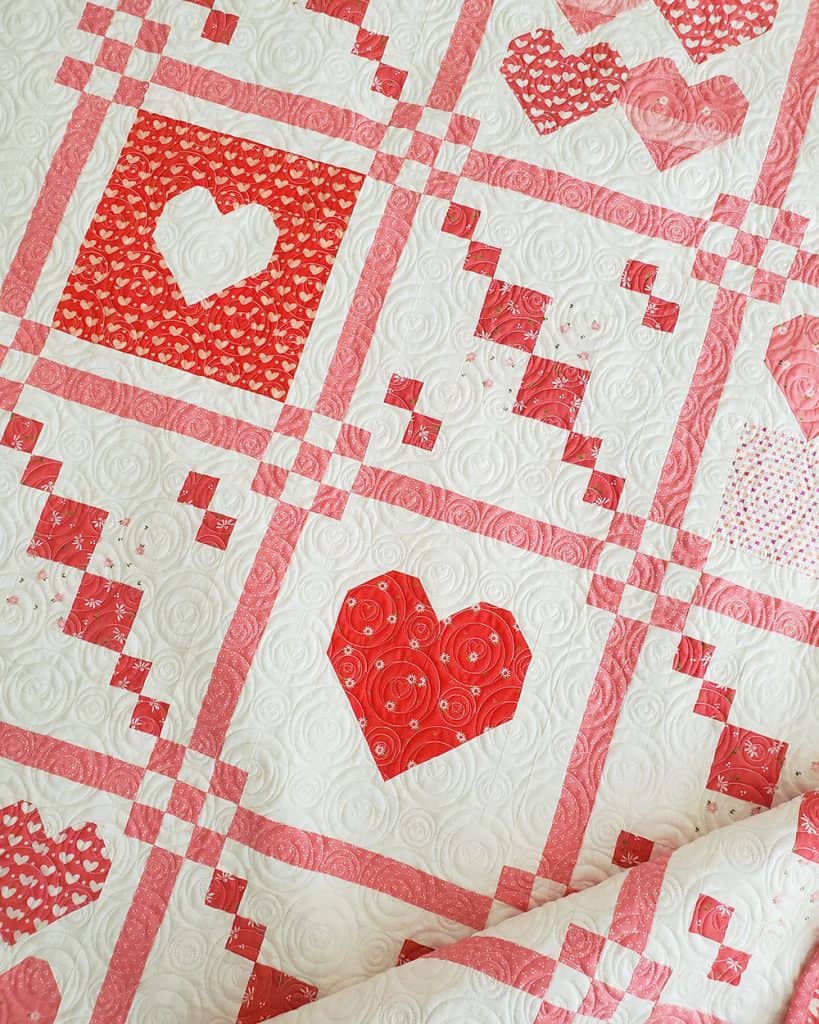
Stitch Pink Quilt Along Part 4
Helpful Tools and Tips
Be sure to watch the video for all of my tips for block pressing and tools that can help make your sewing quicker and more accurate. Below is a list of tools I suggest in today’s video. These tools are helpful not only for today’s blocks but will also help as you continue making the quilt:
- Mini Simple Folded Corners Ruler
- Olfa 1 ¼” x 12 ½” Ruler (Note…it’s called the 1 x 12 but measures at 1 ¼″ x 12″)
- Creative Grids 4 ½” x 8 ½” Ruler
- Remember that you will need the Together Quilt Pattern to make this quilt (QLD210).
- Note that if you’re using the Sincerely Yours fabrics some are directional and you’ll need to pay attention to the direction of the fabrics when cutting the pieces.
- Watch the video for pressing tips so that your seams will nest as much as possible.
- Tag your photos with the hashtag #StitchPink2021
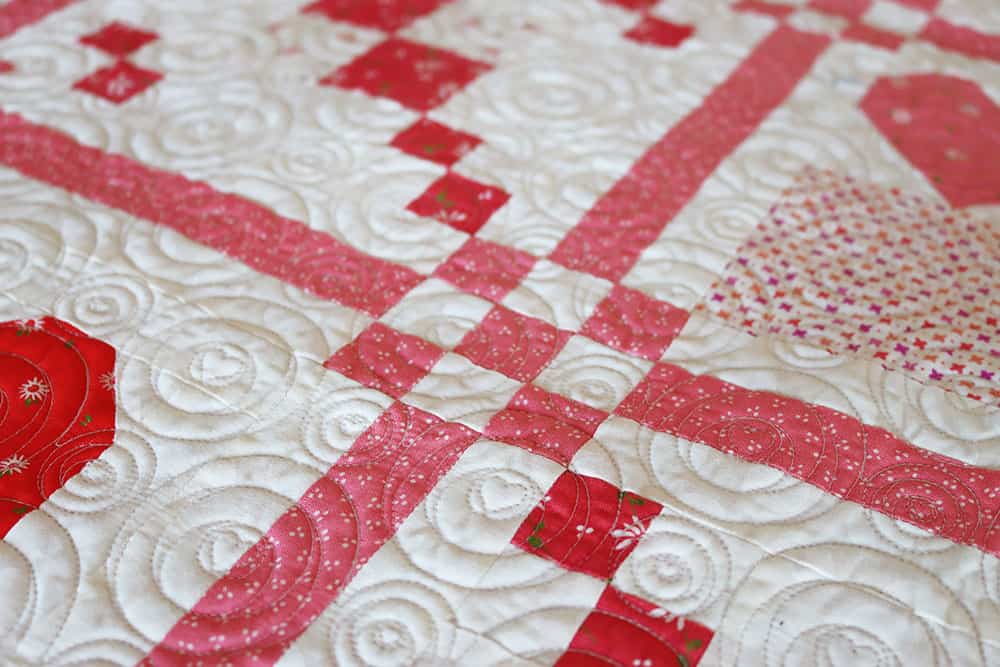
Sashing Rectangles and 9-Patch Posts
Cutting instructions for the sashing rectangles and 9-patch posts are found on page three with the assembly instructions beginning on page ten and eleven.
Extra Tips for the Sashing Rectangles and 9-Patch Posts
- Use my technique for stacking and cutting strip sets that I shared in part 2 to save time.
- Remember to save the scraps from the Sashing Rectangles to cut the centers for the 9-Patch posts.
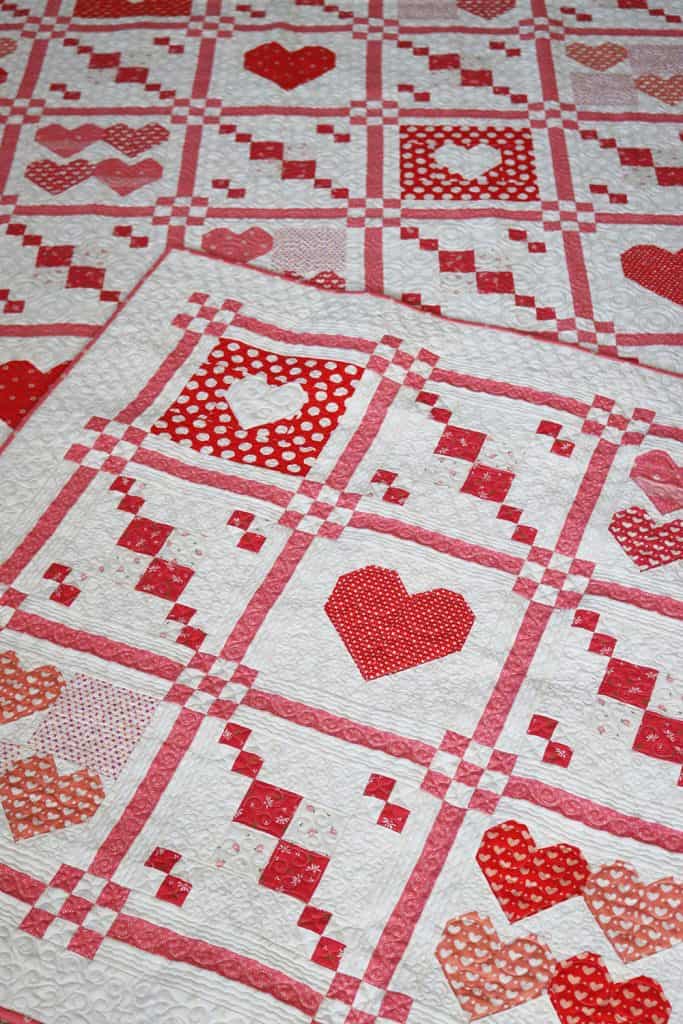
Together Quilt Wall Hanging
In today’s video I mention the Together Quilt Wall Hanging option that measures at 42″ x 42″. You do need the Together quilt pattern to make this; however, you’ll also need the Wall Hanging Instructions PDF that you can download for free here or at the link below.
Our Next Post + Video: Finishing!
Thanks so much for sewing along…we’ll see you back on Friday this week for the final assembly instructions and a new Stitch Pink Together Sew Along Video. Remember that you can find all of the previous posts in this series here.

Lee Ann Keller says
I wanted to thank you for the awesome tip of stacking and cutting the strip sets. I honestly never thought of it and it goes way faster this way. I’m enjoying this stitch along although with my limited time I will finish this probably a month later. Thanks for all the helpful tips!