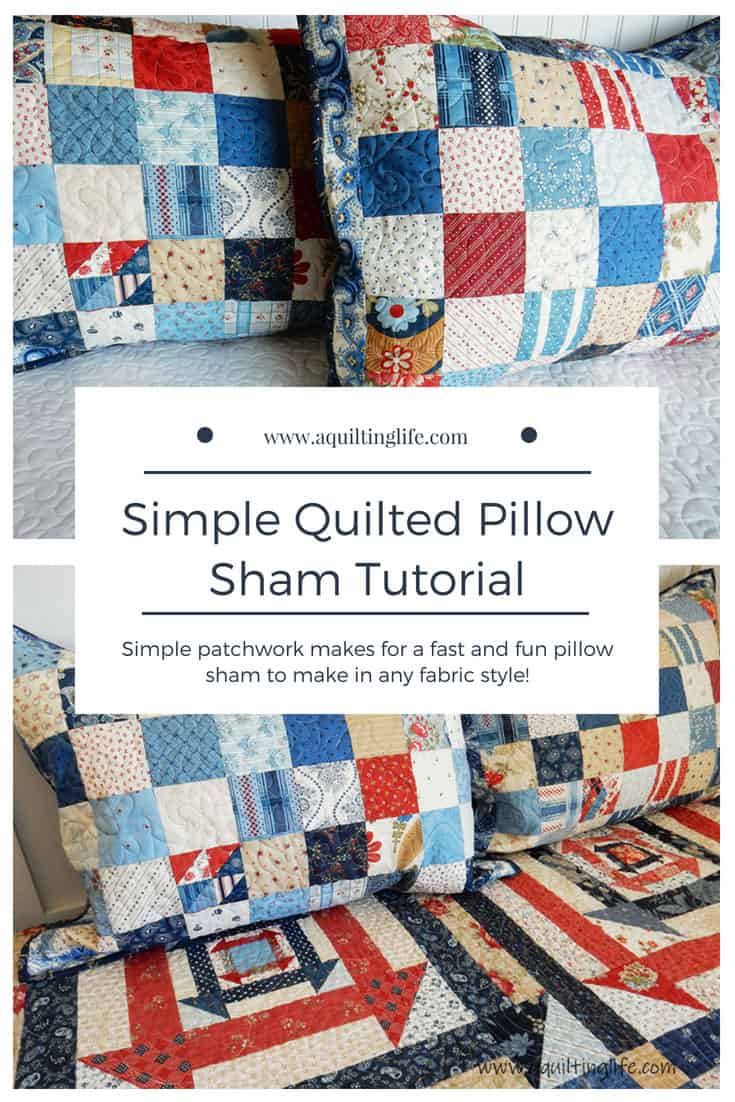
Hello and happy Friday! (This post was originally published in June 2018 and updated in June 2021). I’m happy to be sharing a really fun tutorial with you today–my simple quilted pillow sham tutorial! I love making quilted pillow shams with left over fabrics from my quilts. These shams really add so much to the décor, and you can also accent them with purchased pillows of a variety of sizes.
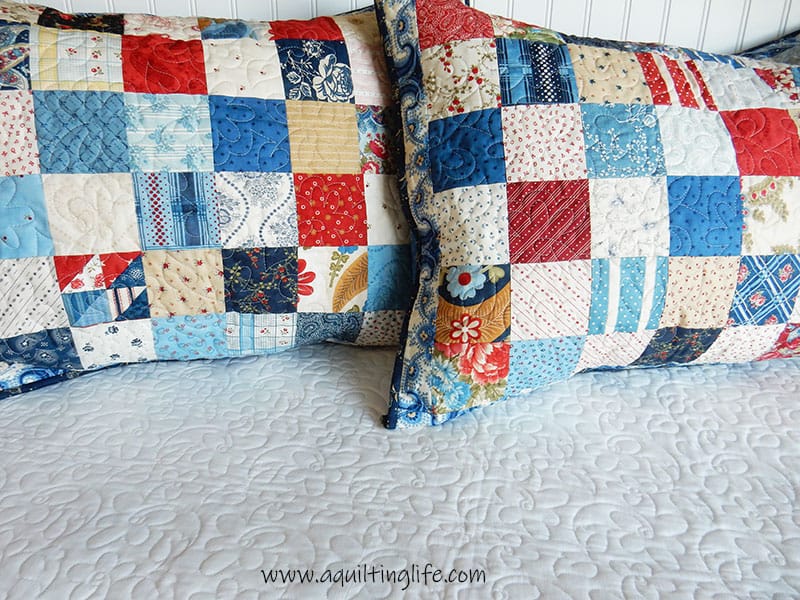
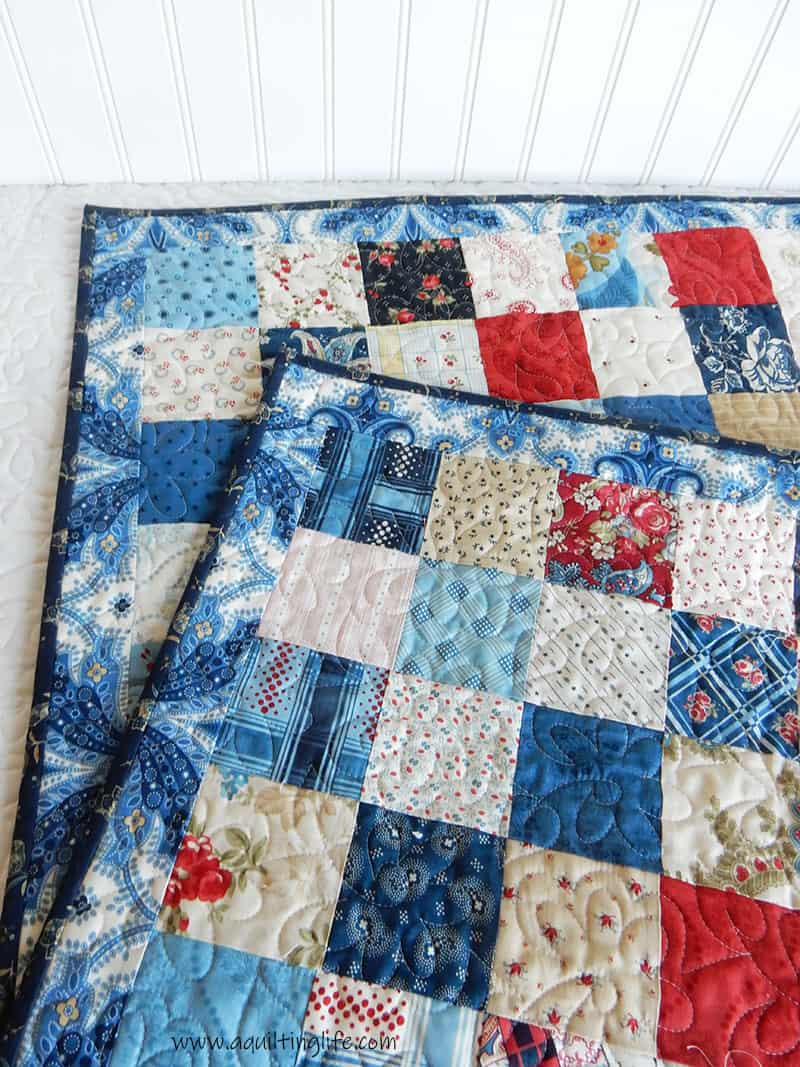
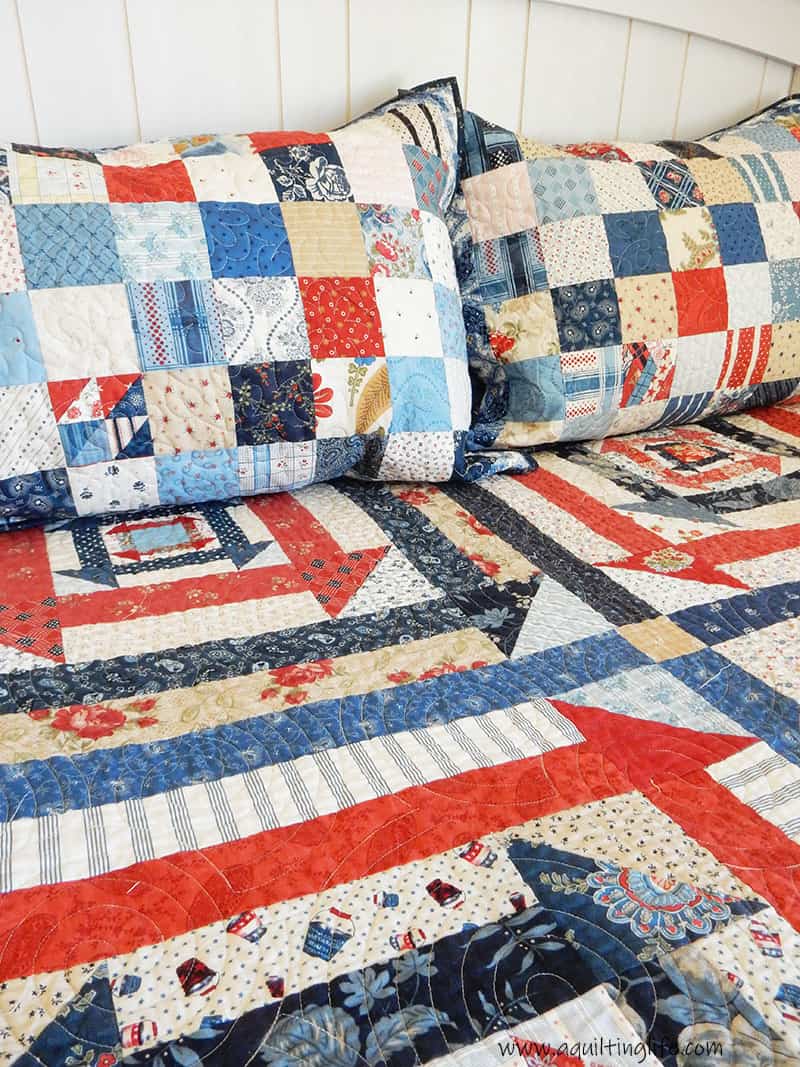
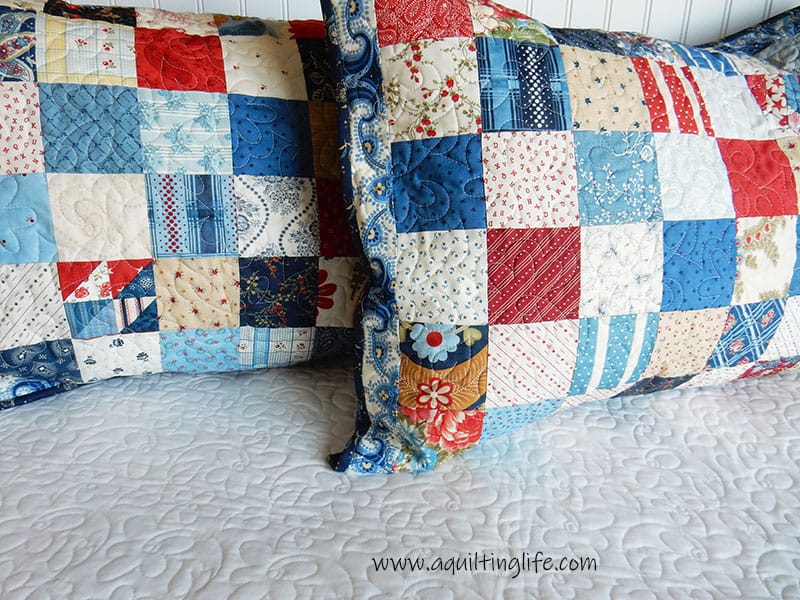
Materials for One Simple Quilted Pillow Sham:
- 48 squares in a variety of lights, mediums, and darks 3 ½″ x 3 ½″ (I tried for a mix of about 50% light and 50% medium/dark)
- ¼ yard for pillow borders (optional); crosscut into 2 rectangles 2″ x 18 ½″ and 2 rectangles 2″ x 27 ½″
- ¼ yard for binding (crosscut into 3 strips 2 ¼″ x width of fabric and piece together for the binding)
- Batting 27″ x 33″
- Muslin 27″ x 33″
- ⅔ yard Fabric for Flap Back Closure (crosscut 2 rectangles 19″ x 21 ½″)
- Standard sized pillow
 Piecing Instructions for the Simple Quilted Pillow Sham:
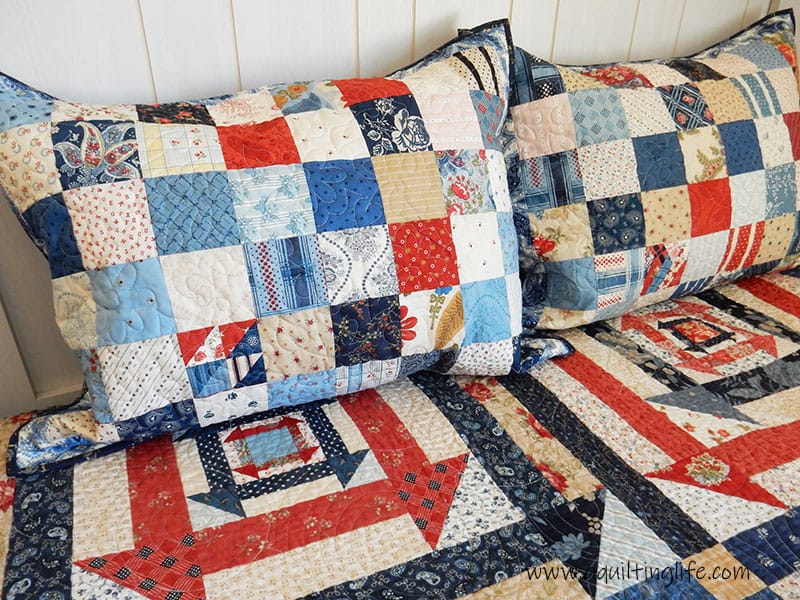
- Arrange the 48 squares into 6 rows of 8 squares each. Move squares around as needed in order to have an even distribution of your prints and colors. (I actually sewed all of my squares into pairs alternating medium/dark prints with the lights. Then I sewed the pairs into groups of four before laying them out and deciding on a final arrangement).
- Sew the squares into rows and then sew the rows together to create the simple quilted pillow sham center.
- Add a 2″ x 18 ½″ border strip to the left and right of the sham if desired. Press out toward the border fabric.
- Add a 2″ x 271 /2″ border strip to the top and bottom of the sham if desired. Press out toward the border fabric.
 Finishing Instructions for the Simple Quilted Pillow Sham:
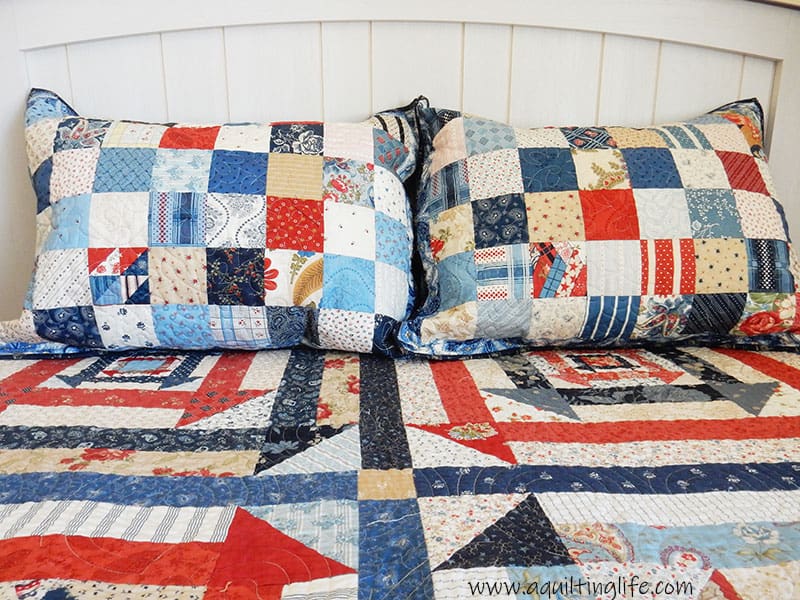
- First, layer a piece of muslin, the batting, and the pillow sham top and quilt as desired. My friend Gail did an all-over medium floral pattern on my shams.
- Next, trim the quilted pillow sham even with the edges of the sham front.
- To finish the long edges of the flap back sections, turn in ½″ on a 21 ½″ side and press. Fold over again and top-stitch to secure. Repeat for both back flap sections.
- Place the pillow sham front right side down. Then align an unfinished 21 ½″ edge of one of the flap back sections with the outer edge of the sham front. The flap back section should be placed right side up. (If you didn’t add borders, your flap back section will be a bit bigger. The important thing is to line up the side edges).
- Next, place the remaining flap back section right side up on top of the first flap back section. Align the unfinished 21 ½″ edge with the other side of the pillow. Flap back sections will overlap allowing you to insert a pillow in this opening when you’re finished.
- Use Clover Wonder Clips or pins to secure the edges. Sewing with the pillow sham front up, sew ¼″ away from all edges of the pillow sham front. If the pillow flaps extend a bit, trim them even with the pillow sham front after sewing.
- Finally, bind using your prepared binding. See my tutorial for binding here…and for making a scrappy binding see here!
Then, insert a pillow and enjoy your simple quilted pillow sham! I’m including a Pinterest graphic that you can use to make it easy to come back to this tutorial below.

 Piecing Instructions for the Simple Quilted Pillow Sham:
 Finishing Instructions for the Simple Quilted Pillow Sham:
Hildy says
Cute pillow shams!
De fleming says
I love your blog you always have something wonderful to make like the pillow shams today just whath.
I wanted to make. Thanks de
Donna says
Thanks so much for the Pinterest graphic. I’ve posted it to my
Quilts & Blocks board. Now I can finish the pillows on my new sofa – awful backs on them. Thanks again.
Patricia says
Thanks for the tutorial! I have wanted to make a sham for my bed.
Jackie Lohrey says
So cute! I’ve always been a pillow sham person and don’t quite understand why I don’t see it more with handmade quilts. Gives a nice finish to an already fabulous quilt. Not that I need anymore ideas…I am still trying to recover from the rush of great ideas I got for Christmas gifts for this year from the wall hanging post/video. Looks like Jackie will be a busy girl 🙂 Also waiting with great anticipation for more info and preorders for the new book. Love you tons and have a great day!
Patti McConnell says
I love these shams and jmarvel at ust how beautiful scraps of fabric can be. I have a couple cross stitch blocks that I think could replace the middle sections with! Thank you for this!
Lisa says
This is a great little tutorial. I would have never thought to do the blocks with a patterned quilt, but it really looks great! Ideas are popping in my head, now. Lol. Have a great weekend.
Susan Ioanou-Silver says
I enjoy your blog as well as your show on YouTube. I also like your patterns and fabric. I am a big fan of you and your daughter
Bear Creek Quilting Company says
Thank you for sharing. What a great idea.