Note: Originally published on 21 September 2017 and updated on 30 October 2020. See the step-by-step video tutorial included at the end of the post, too.
Hello! Today I’m excited to share with you a new bag tutorial for the cutest little patchwork bags ever made with Moda Candy squares (or 2 ½″ x 2 ½″ squares from your stash)! My patchwork bags feature The Front Porch fabric collection for Moda, but of course the possibilities are endless!
A Step by Step Patchwork Bag Tutorial:
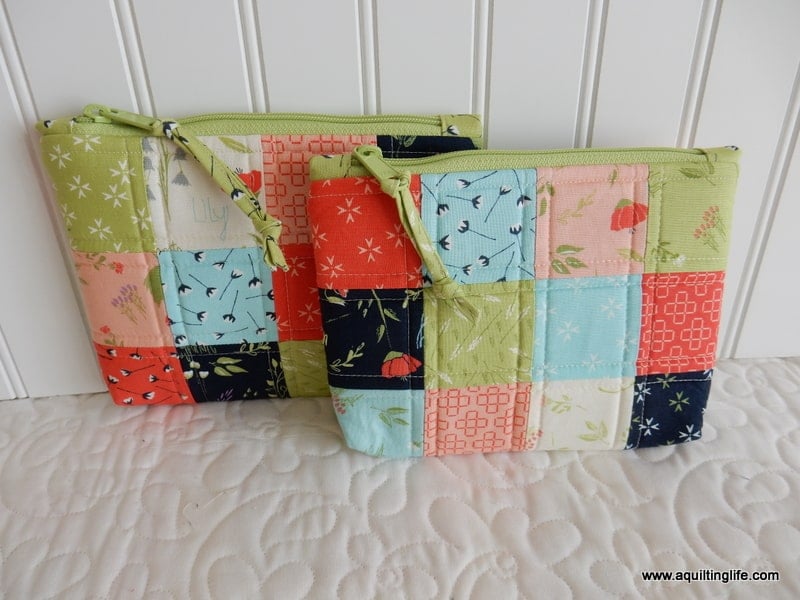
This patchwork bag is actually a variation on a little bag I published in Quilts & More back in 2014. (At the end of the post I have a link for a printable PDF for this project in two sizes, too).
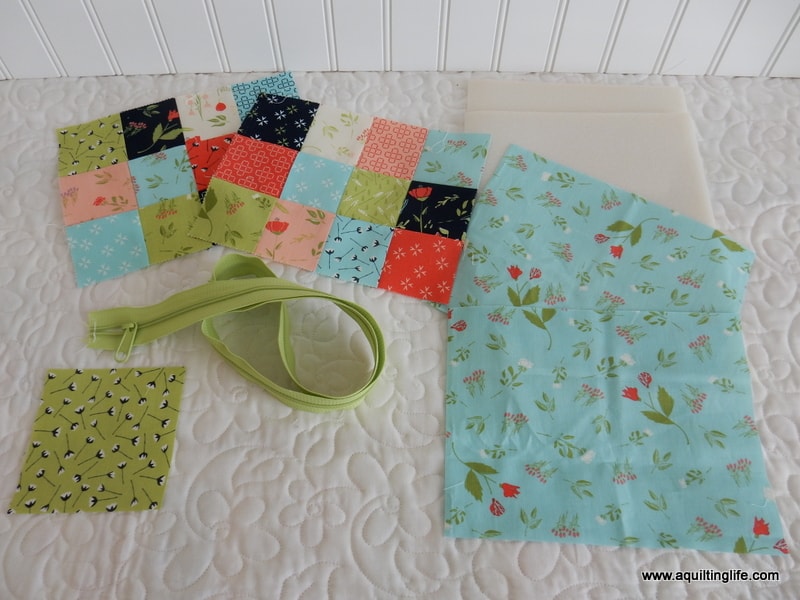
First, gather your supplies…here’s what you’ll need:
Patchwork Bag Tutorial – Materials:
- 24 squares 2 ½″ x 2 ½″ for front and back
- 1 square 4″ x 4″ for zipper tabs
- 2 rectangles 8″ x 10″ of Soft & Stable (batting or fusible fleece work, too)
- 2 rectangles 6 ½″ x 8 ½ for lining
- 1 zipper at least 9″ long (I like these zippers)
- Optional: 1″ x 12″ rectangle for zipper pull
- Optional but so useful: Clover Wonder Clips
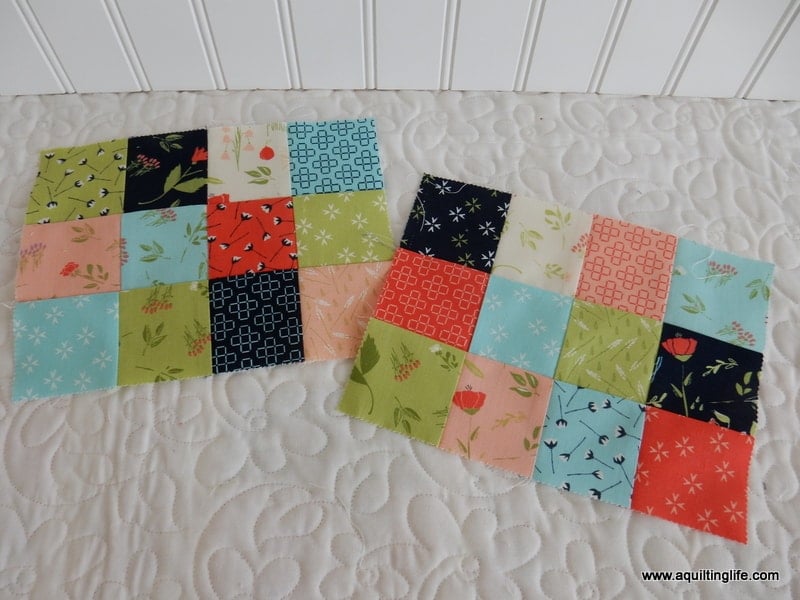
Patchwork Bag Directions
First, begin by sewing the 24 squares into a front and back section in three rows of four squares each. I like to make sure the squares are placed so that when the bag is completed the sides won’t have two of the same color matching up to one another.
If you would like, you can substitute 2 ½″ x 2 ½″ unfinished half-square triangles for squares on the front, back, or both. Use 3″ x 3″ squares and use this method to make perfect half-square triangles.
Center the patchwork front and back on the 8″ x 10″ Soft & Stable (or batting or fusible fleece). Quilt as desired. I quilted about ¼″ away from each side of my seam lines. Then stitch ⅛″ from all of the edges to hold it all together and trim to measure 6 ½″ x 8 ½″.
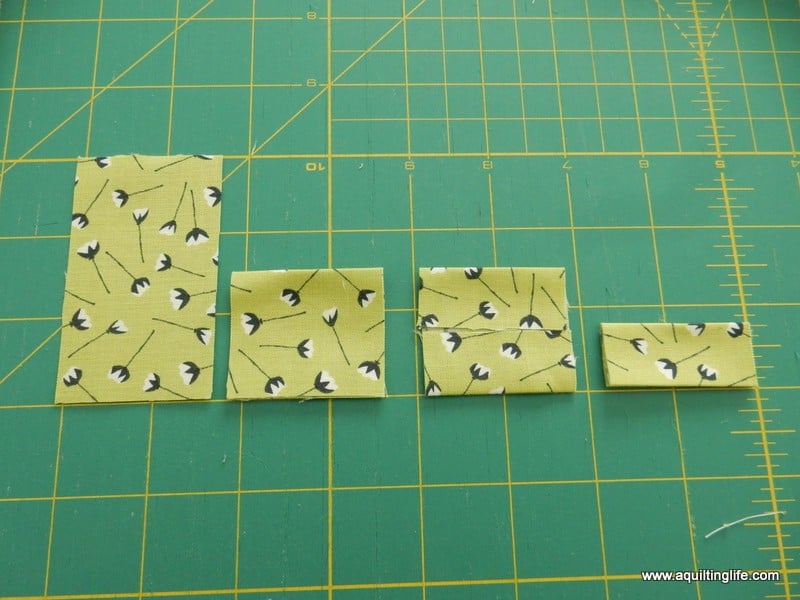
Zipper Tabs
Next you’ll make the zipper tabs for your patchwork bag. Cut the 4″ x 4″ square into two rectangles 1 ¾″ x 3″. Then follow the steps above to make the zipper tabs: fold in half; open up and fold outer edges to the center; then fold in half again.
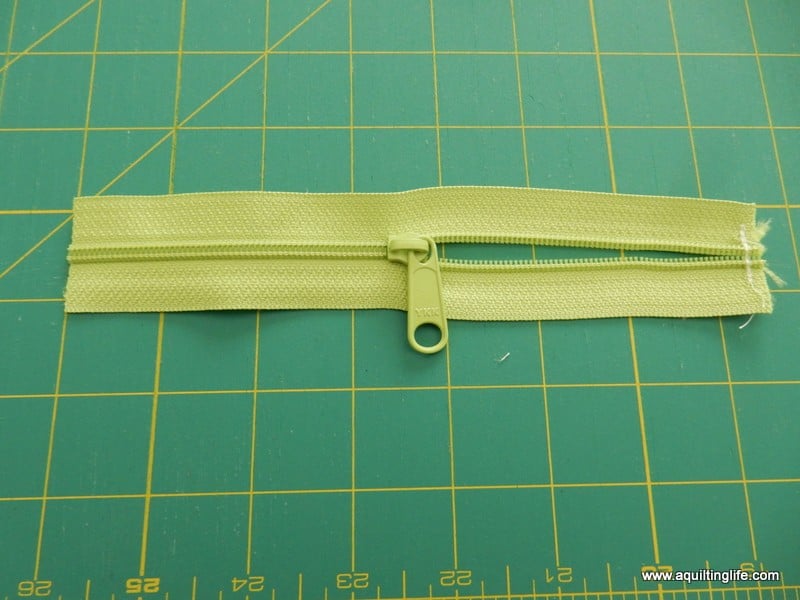
With the zipper pull tab in the center, trim the zipper to measure exactly 7 ½″ long.
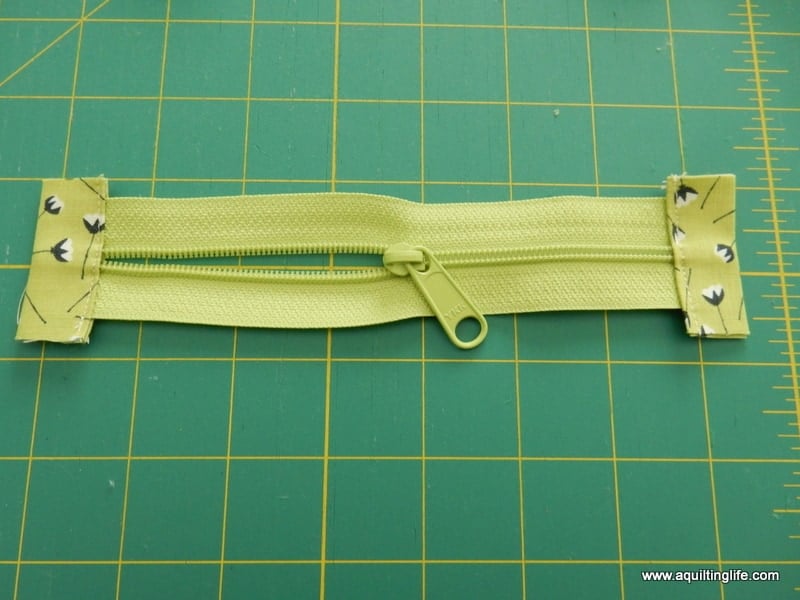
Then insert the ends of the zipper into the zipper tabs and stitch as shown about ⅛″ away from the edge.

Attach the Zipper
Next you will center the zipper on the front of the front patchwork section, right sides together as shown. Then, baste in place ⅛″ away from the edge as shown, moving the zipper pull as needed so you can sew a straight line.

Add Linings
Now place one of the 6 ½″ x 8 ½″ lining rectangles on top of the zipper/front section. Use Clover Wonder Clips to secure everything together (if you haven’t used the Wonder Clips yet, you must try them for bags…they make everything so much easier)! Sew using a ¼″ seam allowance and then trim the extra zipper tab fabric even with the top.
Then, flip the lining to the other side (so the wrong side of the lining is touching the wrong side of the patchwork front. Press well and top-stitch on the front ¼″ from the edge of the seam.
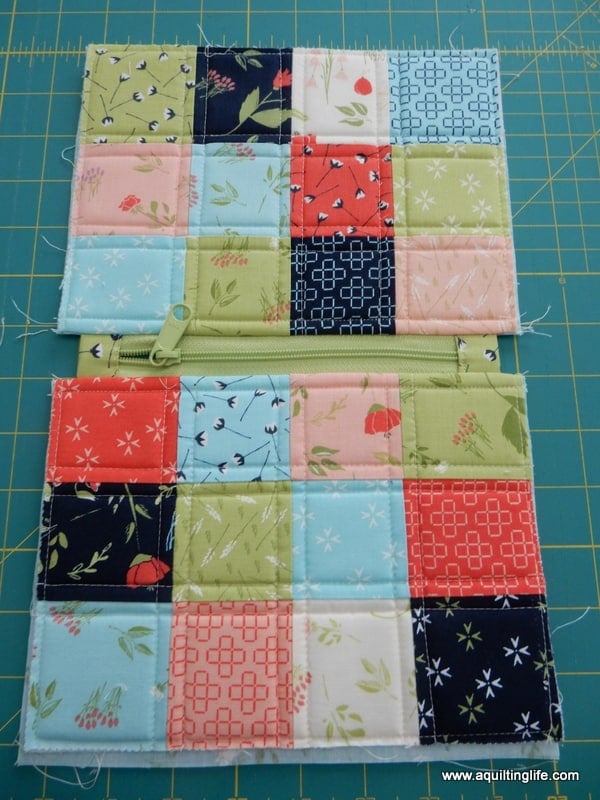
Repeat on the other side of the zipper with the remaining patchwork section and lining fabric. Note that the zipper tab unit should be smaller than the patchwork sections as shown.
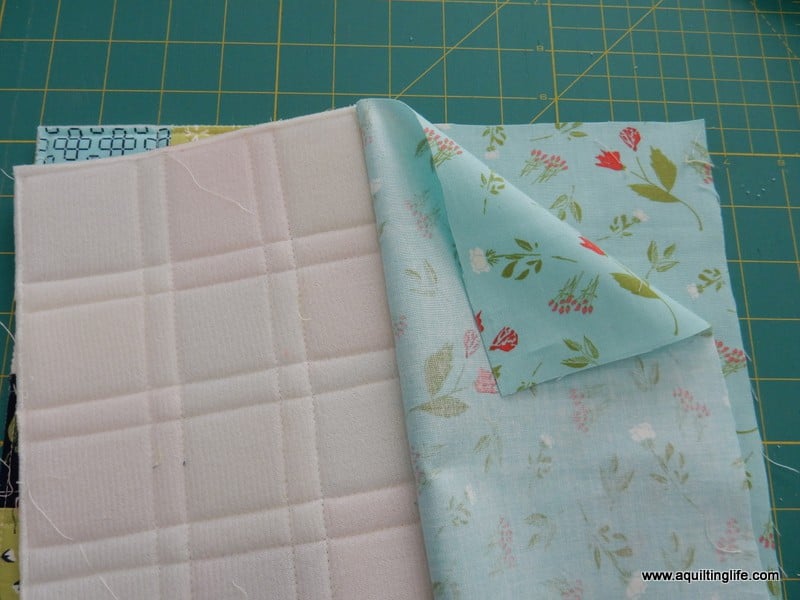
Sew the Bag Edges
Now…make sure the zipper tab is in the middle of the zipper so the zipper is partially open before going to the next step. This is really important…don’t forget!
Open out the unit and place the patchwork sections right sides together and the lining sections right sides together. I like to match the seam allowances on the sides and bottom of the patchwork pieces.
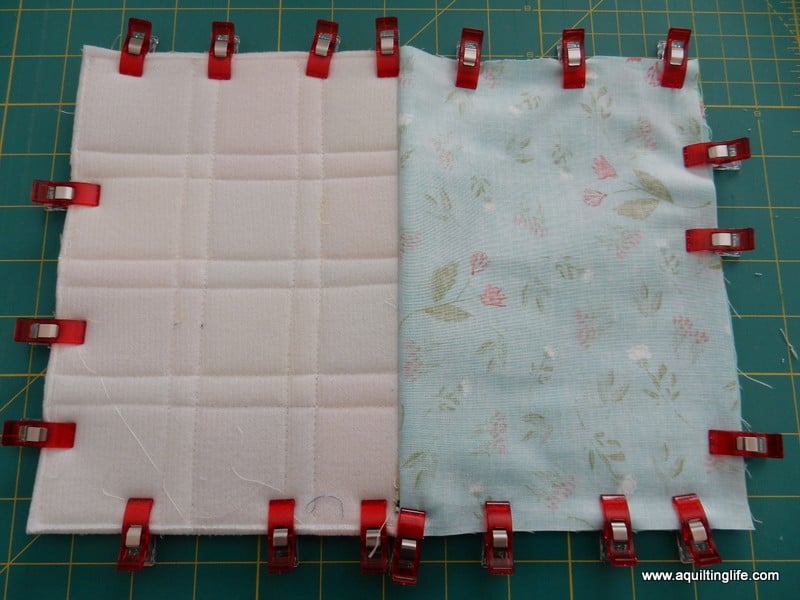
Use the Wonder Clips to hold your patchwork bag all together. You might want to use extra clips at the side centers where it is a little more bulky. Sew ¼ all the way around the edges, leaving a 3″ opening in the bottom center of the lining.
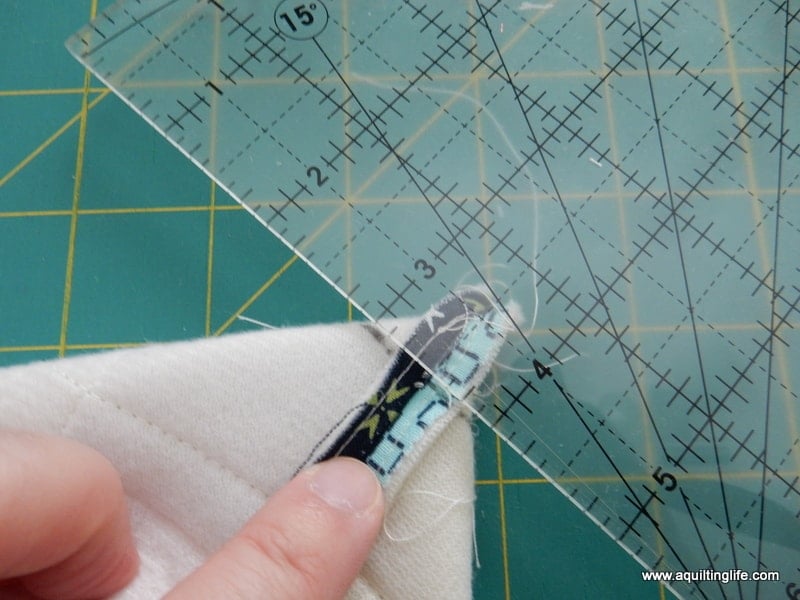
Box the Corners (optional)
Boxing the corners isn’t necessary but makes for a neater finish. Fold each corner section right sides together into a triangle shape as shown. Align the ½″ mark on a ruler with the top point with ½″ on either side of the seam allowance. Draw a line and then sew directly on the line. Repeat on all four corners.

Finish the Bag
Trim the boxed corners about ¼″ beyond the seam allowance. Then turn everything right side out through the opening in the lining. Because the zipper is left partially open, you’ll be able to completely turn the bag right sides out. Hand or machine stitch the opening in the lining and press your patchwork bag well.
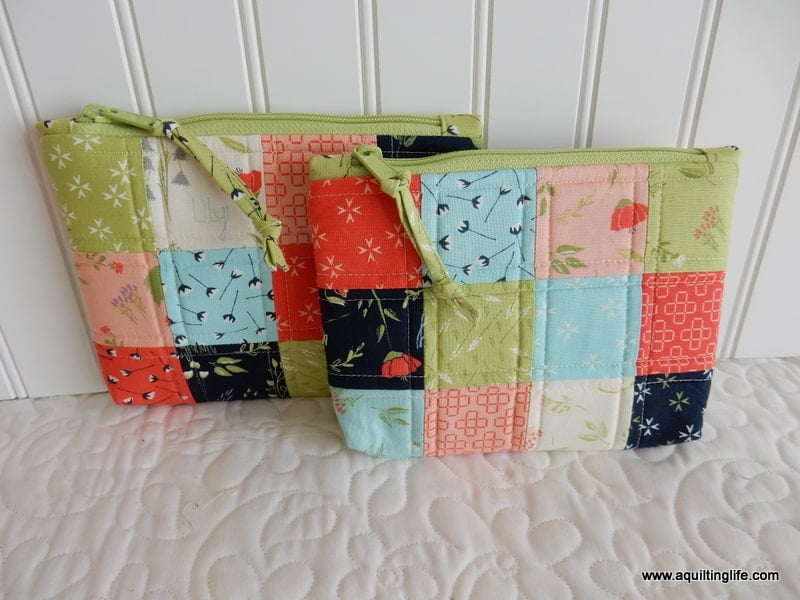
Add a Zipper Pull
Finally, I made zipper pulls using 1″ x 12″ strips and a Clover ½″ bias tape maker…the bias tape maker makes it super easy to make narrow pulls.
Pretty Patchwork Pouch Video Tutorial
You can watch the step by step video tutorial above or go here to watch it on my YouTube channel.
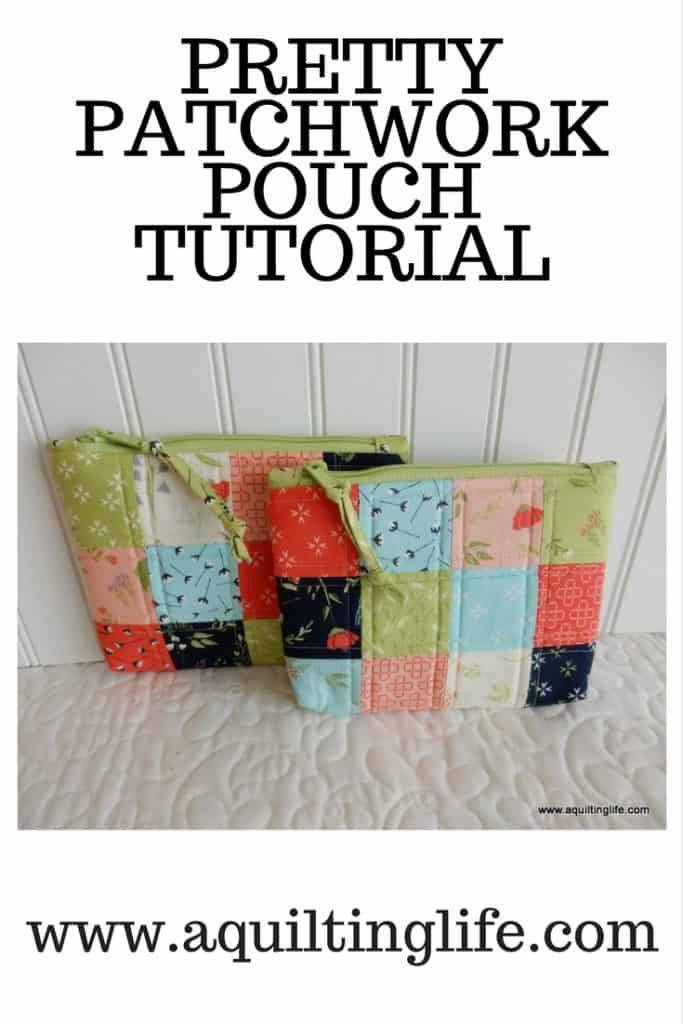
These patchwork bags really go together quite quickly. You can easily make one in an afternoon or evening. And the bags are just the right size for make up or for storing small items in your purse or tote to keep them more organized. I’d love to see some of the patchwork bags you make using this tutorial…happy sewing!
And, go here for a PDF printable for this project.
Happy quilting, and thanks so much for stopping by!


Carol C. says
Thanks so much for sharing this tutorial — your simple step-by-step directions are very clear, and make this look doable and fun! I put this on my to-make-for-Christmas-gifts list!
T Holzer says
Morning, Sherri. I sent you a few emails this morning. I have a mini charm pack that my friend brought back for me from market, so I'll give this cute bag a try tomorrow…I'll have to steal a zipper from a friend tho! Don't worry about getting my order to me before you go…I'm in no hurry.
Hildy says
These bags are so cute and the zipper has the perfect sahde of green to go with your fabrics. Have a wonderful weekend!
Sharon Brendle says
These bags are adorable and perfect for a cute, quick gift. Thanks for sharing your tutorial.
Rosemary B❤️ says
I love this. I am going to make this one. So adorable
I might even make a few smaller and bigger. That would be fun.
Thank you for sharing your creativity and skills
Katherine says
Looking forward to trying this out. Thanks so much!!
Victoria says
So cute! Thank you for the tutorial. Just to check, you're sewing through the zipper tabs?
Elaine Heinrich says
Sheri, Thank you for sharing the tutorial for the zipper bag! So easy to understand directions and a wonderful little bag for so many reasons. ???
Donna says
Oh so love this bag. I have 1 1/2 in triangles already cut and ready to use, so am going
to use them in this bag. THanks for the great instructions and photos.