
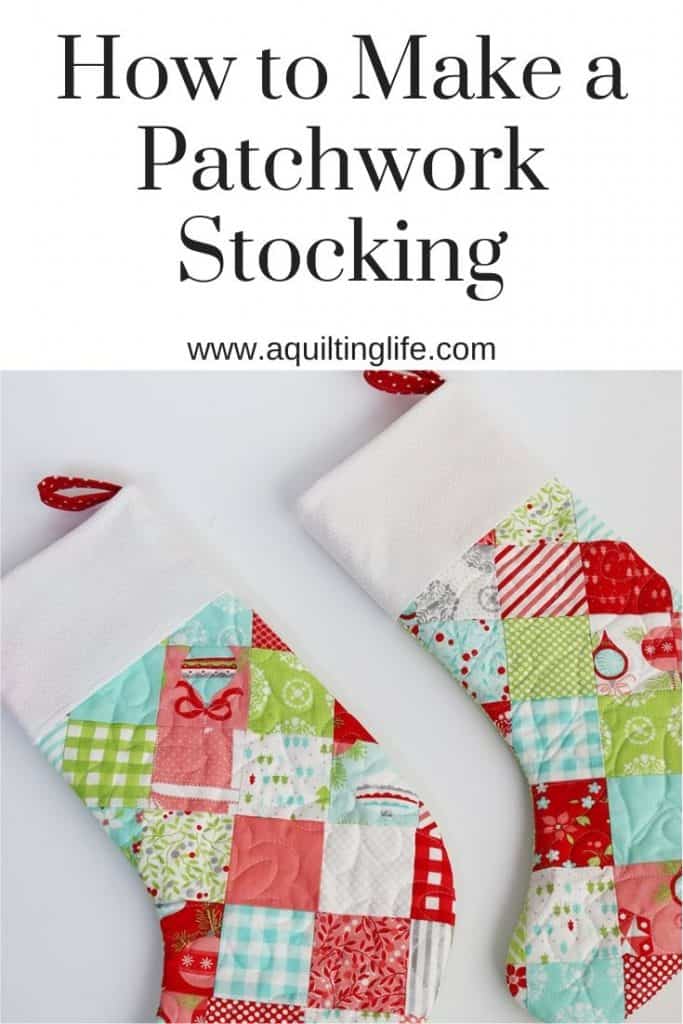
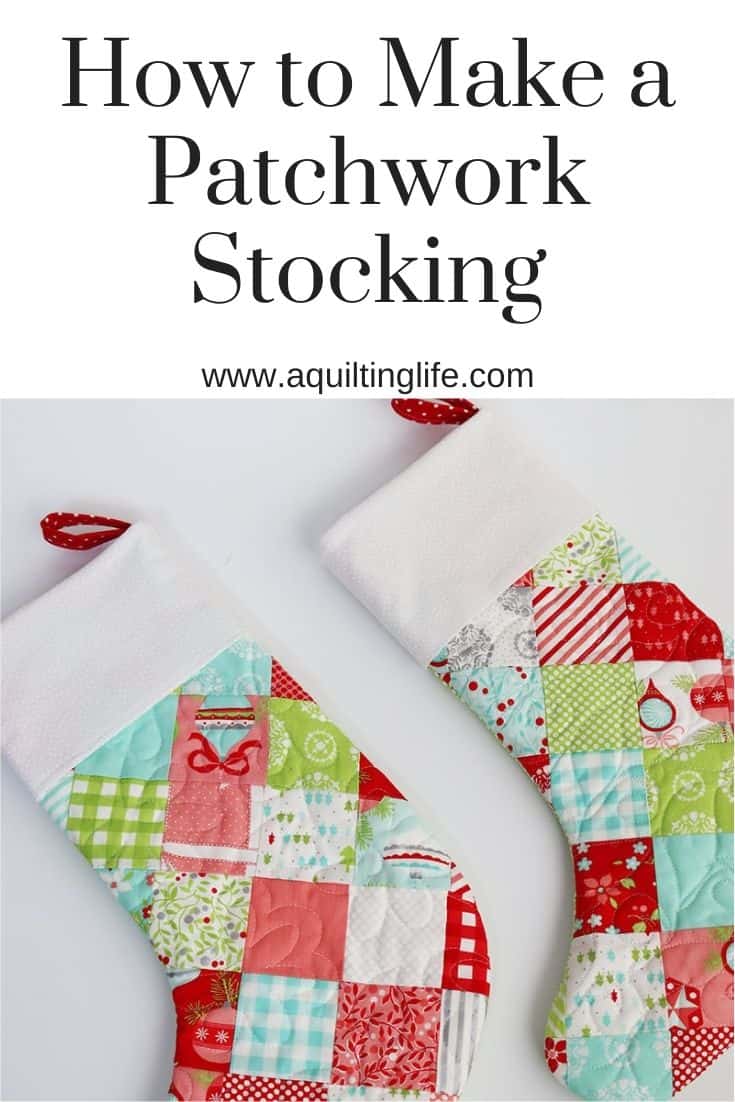
Hello, friends! I recently made a new patchwork stocking for a little granddaughter and decided to film my method. And I also have a free PDF stocking template you can print out and use. I hope you’ll enjoy today’s How to Sew a Patchwork Christmas Stocking blog post and video.
How to Sew a Patchwork Christmas Stocking
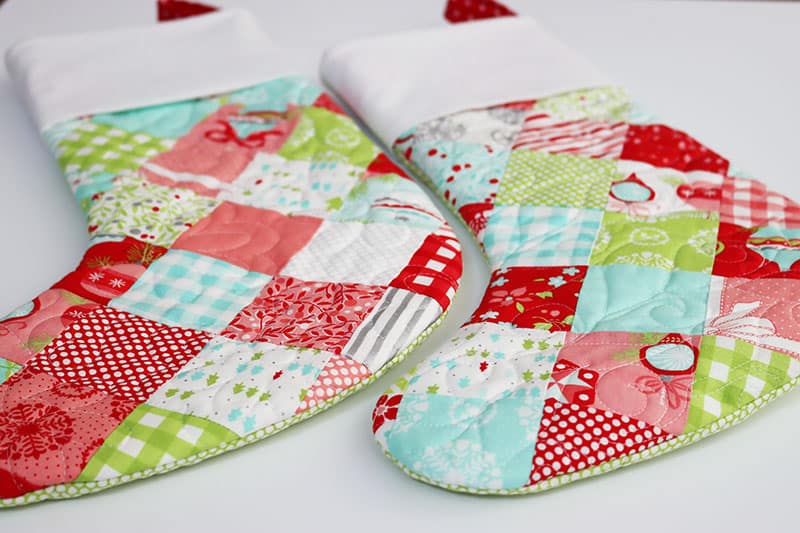
Below are the supplies you’ll need for one stocking. The fabrics I used for my stockings are from the Vintage Holiday collection by Bonnie & Camille for Moda fabrics from a few years ago.
Supplies
- 1 Mini Charm Pack or at least 40 squares 2 ½″ x 2 ½″
- ¼-yard cuff fabric
- ⅓-yard stocking backing
- ⅓-yard stocking lining
- 12″ x 32″ fusible fleece or batting
- Ribbon scrap or 2 ½″ x 5″ rectangle for stocking hanger
- Freezer Paper (optional)
- Stocking Template (download here or click the button below)
- Clover Wonder Clips
Sewing the Patchwork Front
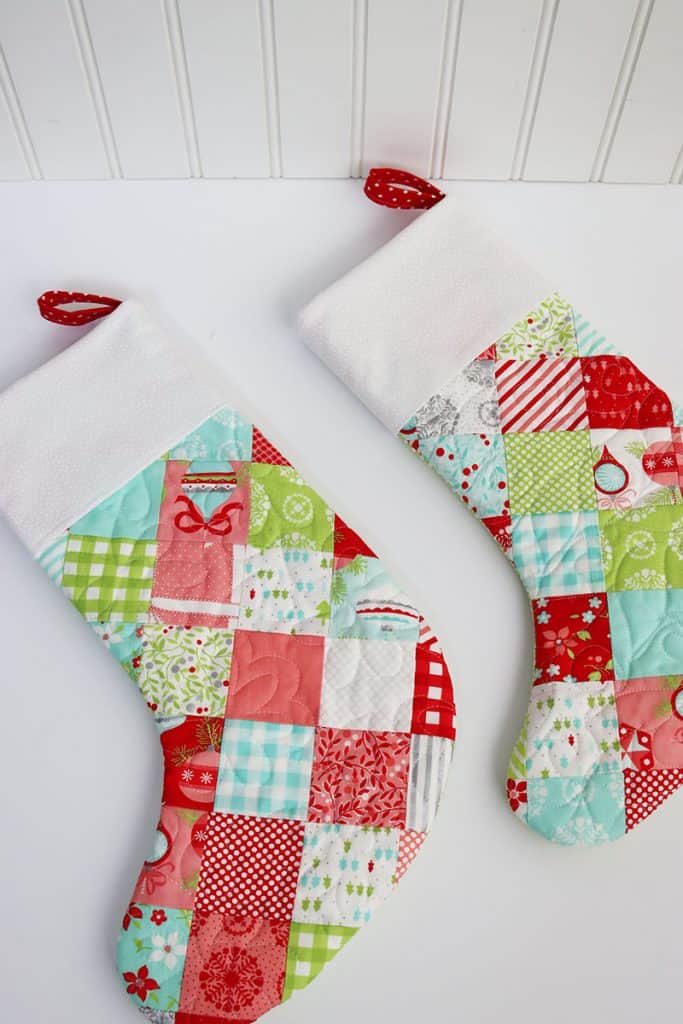
For a straight-set patchwork stocking sew four rows of four squares to the top of four rows of six squares. Or, for a diagonal-set patchwork like mine sew squares on point as shown in the diagram below.

You can make a similar patchwork section for the stocking back, or use a quilted piece of fabric as I do.
Tracing the Stocking Template
You can simply cut out the stocking template and pin it to your fabric. Then cut out the fabric pieces from the template. My preference, though, is to trace the template onto freezer paper for use. I show how I use this freezer paper template in the video. Be sure that your stocking front and back are reversed so that with right sides up the toes are pointing in opposite directions.

Make the Cuff
Sew the 8″ x 12 ¼″ cuff fabric right sides together along the 8″ side. Fold the right side up to bring all of the raw edges together as shown in the video. Press.
Make the Stocking Hanger
Use a 5″ length of ribbon for your stocking hanger, or use a 2 ½″ x 5″ rectangle to make a stocking hanger as shown in the video.
Sewing the Stocking and Stocking Lining
Sew the stocking front and back with the right sides together using a ¼″ seam allowance. Turn right side out and press. Sew the stocking lining sections right sides together using a ¼″ seam allowance. Keep the lining as sewn with the right sides inside.
Finishing the Stocking
- Place the stocking lining inside the stoking with the wrong sides together. The right side of the lining will be on the inside while the right side of the stocking will be on the outside.
- Match the upper raw edges, and also match the front and back seams of the stocking and lining. Then clip together using Clover Wonder Clips.
- Place the folded stocking hanger inside the stocking with raw edges even with the top of the stocking at the back seam.
- Then, place the folded cuff inside the stocking on top of the hanger also aligning raw edges and front and back seams.
- Sew through all layers using a ¼″ seam allowance.
- Finally, turn the cuff to the outside of the stocking using the stocking hanger to help pull out the cuff. Then, press well.
Patchwork Christmas Stocking Video
Watch the Patchwork Christmas Stocking Video above or go here to watch it on our YouTube channel. In the video I’ll walk you through each step of the process to make your own patchwork stocking.
I hope you’ll enjoying making a Patchwork Christmas Stocking! Happy quilting!
Nancy F Lambert says
Sherri,
Thank You.