
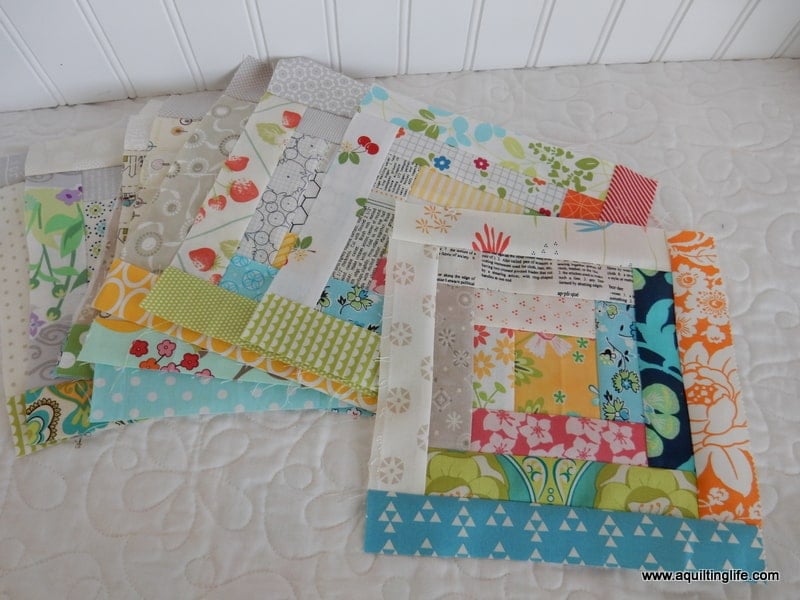
Hello and happy Monday! Today I’m happy to share a tutorial for how I make my favorite scrappy log cabin blocks! My directions are for my favorite size…an 8″ finished (8 ½″ unfinished) block.
I like this size
because it utilizes small pieces of fabric, it goes together quickly,
and it’s a great size for a variety of projects. Gather up some of your favorite
fabrics, and let’s get sewing!
I like to gather up a variety of light/low volume fabrics along with a variety of medium/dark print fabrics. I keep strips in bins so it’s easy to pull them for scrappy projects. If you cut a few extra strips from left overs from your favorite projects you’ll have a good collection of strips to work with. Sometimes I’ll even take an afternoon and cut pieces from favorite fabrics I haven’t used yet just to be able to use them in scrap projects.
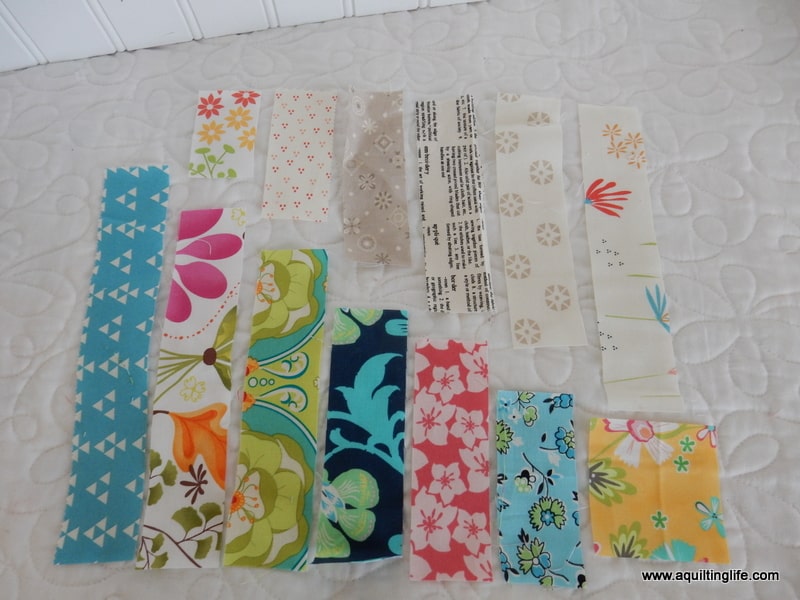
Cut one center square 2 ½″ x 2 ½″. Then cut one of each of the following sizes of light/low volume fabric rectangles:
- 1 ½″ x 2 ½″
- 1 2/” x 3 ½″
- 1 ½″ x 4 ½″
- 1 ½″ x 5 ½″
- 1 ½″ x 6 ½″
- 1 ½″ x 7 ½″
Next cut one of each of the following sizes of medium/dark fabric rectangles:
- 1 ½″ x 3 ½″
- 1 ½″ x 4 ½″
- 1 ½″ x 5 ½″
- 1 ½″ x 6 ½″
- 1 ½″ x 7 ½″
- 1 ½″ x 8 ½″
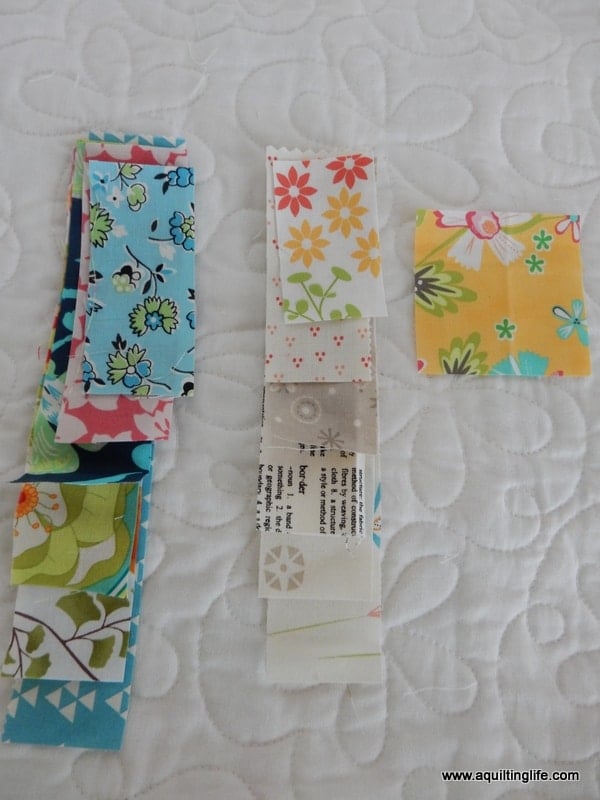
Stack your lights and darks into two separate piles with the largest pieces on the bottom and the smallest pieces on top. This helps keep everything in order when you start sewing.
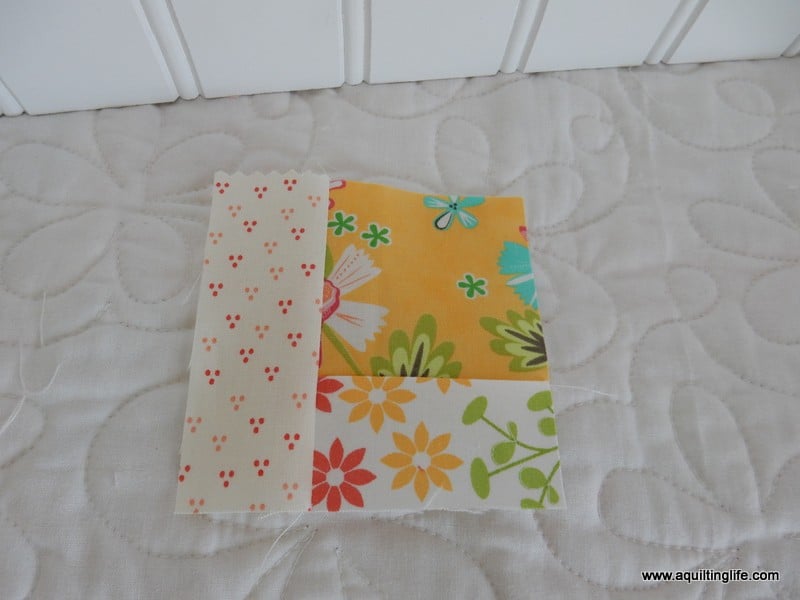
Begin by sewing the 1 ½″ x 2 ½″ light rectangle to the bottom of the 2 ½″ x 2 ½″ center square. Use a ¼″ (or scant ¼″ seam, if necessary) and press out toward the light fabric. Keeping the seam allowance accurate will ensure that the pieces will all fit. If you find your pieces are too short, then your seam allowance is probably just a little too big.
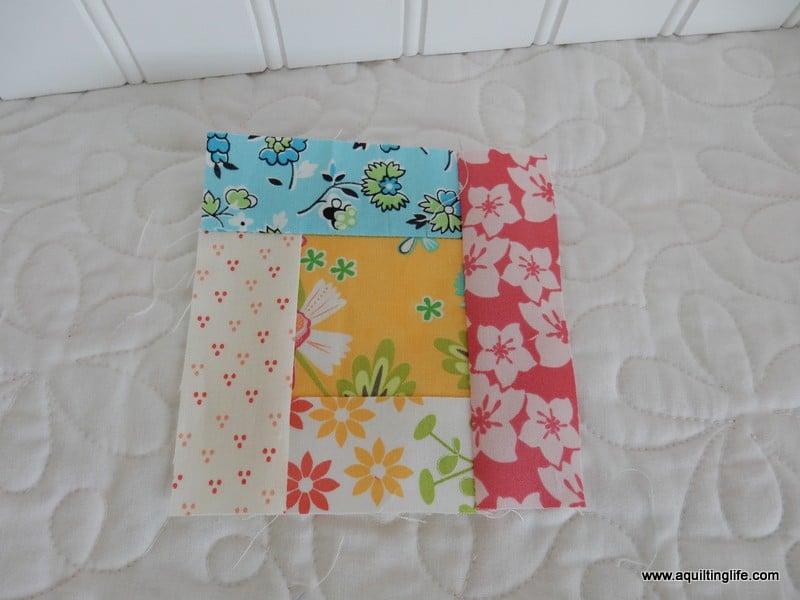
Continue to press out after each new piece is added to your block. Add the 1 ½″ x 3 ½″ light rectangle to the side as shown. Press out again.
Now the fun begins. Continue working around the center square adding fabrics in pairs. After adding the two light fabrics, you’ll add two dark fabric pieces in the same way. Your fabrics are already stacked up in just the right order.
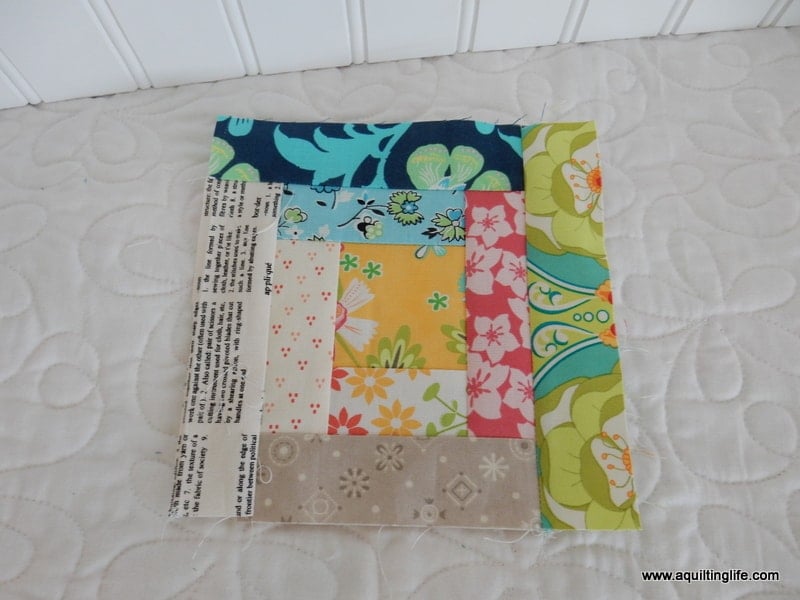
Just remember to always add in pairs…two lights, two darks, two lights…and so on. Pressing after each addition keeps your block in good shape.
Just keep sewing, and just keep pressing! If you cut fabrics for more than one block at a time you’ll be able to easily replace a fabric if you’re not happy with the layout once you are ready to sew it into the block. I actually replaced one fabric while sewing this block.
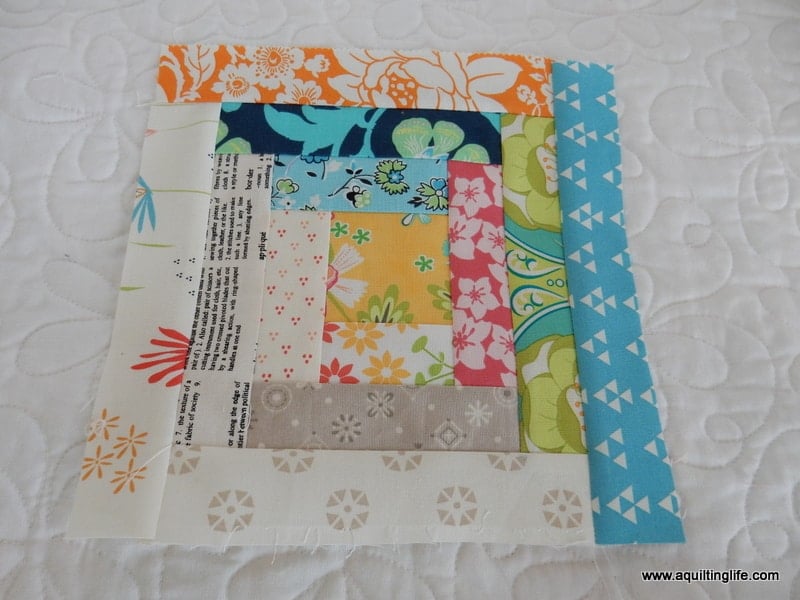
And you’re done! A fun and happy scrappy log cabin block!
This is one of those projects that I’ve been working on for awhile…and that’s okay. I want this project to last a little while so it can have more of my favorite fabrics included!
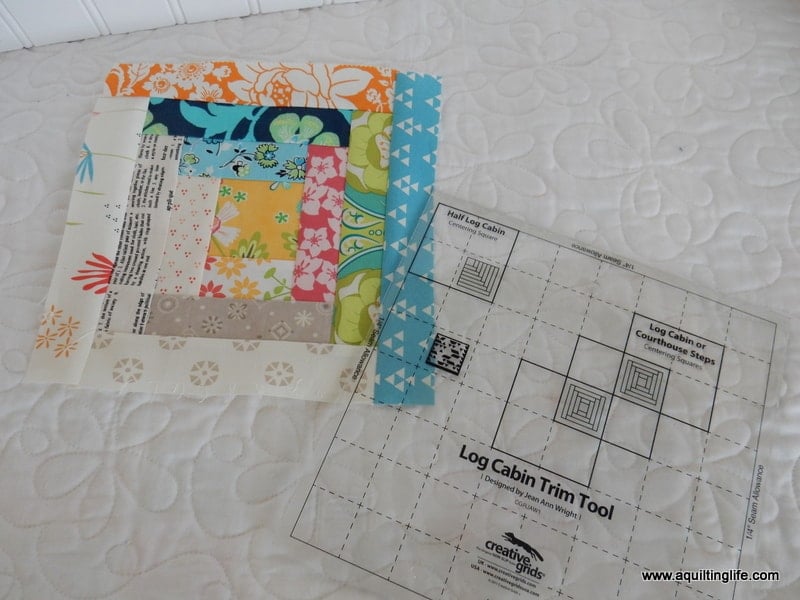
I also want to mention another great method for making scrappy log cabin blocks this size. I really like the Creative Grids Log Cabin Trim Tool for 8″ Finished Blocks Quilt Ruler (CGRJAW1)![]() . When using this ruler you’ll want to begin with a 2 ½″ square as in my tutorial, but you will need to use strips larger than 1 ½″ in width. I like to use 1 ⅝″ or 1 ¾″ strip. You’ll use larger strips because your block will be trimmed after each strip. This ruler really helps out if you have trouble keeping those ¼″ seams accurate.
. When using this ruler you’ll want to begin with a 2 ½″ square as in my tutorial, but you will need to use strips larger than 1 ½″ in width. I like to use 1 ⅝″ or 1 ¾″ strip. You’ll use larger strips because your block will be trimmed after each strip. This ruler really helps out if you have trouble keeping those ¼″ seams accurate.
It’s also an easy way to make this block if you don’t want to worry about cutting strip lengths and just want to get sewing!
Just a warning…these blocks are so much fun that you might be making a lot of them…
which means someday you’ll have an amazing scrappy log cabin quilt! Remember, this is a terrific size block for making wall hangings, table runners, and pillows, too. So if you end up just making a few blocks you’ll be sure to be able to use them for something fun!
Happy quilting! And thanks so much for stopping by!

Needled Mom says
Your blocks look terrific. Great tutorial too.
Susan Smith says
I love this scrappy project! I made one block as a sample, now I want to go sort through every one of my scraps and cut them all to size!!!
Judy says
Thank you very much. I have this tool and have never used it! I only have a few scraps of this size. It's time to get busy with some jelly rolls!
Hildy says
Love your scrappy blocks!
Rosa says
Your block is dazzling.Great tutorial!!
Cat Callicoat says
Thank you for sharing this!!!
Susan P says
I love you blocks…..your scrap fabrics are beautiful!
Little Quiltsong says
Great tutorial. The 8" grid ruler is on my wishlist, but I didn't realize my strips have to be wider than 1 1/2" – thank you for mentioning this. Love your blocks with the low and medium volume fabric choices.
Rosemary B❤️ says
I like this block, and I have so many scraps and bits, I could make a thousand billion of these…. just need some time.
Thank you loads for sharing this.
Lara B. says
…. and they look particularly great the way you've combined scraps Sherri!