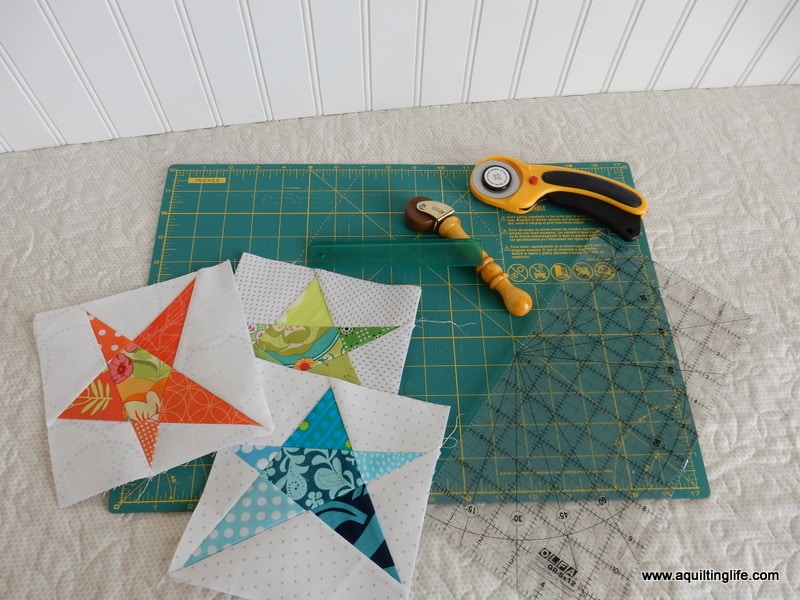
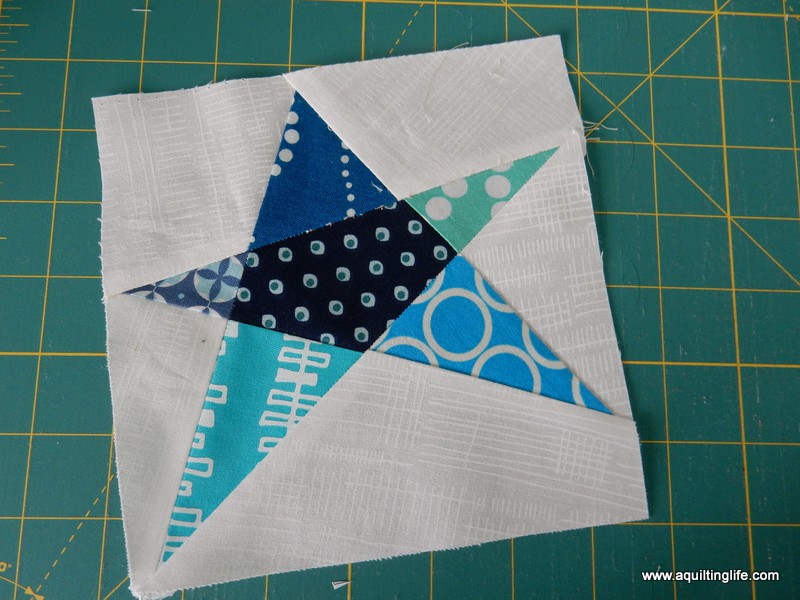
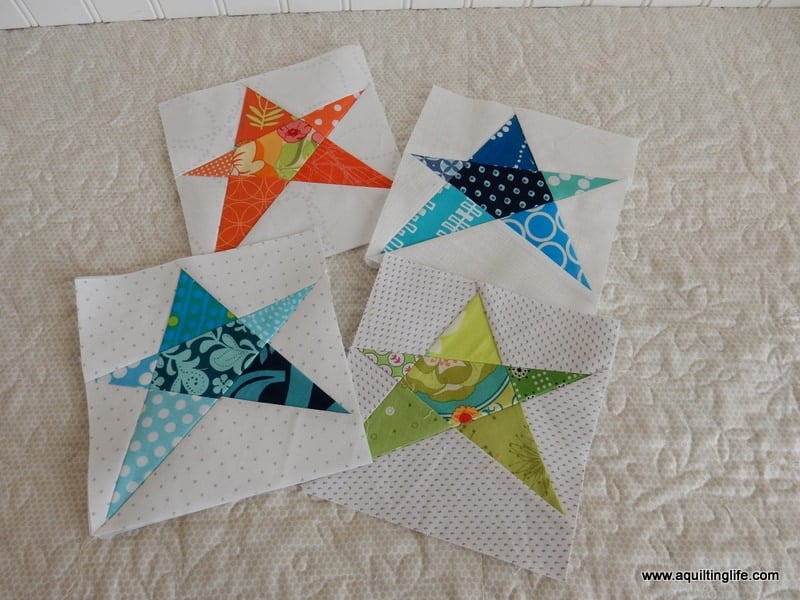
Hello! Happy Tuesday! I recently made some fun foundation-pieced star blocks for a Bee that I’m participating in and decided to take some photos along the way to share my process and a few tips for foundation paper piecing.
Foundation paper piecing allows you to create some amazing patterns and
designs with incredible accuracy, and it’s not terribly difficult–it just takes some basic supplies and a little practice!
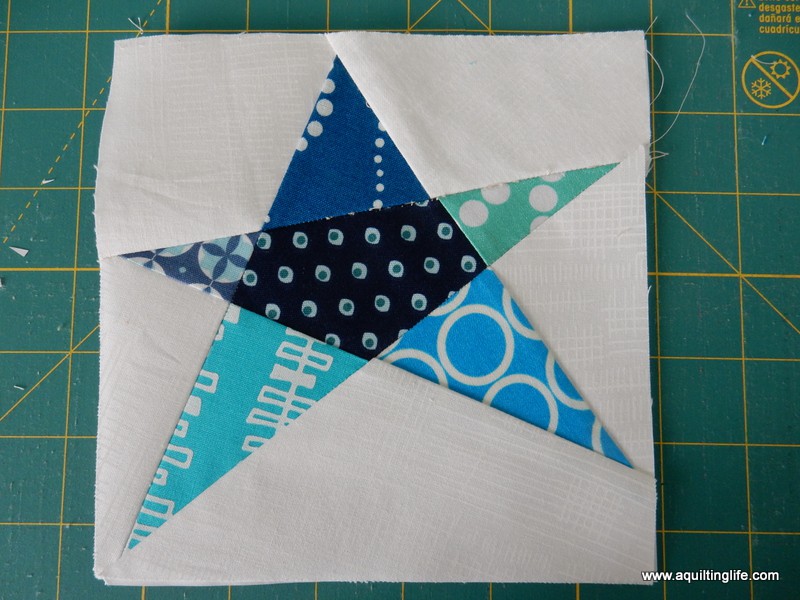
The block I’m using for my tutorial is the Confetti Star block by Amy Friend. Each star measures 6″ x 6″ finished, and you can put four of them together for a very fun and scrappy 12″ x 12″ finished block.
Here’s what you’ll need:
- Cutting mat, rotary cutter, and acrylic ruler
- Add An Eighth (CM Designs Add-An-Eighth Ruler, 6-Inch, Green)
ruler
- Hand pressing tool (optional–to eliminate trips to the ironing board)
- Scissors for cutting paper
- Acid free glue stick
- Pattern and fabrics
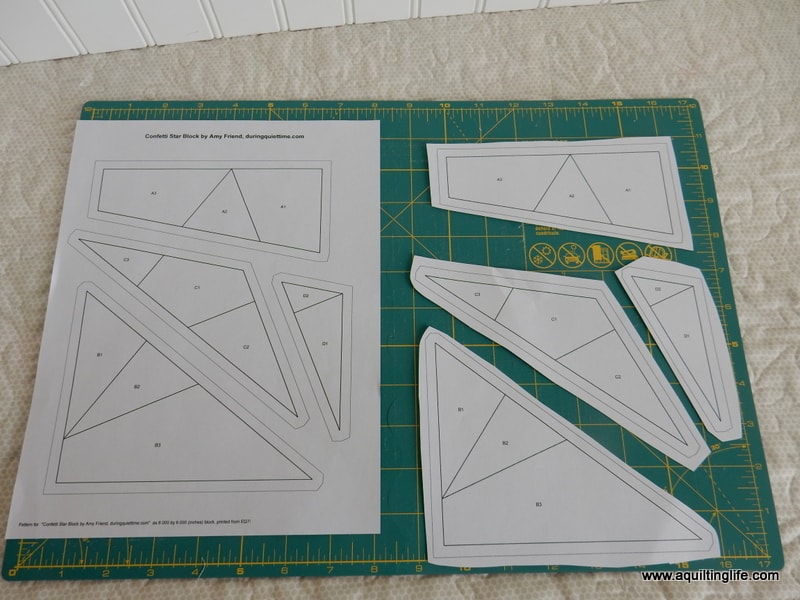
Begin by downloading and printing the pattern, making sure that the block pieces have printed to the correct size (most pattern writers will give you a measurement to check to ensure accuracy).
Next, using scissors for paper, cut the pattern as directed into the individual units to piece.
When foundation pieced units include background and print fabrics I like to mark with a dot the section of the pattern that will have a print fabric in that position. It helps me keep from putting the wrong pieces of fabric in the wrong places.
Next, make sure your fabric pieces are big enough to cover not only the design area of the unit but also to cover all the way to the outer line (you will be sewing on the bold lines and trimming the individual units on the lighter outer lines once all of the fabric pieces have been sewn in place). It’s better to have fabric pieces that are oversized than to have to worry about re-doing a section because it doesn’t completely cover the paper. There is a fair amount of fabric waste with this method, but the results are worth it!
Fabrics are aligned on the wrong side of the paper, and all sewing will take place on the right side of the paper, making it easy for you to sew exactly where you need to stitch.
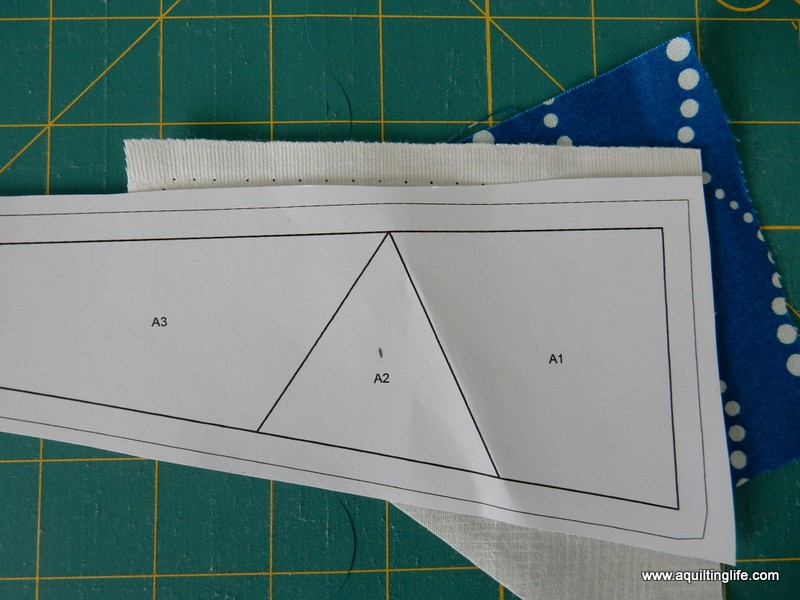
For this unit, fabric A1 will be sewn to fabric A2 first, and then fabric A3 will be added.
Begin by placing fabric A1 with the right side up and the wrong side of the paper touching the wrong side of the fabric. Make sure the fabric completely covers A1 and the ¼″ seam allowance on all sides. You may want to use just a dab of acid free glue from a glue stick here to adhere fabric A1 to the paper. This prevents the fabric from sliding out of place while you add the next fabric and while sewing. Some people use glue with each fabric; however, I only use as needed–usually with larger pieces of fabric.
Place fabric A2 right sides together with fabric A1 so that when you sew on the line between the two sections fabric A2 can be folded on that seam line to cover all of A2 on the paper.
Tip: Shorten the stitch length on the machine and sew directly on the line between A1 and A2. Shortening the stitch length makes it easier to remove the papers later.
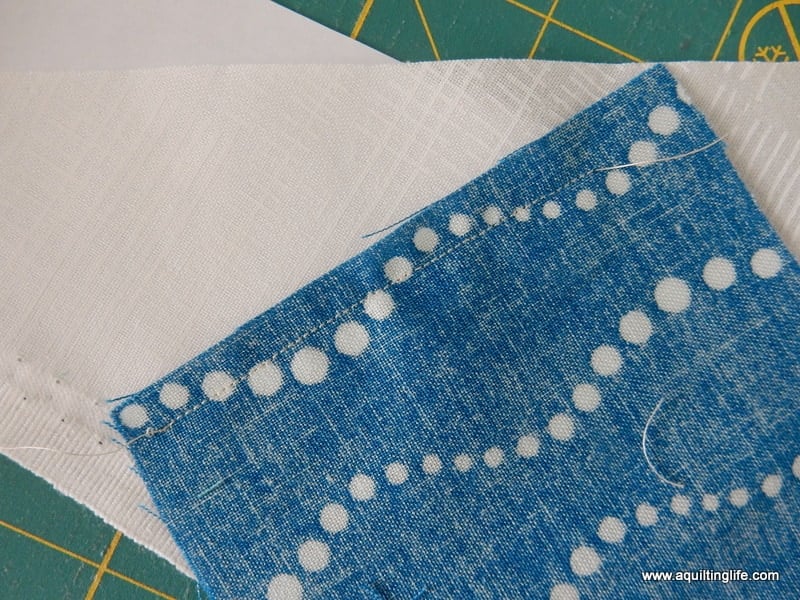
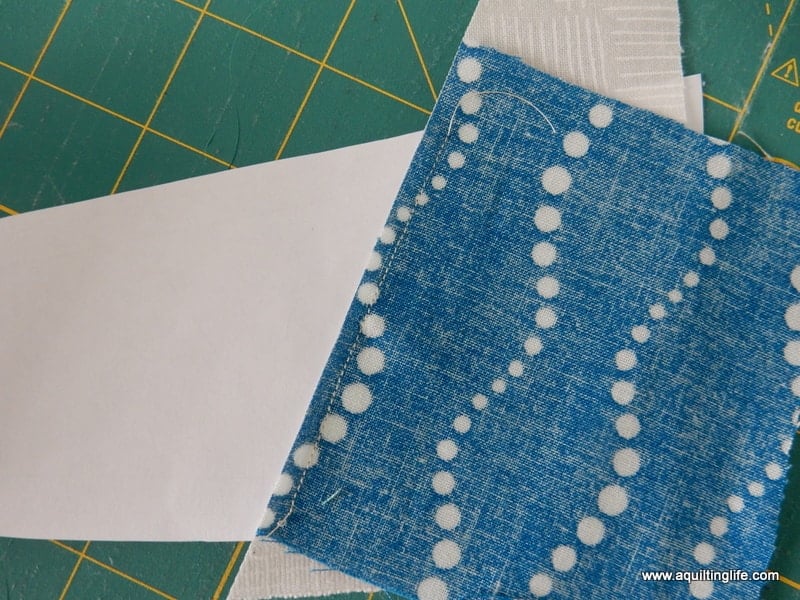
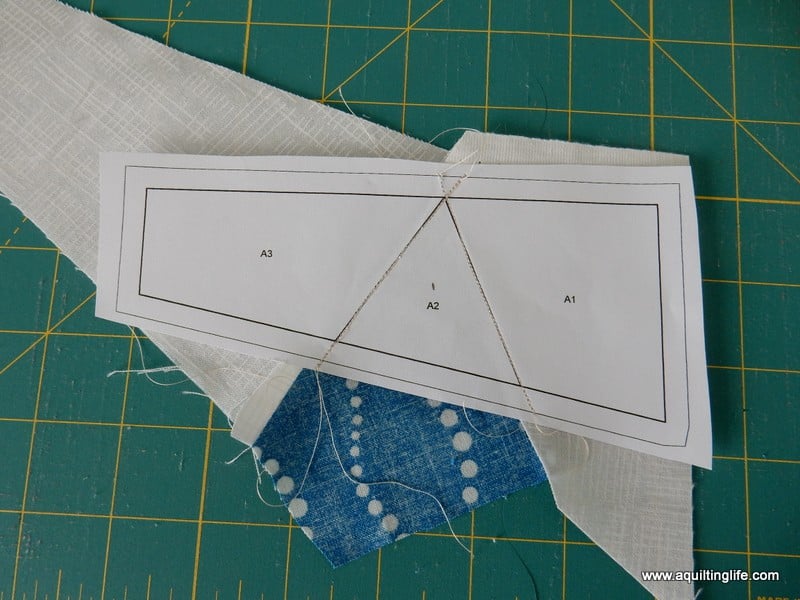
Below is the view from the back side of the paper after the first seam has been sewn. The background fabric A1 is right sides up against the wrong side of the paper. Fabric A2 has been placed right sides together with A1, and the seam that you see was sewn from the font side of the paper directly on the line separating sections A1 and A2.
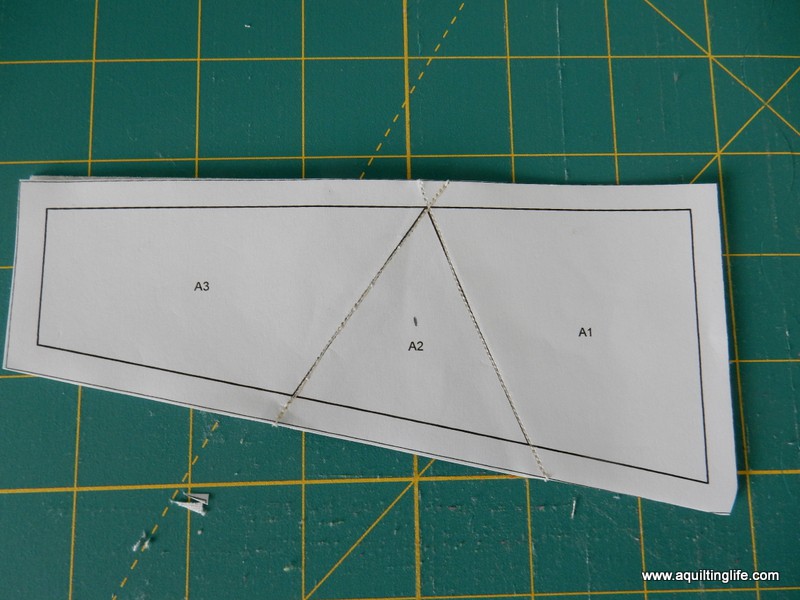
This is the way it looks from the front side. Notice that I extended my seam into the seam allowance on both sides.
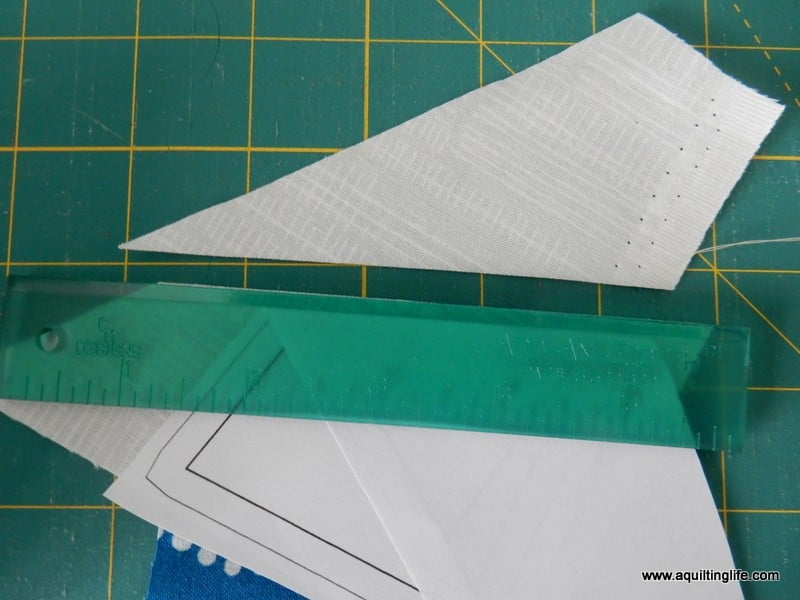
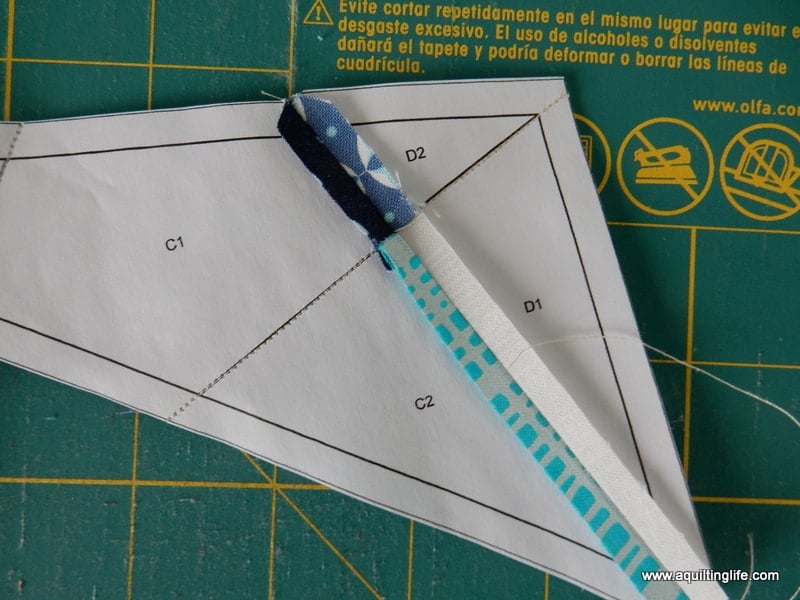
Now it’s time to trim excess fabrics before adding fabric A3. From the right side of the paper: fold the paper with sections A2 and A3 on the sewn line with the right side of the paper facing down onto the right side of the A1 section of the paper. Make sure that the fabrics that will cover A1 and A2 are underneath the A1 side of the paper. You will only trim fabrics that you don’t want in the seam allowance in order to eliminate bulk. You don’t want to trim any of the fabric that will be covering the sections of the foundation paper.
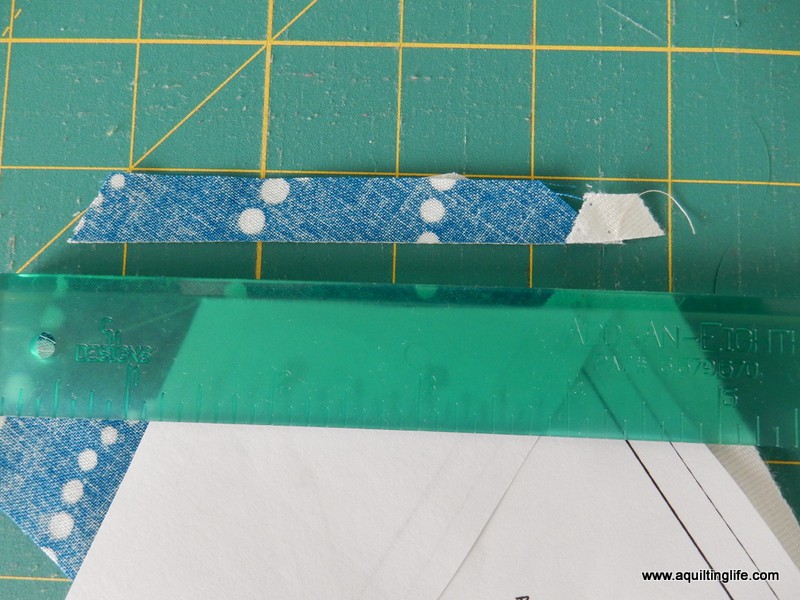
Align the Add an Eighth ruler on the fold so that the lip on the ruler nestles right against the paper and cut along the top of the ruler.
After opening the foundation paper unit, the back side will look like this with the two fabrics neatly sewn together and seam allowance trimmed.
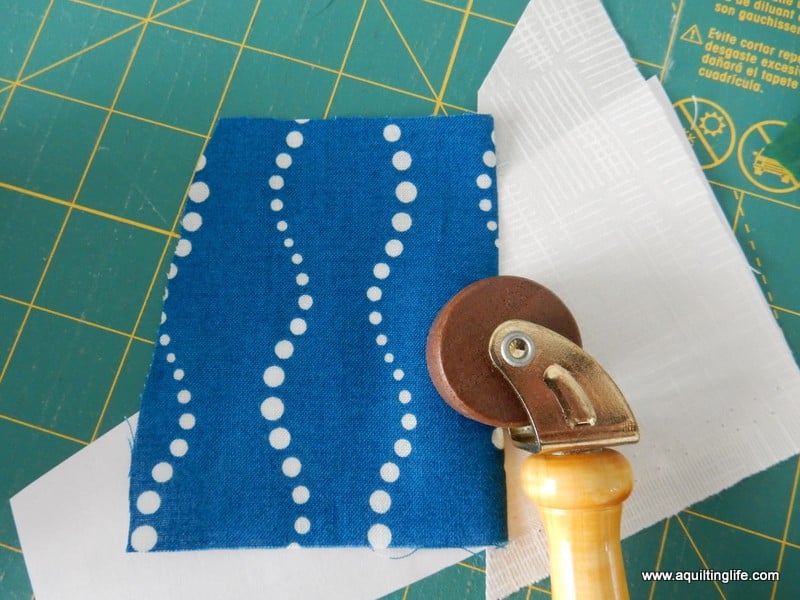
Fold fabric A2 open and press. I like to use a hand pressing tool so I can press without having to keep leaving my sewing station to head over to my ironing board. (The photo below was taken from the wrong side of the paper).
Next, cover section A3 with another piece of fabric again making sure that when the fabric is folded open on the seam allowance it will cover all of the A3 area on the paper including seam allowances.
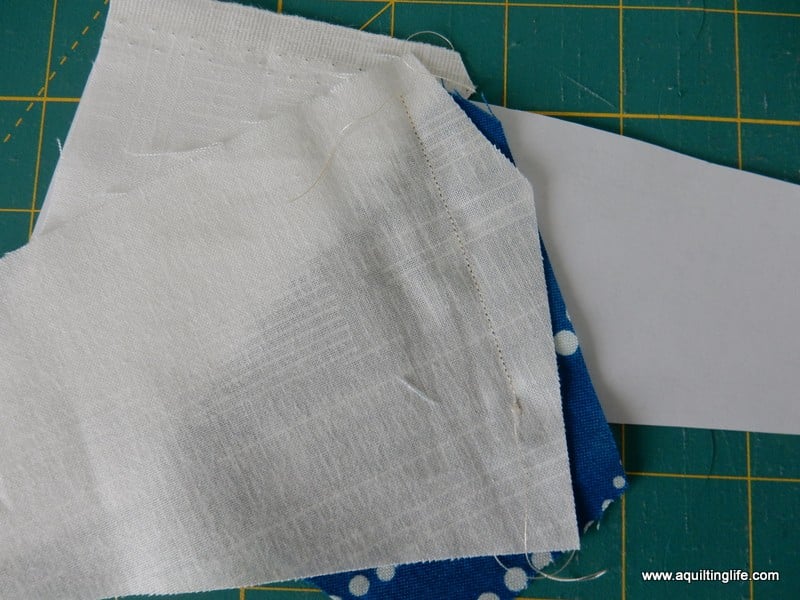
Stitch on the line between A2 and A3 from the front of the paper. (The photo below shows what it will look like from the back of the paper before trimming excess bulk from the seam allowance as directed above).
Using the Add an Eighth ruler, trim again as directed above.
This is the view from the right side of the paper after trimming is complete and fabric A3 has been pressed to cover the paper foundation.
Once all fabrics have been sewn to the foundation unit, it’s time to trim the unit along the outer lines. Line up an acrylic ruler with the outer edge of the foundation paper and trim the excess paper and fabric. Repeat on all sides of the unit.
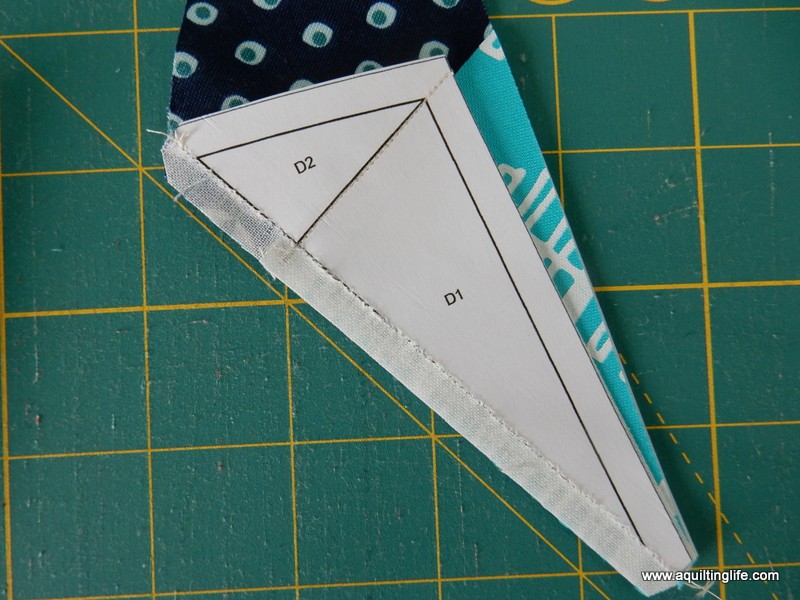
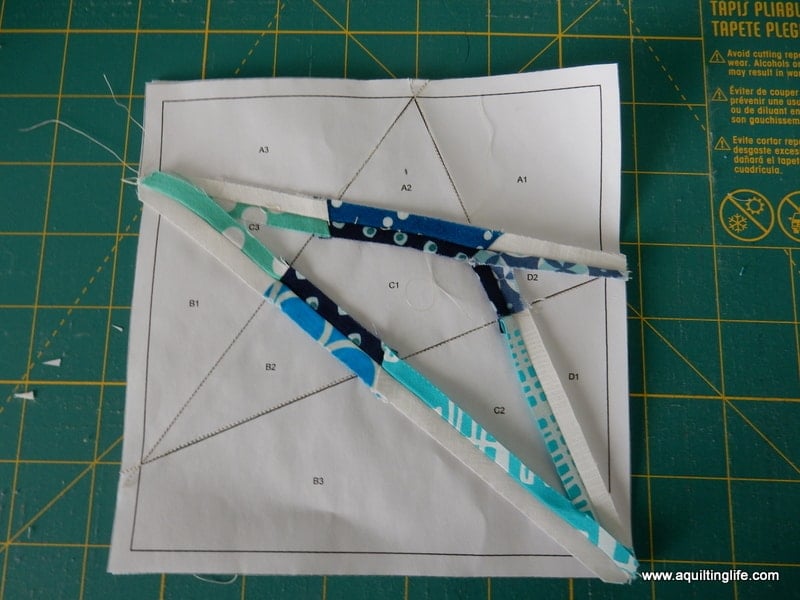
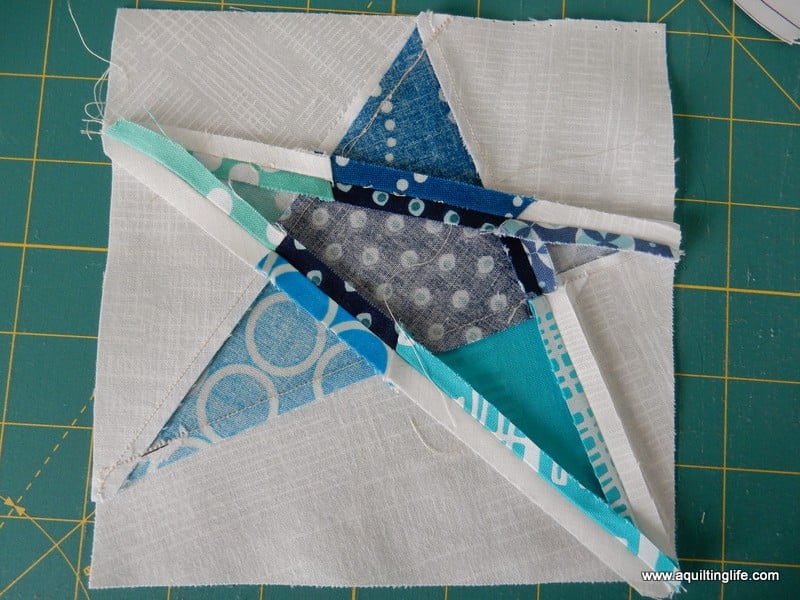
When the trimming is complete the foundation unit will look like this when looking at the right side of the paper (don’t remove the paper yet):
And when you flip the unit over it will look like this:
Continue working until you have completed all of the individual units for the block.
The pattern directions should give you an order in which to sew the units together (if an order is necessary). Following the directions, place fabrics right sides together and stitch on the bold seam lines. After stitching, remove the paper in between the seam line and the edge of the seam allowance.
Next, press the seam open. This helps eliminate bulk when sewing over seam lines.
Continue sewing block sections together (pressing each seam open) until the block is complete.
If it’s going to be awhile before you sew the blocks together, you can leave the paper attached for stability.
If you’re ready to use your foundation pieced block, simply tear off the papers and throw them away!
Now…just keep practicing…I will admit that foundation paper piecing is not my favorite technique to use; however, sometimes there are blocks (and quilts) you just can’t make without using this method.
One really does have quite a sense of accomplishment after working on a foundation paper pieced block!
There are a lot of free foundation paper piecing patterns available for practicing, too! You can find them on Craftsy, and several of the Splendid Sampler block patterns are foundation pieced (including the Goose on the Loose block I shared in this post).
Happy quilting…and thanks so much for stopping by!








Janet says
Great tutorial as always…thank you ?
Kathy Bertelsen says
Great tutorial. Paper piecing scares me, but this will help if a Stash Bee queen wants one
Hildy says
Thanks for sharing this tutorial with us. Paper-piecing is not my favorite technique either but I know the basics.
Rosemary B❤️ says
this one is a cutie. I love it
Nuria Ortmarg says
Great tutorial, thanks for sharing. Just one question: I would like to design my own pattern, and I do not know how to numerate the pieces.Is there any roule I should follow? Thanks in advance
Christine S says
I tried this very pattern and I messed up twice, then gave up. I know it's an easy one and get so frustrated with myself! Thanks for sharing, now I'll try again 🙂
krazgrl says
I'm just learning this process. Every time I think I got a handle on it I realize I don't. I've not heard of cutting the seam allowance to 1/8". Is that something you do when you are piecing your sections and then go to a 1/4" when you put your sections together?