
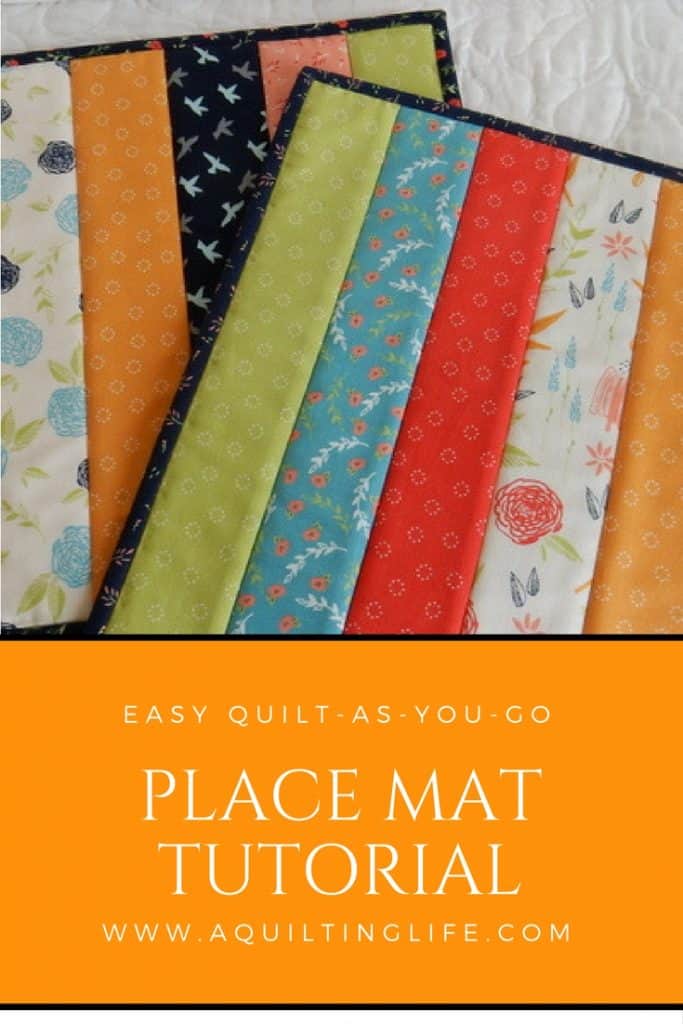
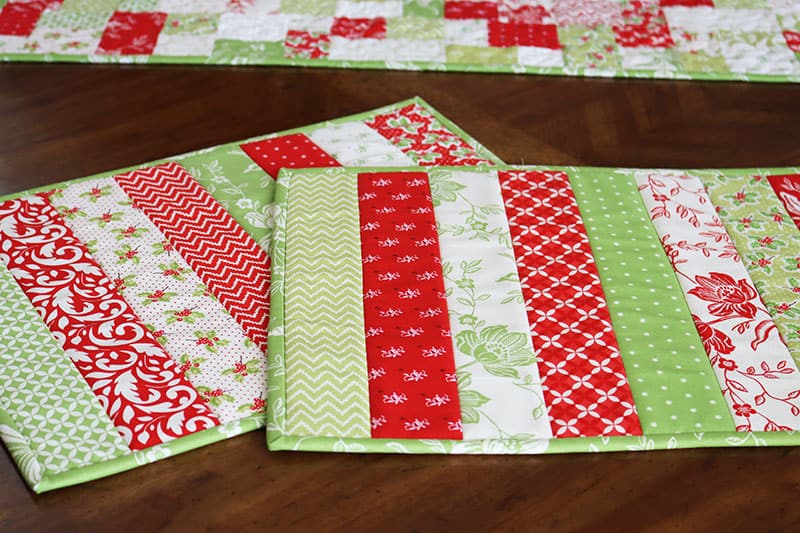
Note: This post was originally published 24 April 2017 and updated 10 December 2020 with a video tutorial. I recently made some new Easy Quilt-As-You-Go Place Mats with Christmas fabrics and with the new Folk Tale collection by Vanessa Goertzen of Lella Boutique. (I previously made some with our Creekside fabric). And when making the new place mats I decided to share a step-by-step video tutorial.
I absolutely love the way they turned out, and I will be making all of my place mats using Soft & Stable from now on. There is just such a nice finish that this interfacing provides that makes the finished product look better than any table wear made with batting.
Video Tutorial
Watch my new video tutorial for the place mats above, or go here to watch it on the YouTube channel.
I decided to go ahead and provide a photo tutorial with tips for these place mats, too. You can substitute batting for the Soft & Stable, but I promise you’ll love the result with Soft & Stable (I have a link at the bottom of this post to purchase Soft & Stable on Amazon if you’re not able to find it at your local quilt shop).
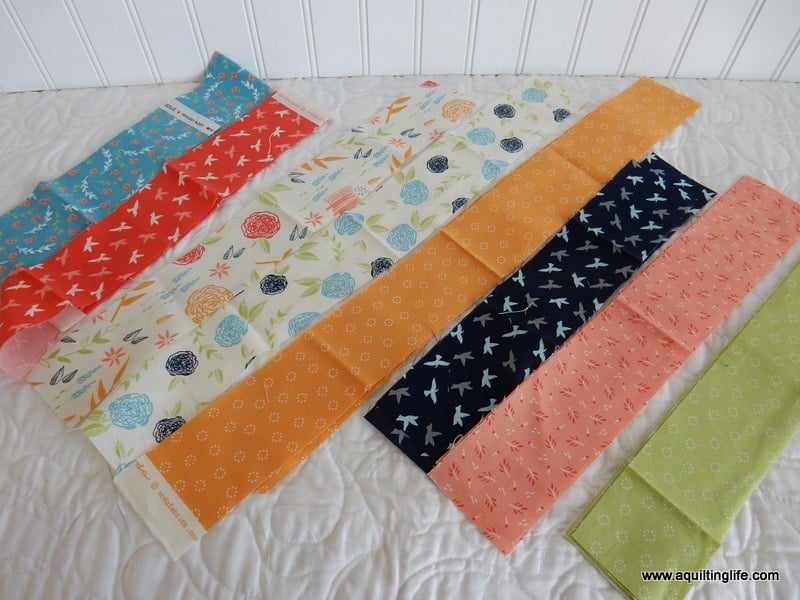
Materials (for two place mats):
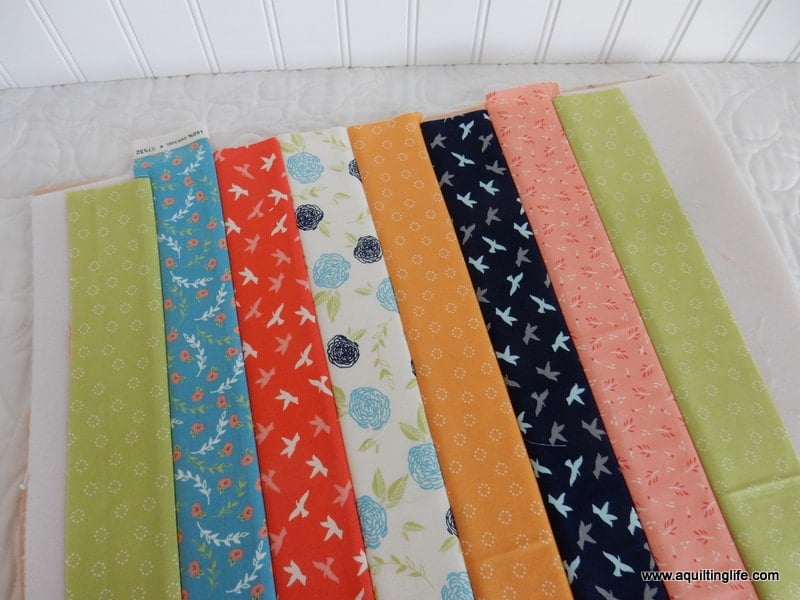
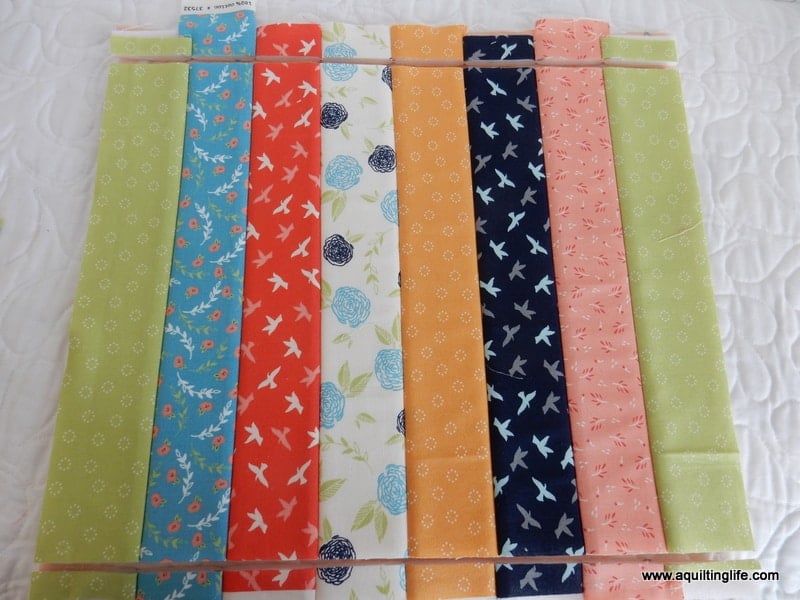
- 16 strips of fabric 2 ½″ x 14″
- 2 fat quarters for backings; cut a rectangle 14″ x 18″ for each
- Soft & Stable or batting 14″ x 18″
- 3 strips of 2 ¼″ x width of fabric for binding for both place mats
Note: You can see that I used matching strips for the ends of both place mats to tie them together; however, you can use 8 different strips from each if you like. Also, you’ll be able to get at least one of your strips from each backing fat quarter if desired. Just cut the backing piece first and then cut your strip from the left over material.
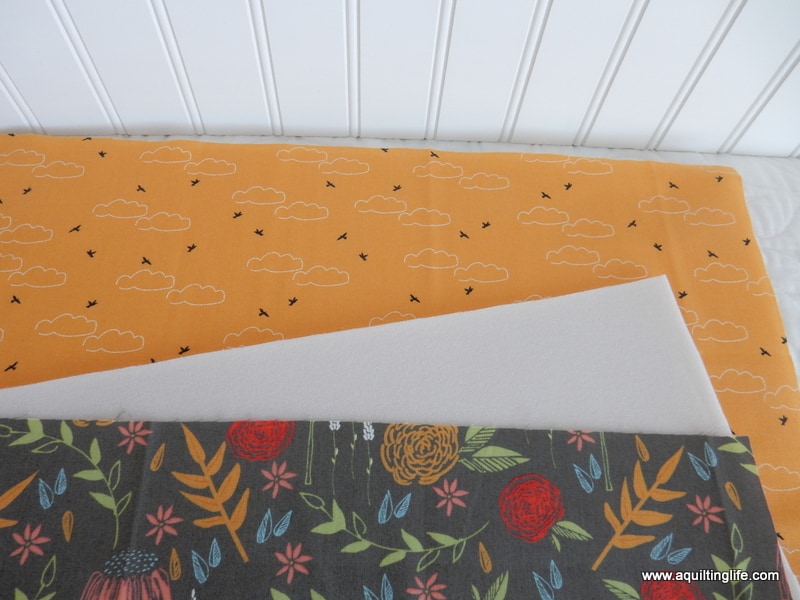
Use fun backing prints, and your place mats will be reversible!
Get started: Using a pencil, draw a vertical line down the middle of the Soft & Stable (9″ from each edge on the 18″ width). Place the backing wrong side up with the Soft & Stable or batting on top of it. If you use your iron to press these together they will naturally adhere to one another.

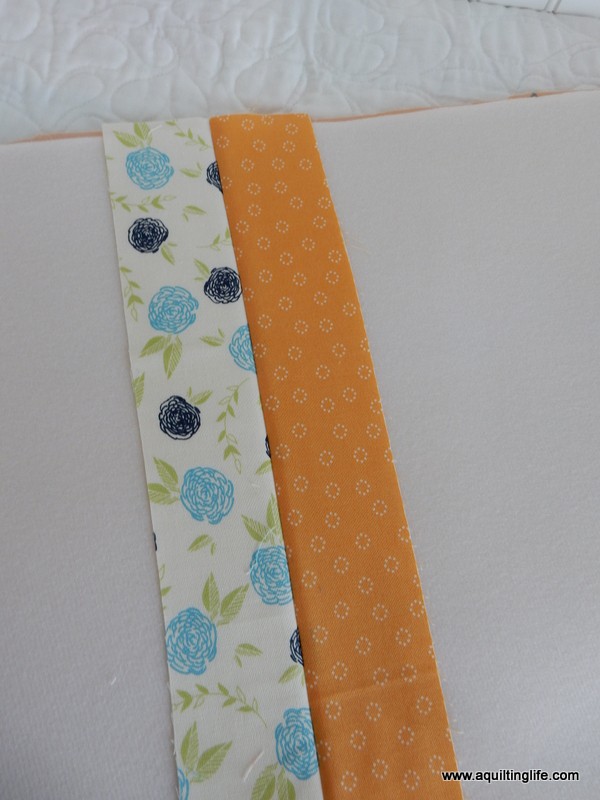
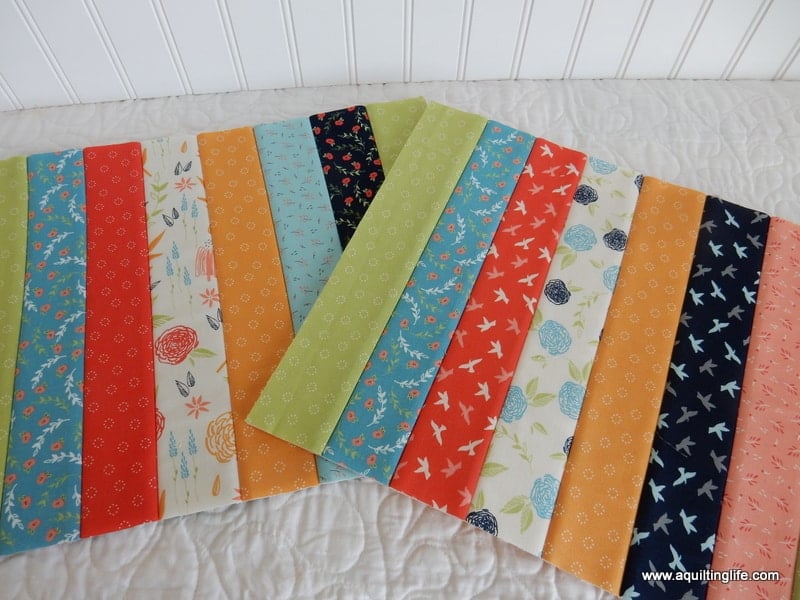
Begin by getting an idea of the layout you’d like for your strips. Then place strips 4 and 5 (the two center strips right sides together on top of your drawn line and sew a ¼″ seam through the two strips, the Soft & Stable, and the backing fabric. I used a walking foot to make sure I didn’t get any puckers on the back. I also increased my stitch length to 3.5 so the stitches wouldn’t be too close together on the back side of the place mat.
Open the strips and press toward the strip that was on top. I like to check the back at this time and make sure it is flat. Press again from the back side if necessary.
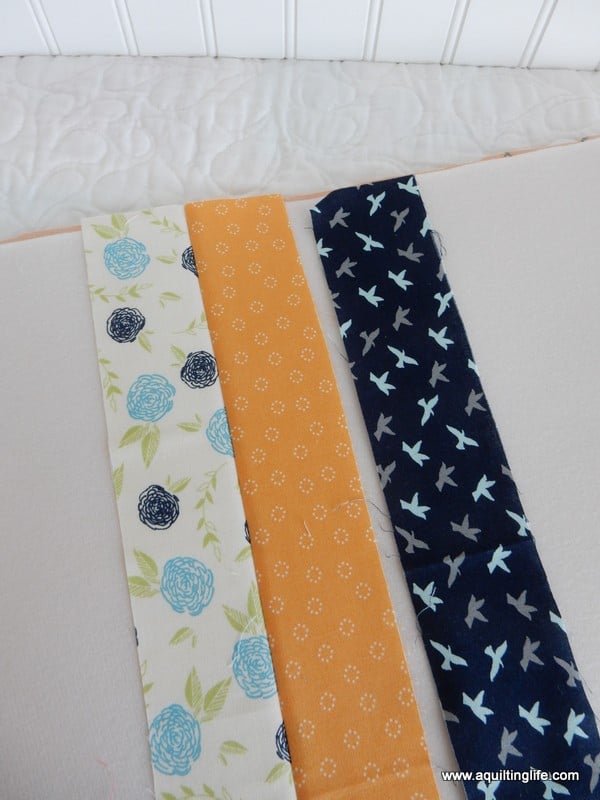
Add the next strip by placing it face down (right sides together) and stitching as above. Press after stitching.
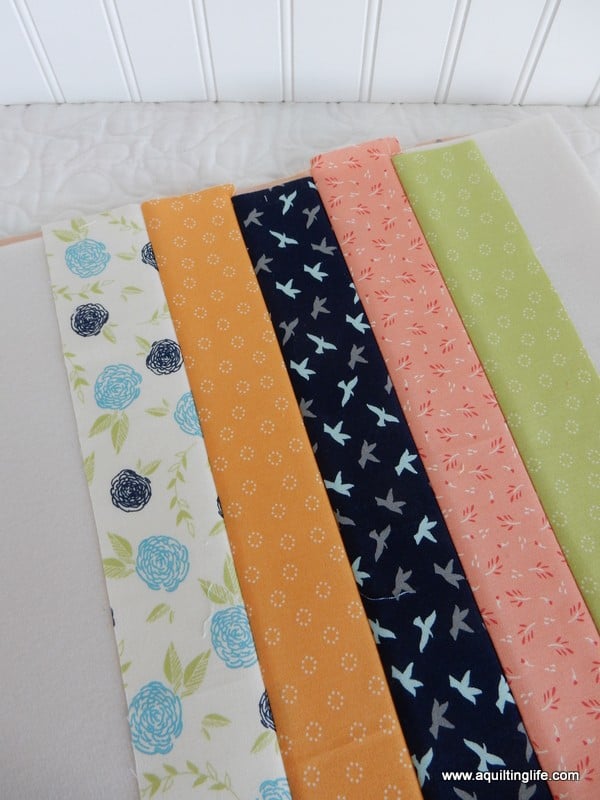
Continue adding strips to the same side until you reach the final strip on that side. Then begin adding strips to the other side using the same technique.

Be sure to check the back of your place mat after each seam. The Soft & Stable really “sticks” to the fabrics so shouldn’t shift. If you are using batting, though, you may want to use safety bins or basting spray to keep it together securely.
Once you’ve added all of the strips you’re nearly finished!

Check the back to make sure you like how that looks…
Trim the sides even with the outer strips. Then you’ll need to trim the top and bottom . Using a 24″ long ruler, trim the top to make a straight edge. Then trim 12 ½″ away on the bottom of the place mat making another straight edge.
The place mats are nearly complete. You may want to edge-stitch ⅛″ away from all edges to make sure nothing shifts when adding your binding.
Then bind using the prepared binding just as you would a quilt. I actually had left over binding strips from some of the Creekside quilts, so I used those!
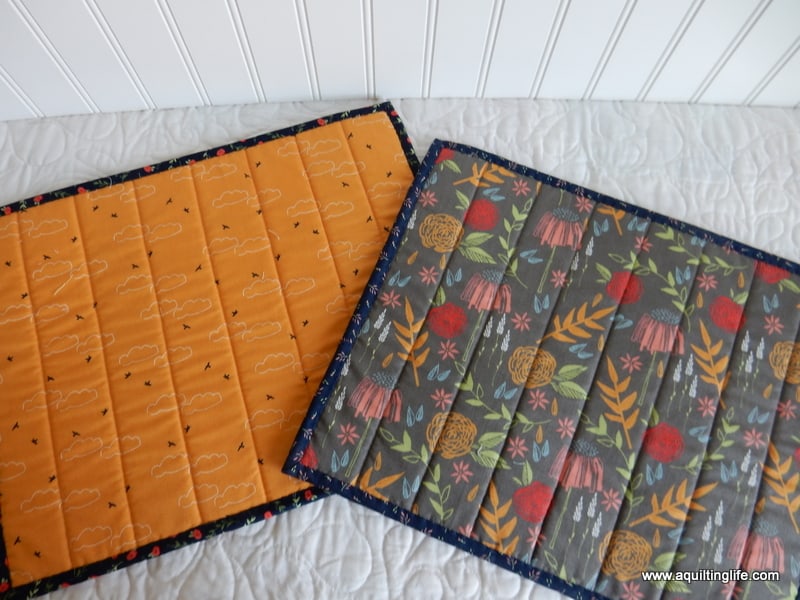
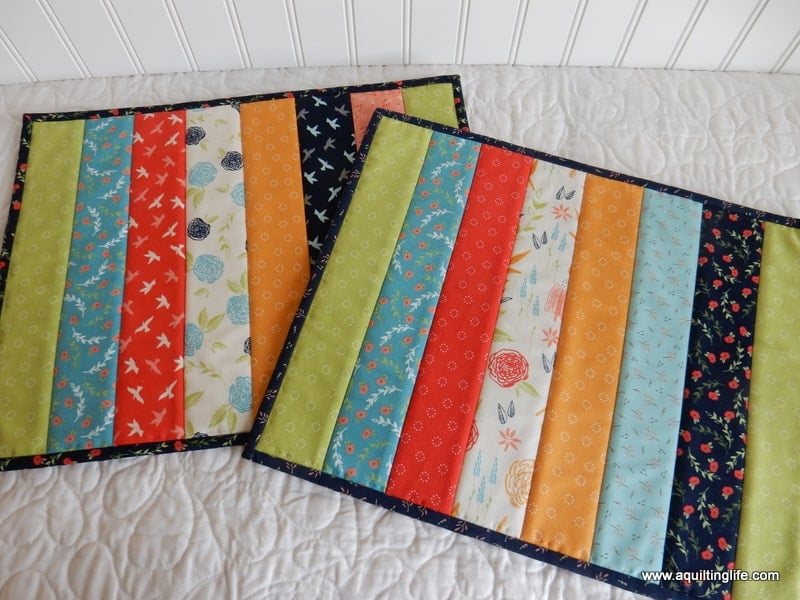
I think they are super fun on the back, too. Novelty prints would be great choices for these place mat backings!
I think these place mats make more of a statement on the table top. They are just a bit thicker than place mats made with batting and so they have a more formal look. And of course you can adapt any place mat pattern to use with Soft & Stable. You don’t have to use the quilt as you go method–quilting can still be done on the Soft & Stable after your place mat front is pieced.
I hope you’ll enjoy making some of these…I’m off to put them on my table!
You can purchase Soft and Stable in a package ByAnnie’s Soft and Stable Fabric, 18 by 58-Inch, White![]() or in a larger package (which is the better deal) ByAnnie’s Soft and Stable Fabric, 36 by 58-Inch, White
or in a larger package (which is the better deal) ByAnnie’s Soft and Stable Fabric, 36 by 58-Inch, White![]() . You can make 4 place mats with the smaller package and 8 with the larger one.
. You can make 4 place mats with the smaller package and 8 with the larger one.

I hope you enjoy sewing these Easy Quilt-As-You-Go Place Mats. Happy sewing and quilting! Thanks so much for stopping by!

Janet says
The place mats look great. I too need to make some new ones so perhaps I'll give this look a try…Thanks so much for the great tutorial and info about Soft and Stable…I'll check out my local store to see if they carry it ?
Hildy says
Thank you for sharing this tutorial with us I love how your placements look!
Rosemary B❤️ says
These turned out so nice. I like the smooth texture. I bet they wash nice too. Thanks for the tutorial and such lovely creativity!!
Little Quiltsong says
They look more durable and solid. Love them!!
Margot says
Thank you for sharing this tutorial with us. O love little works.
ShirleyC says
These are so neat! Thanks for the tutorial!
Red says
They look great. I love to have different placemats, Summer/fall/winter. Those would look great with Xmas fabrics. Will surely make them. Thank you for sharing
Rosemary Castillo-Sartin says
These were so easy to make! A clarification please, do you center the strip on the drawn line or place edge of strip on the line? Thanks!