
I’ve
been working on some little handmade gift bags to have on hand…and I
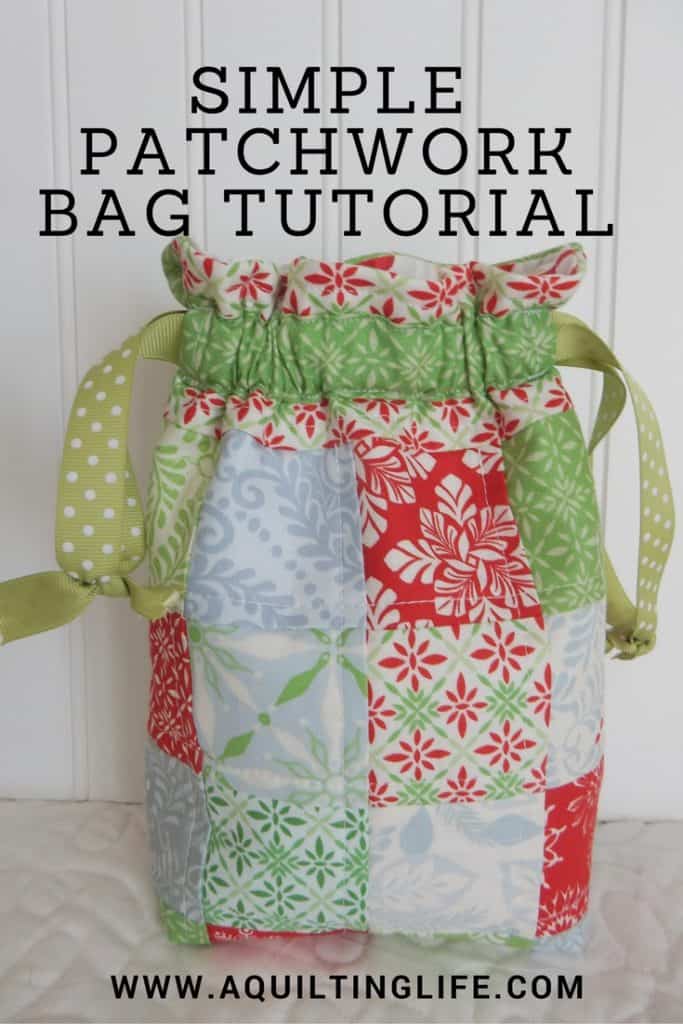
thought today I’d share a tutorial showing how I make them. They’re
super easy and can be made with just a couple of fat quarters and some 2
½” squares.
(For a printable PDF of this tutorial, visit my Etsy shop here).
For the drawstring handles you can use twill tape, ribbon, or a sewn fabric
handle (directions below). The
finished bags measure 7 ½” wide by 8 ½” tall by 3” deep–a
perfect size for a little gift bag filled with sewing notions, travel
accessories, or bath/body products.

Let’s get started!

Here is what you’ll need:
-
- 16 2 ½” by 2 ½” squares; sew together in a 4 x 4 grid.
-
- One piece 3” x 8 ½” for front top band.
-
- One piece 8 ½” x 11” for back (front top band and back can be cut from one fat quarter).
-
- Two pieces 2 ½” x 7 ½” to make cord casings.
-
- Two pieces 8 ½” x 10 ¾” for lining (lining pieces and cord casings can be cut from one fat quarter).
-
- Two pieces 8 ½” x 10 ¾” fusible fleece
- To make drawstring handles you’ll need two pieces 2” x 28” long (or use twill tape, cording, or ribbon).
(If you want the back of your bag to be scrappy, just piece another 16 2 ½” squares into a 4 x 4 grid and cut a second top band).

Sew the top band to the top of your patchwork piece. Press toward the top band.

Next we’ll make the drawstring casings. Fold both short ends down on the 2 ½” x 7 ½” casing pieces. Press and stitch close to raw edge as shown.

Next, sew each casing with wrong sides of fabric together using a ¼” seam.

Press each seam open, centering the seam as shown above. This will be the back of your casing and won’t show on your finished bag.
This is what the front side of the casings will look like. Set these aside for later.
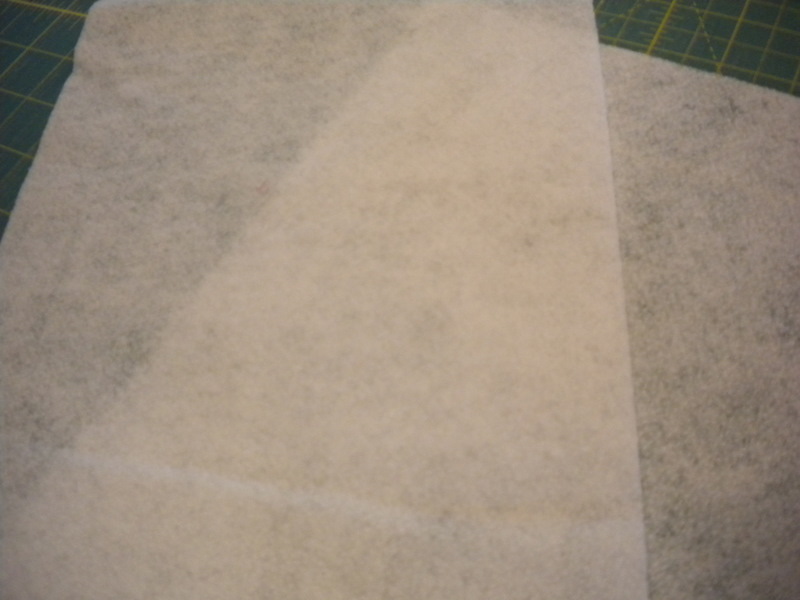
Next, you’ll fuse your fusible fleece pieces to the backs of your bag front and bag back.
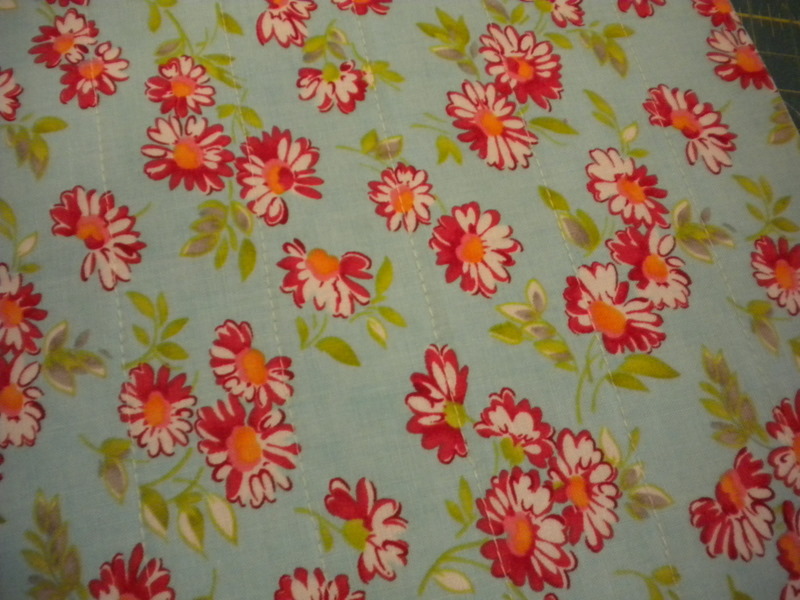
Now it’s time to do some simple machine quilting if desired. I quilted my bag back with a simple straight line.

The quilting shows better from the back.

On my bag fronts I quilted a simple grid and also quilted just above the lower edge of the band.

Again, I think the quilting shows up a little better from the back.

Next I centered my casing on the back front and back, 1 ¼” from the top and about ¾” in from each side. I used a clear ruler to position the casings.

I pinned each casing carefully then sewed close to each long edge of each casing.

Here is the finished bag front.

And here is the finished bag back.

Next, sew your bag lining pieces together on the sides and bottom, right sides together; be sure to leave a 3” opening on one of the sides to turn your bag right side out later. Cut out 1 ½” squares from the bottom of each side of the lining. Open each corner edge and sew together using a ¼” seam. This will form the “boxed” corners of your bag. Also sew your bag front and back together right sides together, again cutting out 1 ½” squares from the bottom of each side and boxing corners as described above. (Note: bag front/back are not pictured here).

Place your bag lining (right sides out) inside your bag (right sides in).
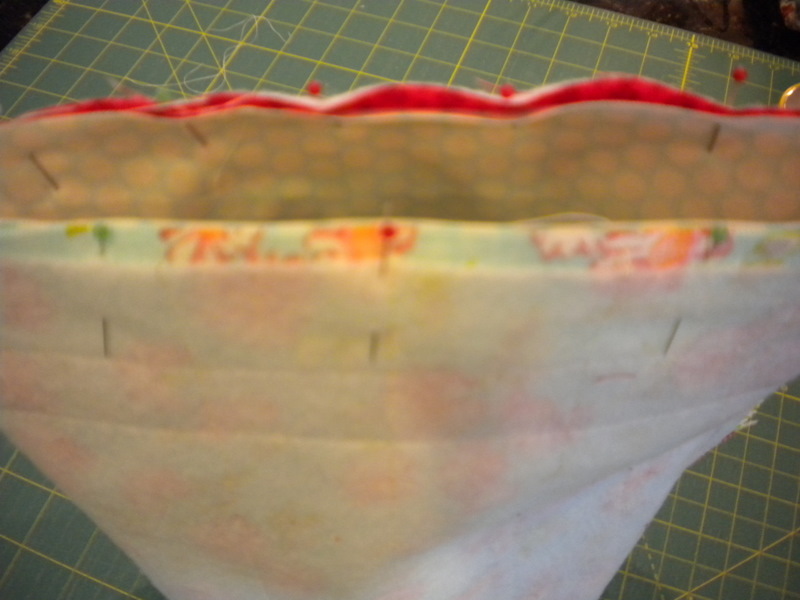
Match the top edges and side seams; pin and sew together at top edge using a ¼″ seam. Turn right side out through the opening in the side of bag lining. Press well and slip-stitch lining opening closed. Top stitch top edge of bag either ⅛” or ¼” from edge. Your bag is nearly finished! If using a twill tape or ribbon drawstring, cut these to 28” long. Take your first drawstring and, beginning on the left side of the front casing, thread it through the front casing, through the back casing, and back through the front casing, exiting on the right side of front casing. With your second drawstring complete the steps above, this time starting in the bag back casing. Tie the ends together a few inches from the bottom if desired.
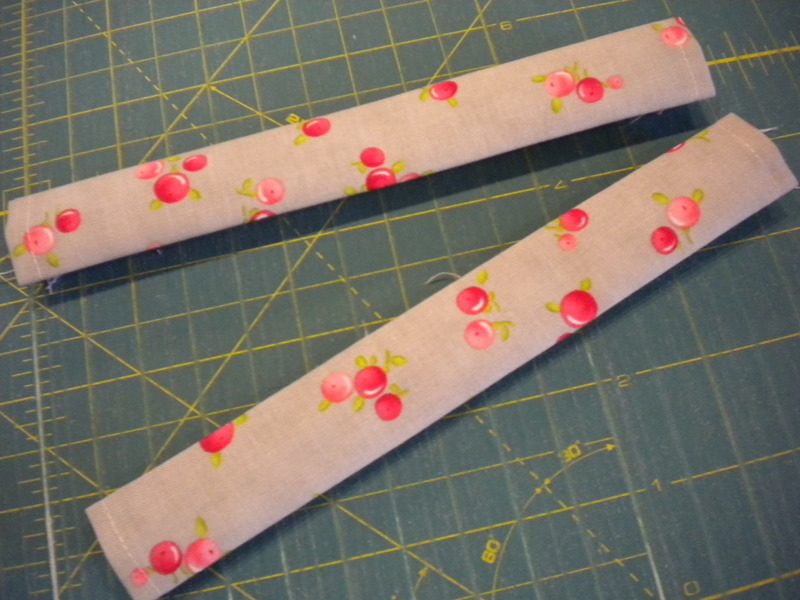
To make your own fabric drawstrings: Fold and press under 2” ends of casing pieces. Fold in half, wrong sides together; press. Open up and press each outside edge to the crease in the middle. Fold in half again and stitch close to long edge.

I think these bags would be a lot of fun made with an almost endless range of fabric styles: Halloween, Christmas, reproduction fabrics–the possibilities are endless!
Hope you have fun making some of these little bags. And thanks so much for stopping by!

Leah says
What a great bag! And wonderful tutorial. Thanks so much for sharing with us.
Stitched With Prayer says
I love this bag and your tutorial is great. I have a little pair of baby booties I knitted and a gift card for a shower I'm going to for my grand-niece Saturday and this will be perfect to tuck them into. Thanks so much for this fun idea. Hugs…
CJ says
So cute! Thanks for the tutorial, Sherri.
Shirley says
Wow! Thanks for such a great tutorial. I will definitely be making some of these.
Pamela Nees says
Love this bag! Think I'll make a few!! Thanks for the great tutorial! (And I especially like the way you treated the draw-string enclosure-brilliant!)
Patti says
Almost as cute as my smallest grandson. Thanks so much for yet another great tutorial.
Patti xxx
Alicja says
Danke, vielen Dank..so einfache tutorial, und gut zum werstanden,,Alice
Jana says
Great idea with Christmas and Halloween theme! I will try it for sure. Thank you for great tutorial.
Jana
Heather D. says
Very sweet pattern. Great for scraps! Thanks for sharing.
Noelia says
Thank you!
Is a very cut bag!!! Sure I'll make one… or two 🙂
Lisa In Oregon says
Super cute! Tutorial was nicely done…even I can understand it, LOL!
Laura K says
Oh my gosh! I made a bag almost exactly like this, right down to the Moda twill tape, for my nieces birthday present back in May! How funny! I guess great minds really do think alike. Mine didn't have the ruffle at the top and it wasn't patchwork. It was just two fat quarters, one for the outside and one for the lining. The patchwork is really cute though!
Rhonda says
Thank you so much for sharing this!
Carrie P. says
OH fun! I have some of those 2 1/2" squares that I could use. thanks for sharing.
Simone de Klerk says
Love what you made. Thank you for sharing (:
Summerfield Quilts says
Thank you so much for sharing this great tutorial. I can check "finding a great gift bag pattern" off my list now. I was looking for something special to put Christmas gifts in.
quilary says
Thanks for the lovely tutorial – I think these would be great for a bit of stash busting too!
Sheri Howard says
So cute! Love the fabric!
Tania says
Hi Sherri, thank you for sharing this lovely little pattern – I'm looking forward to making some for Christmas now. Yours are just gorgeous with your choice of fabrics.
Sherry says
What a cute gift bag! Thanks for the tutorial Sherri.
Shari says
Thanks for such a great tutorial. This would be perfect in Christmas fabrics. Very timely
JJ says
That was a great tutorial and the bags are so cute, a gift by themselves.
Darlene says
Oh these are adorable, Sherri. The possibilities are endless – thank you for the excellent tutorial. As you know, I'm bagophobic but I might be able to make these. We'll see.
randi says
cute bags, sherri!
Tammy says
Sherri, thanks for the bag tutorial. I'm going to make some for my quilting friends and fill them with goodies for our next retreat!
Anne Heidi says
What a great bag! Thank you for the tutorial, I can see some of these being made in the near future….
Nicole says
So cute! Thanks so much for the Tutorial. Can't wait to make some of these for Christmas. Love you blog!
PamKittyMorning says
CUTE!!!
Rhonda says
just too cute!!
Archie the wonder dog says
Great tutorial and cute bags – thanks for sharing!!
Izzy says
These little bags are adorable. I think they would be perfect for a teacher's gift. I might try to make a couple for this Christmas. Thank you.
Pat / Silver Thimble Quilt Co. says
Great tutorial thanks Sherri!
Pat
Cecilia says
Very cute! I love these.
KnittingBetsy says
These are so perfect! I've been wanting a pattern / tutorial for this style of drawstring bag for ages. I am so excited!! Thanks a million for sharing this on your blog!
Betsy
Kari @ The Purple Quiltapotamus says
What a super cute little bag, thank you so much for the tutorial! I can't wait to try it out!
Thimbleanna says
VERY Cute! What a great idea to use that Moda twill tape — I've been wondering what to do with it!
Wee Little Birds says
Thank you for the great tutorial.
Will be sharing this one with my Thursday sewing group. They rely on me to find them sweet little projects.
KaHolly says
Grat tutorial, Sherri! What a fun little gift to whip up and spend the remainder of the time before Christmas filling!
Sandy says
Darling! I love the idea of the Moda ties. Thanks for sharing a great tutorial.
Karen says
Thanks for sharing this tutorial for these bags. Definitely on my list for Christmas gifts. K.
Ashley says
these are so cute and thanks so much for the tutorial!!!
Scarlett Burroughs says
What a fun idea Sherri. A great way to make two gifts in one! I've featured this post on Craft Gossip here:
http://quilting.craftgossip.com/?p=11713
If you would like a "featured by" button, you can grab one here:
http://craftgossip.com/link-to-us/
Warmly,
Scarlett Burroughs
Quilting Editor, Craft Gossip
http://quilting.craftgossip.com/
Stephanie in MI says
Super cute!!
Pati @ A Crafty Escape says
This is beautiful… I think I would like anything in this bag 😉
Robbie says
Thanks so very much! I teach a very simple draw string bag for my beginning sewing students. Can't wait to let them know about your site!
Aaron Aldous says
This is so pretty Sherri! Your work is always so nicely done. Thank you for your kind comment on my blog too. 🙂
Shelly says
I love this bag!
nakedk9 says
Thanks for posting the tutorial. I just made a bag to use as a knitting project bag and love it!
iluvmybugs says
Had so much fun making this bag Sherri! I posted pics on my blog with a link back to your blog. Thanks for this easy-to-follow tutorial!
~Terry~
Maria Filomena says
Ficou maravilhoso!!!
Parabéns!!
abraços de Maria Filomena
Beeshebags says
Hi Sherri, just thought I'd let you know I used your tutorial and have put pics up on my blog of my finished bag. Great tute, thanks heaps.
Hugs
Naomi
Mami Garrido says
Hi Sherri, thanks for this great tutorial, I like your work, your blog is full of beautiful surprises, I stay here. Kisses from Spain.
Carmen
My blog http://coseycalla.blogspot.com.es/
happydancequilting says
I don't need another bag – but I love this so much I will for sure be making it soon. Thank you for the lovely tutorial!
Laura Lane says
How pretty! I should be stitching instead of typing! I'm pinning this!
Laura
Harvest Lane Cottage
Laura Lane says
http://www.pinterest.com/pin/257690409902258005/
Here's the pin!
Maria says
I loved this tutorial so much I made three which you can see on my blog if you like. These are the links
http://miacreates.blogspot.com/2013/12/scotty-dog-drawstring-bag-and-potholders.html
http://miacreates.blogspot.com/2014/04/patchwork-drawstring-pouch.html
http://miacreates.blogspot.com/2014/04/yellow-patchwork-pouch.html
Thanks so much.
Marisa Garcia says
Hi, I found your project and your blog through Daryl Patchouli Moon Studio blog, your creations are beautiful and gives a lot of inspiration. Thanks for this tutorial, I pinned the project for future reference! I am your new follower here! I would like to invite you to my blog, I have several tutorials for sewing and a little of everything … hopefully you have a moment to visit me. I am delighted to have discovered your blog!!!
Marisa from http://passionetcouture.blogspot.ca/
alaa nile says
I don't need another bag – but I love this so much I will for sure be making it soon. Thank you for the lovely tutorial!
نقل عفش بالرياض
كشف تسربات المياه بالرياض
شركة عزل مائى بالرياض
نقل عفش بجدة
نقل عفش مكة
تنظيف مساجد بجدة
شركة الأحمدي لنقل الأثاث
شركة عزل خزانات
شركات مكافحة حشرات
شركة كشف تسربات بالرياض
شركات العزل الحراري
شركة عزل مائي
شركة القمة لمكافحة الفئران والقوارض
مكافحة البق
شركات مكافحة النمل الابيض
شركة كشف تسربات المياه ومعالجتها
شركة كشف تسربات بالرياض
Hannie C says
Hi there, found your blog through Pinterest. I've made the same bag too!
Here: http://fonmee.com
Sue says
What a lovely little tutorial – so easy to follow. I've just finished making one of your bags and am so pleased with how it's turned out. Thank you so much for making your tutorial available on your blog. https://www.pinterest.com/pin/557179785126684125/
Rosita Mae says
thanks for sharing
toko tas wanita online
Joy says
Thanks for this easy bag tutorial. I just finished one as a Christmas gift for someone who has given my husband and I a candle wrapped in Christmas fabric for the past many years. I saved some of the fabric and made a bag for her and will fill it with little candles to thank her for thinking of us every Christmas. Excellent technique. Saw your tutorial on Pinterest.
Pico Bags says
Thanks to share this type of knowledge.