
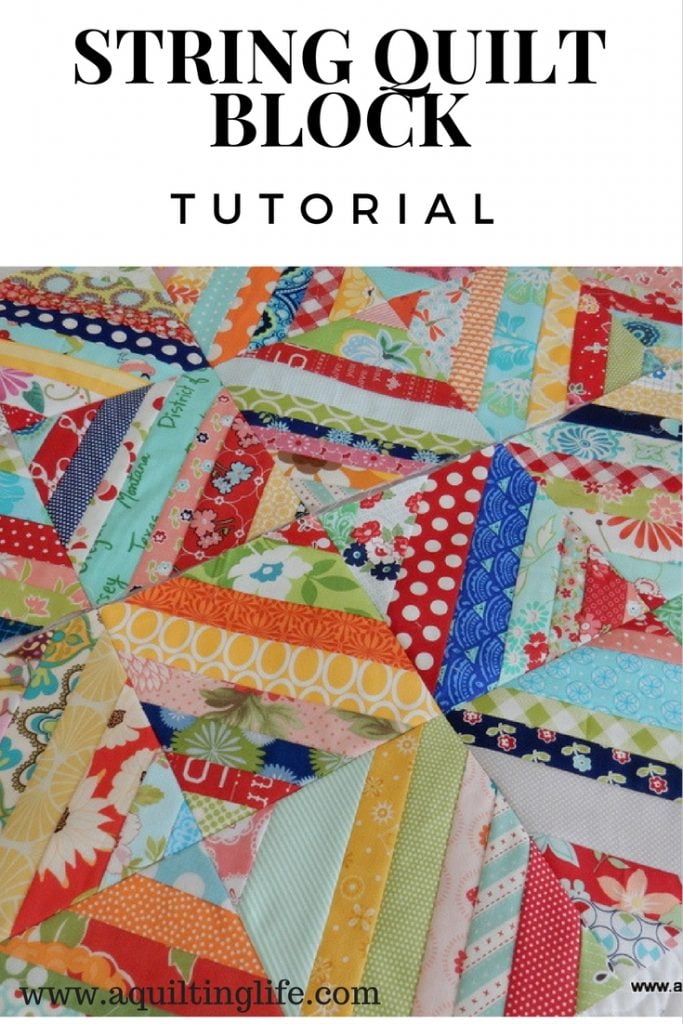
Hello! Today I have something fun to share: a sting quilt tutorial for one of my favorite ways to use scraps! String quilt blocks are a lot of fun and simple to make! And I’ve also included a video tutorial of my favorite method for making these blocks.
I can’t bear to throw away even the smallest of scraps, so I’ve saved odd strips and strings for years. And I’ve been making progress with actually using them to make these string quilt blocks!

I occasionally piece blocks with these pieces and share them here on my blog. So here is a quick tutorial showing my method for making these string quilt blocks. Since I recently acquired some wonderful new strips and strings, this was the perfect time to photograph my process.
String Quilt Blocks Video Tutorial
Watch my new video tutorial for this method above… or scroll down for a step-by-step photo tutorial.

Start your String Quilt Blocks with Scraps
Last Friday I was able to get together and sew with my friend Camille, and she sent me home with a lovely box of strips from her upcoming collection April Showers. Now this box of strips was so amazing that I determined to put them to use immediately…and so the sorting began! I sorted the strips first by color and then by print, grabbed one of every design, and then headed into the sewing room.

I decided on 8″ finished blocks for this project. My ongoing string block quilt uses smaller blocks (5 ½″ finished); I’m using a bigger block for this quilt to make it go together a little more quickly. By using this size block I’ll be able to easily cut extra strips from fat quarters if I end up needing more.
I use a fabric foundation method for my string blocks which helps the blocks maintain their shape and also doesn’t require any of the paper removal other methods use. Some people also use dryer sheets for foundations, but that does limit the size of the blocks.

Prepare the Backing and Begin Adding Strips
I cut my background fabric 8 ½″ x 8 ½″. Using a thin muslin for the foundation helps keep the blocks from becoming too bulky. Choose a center strip fabric and place it face up on the foundation piece diagonally across the block. Pin the strip to the foundation to keep it from slipping, or use a couple of dots of applique’ glue or even an acid free glue stick to secure it. If the center strip slides a bit before it’s sewn to the foundation, the block will be a little “off-centered.”

Next place another strip face down, right sides together on top of the center strip. Sew the strips together through all layers (including the foundation square) along one edge of the strips using a ¼″ seam.

Set the seam with your iron, then press the top strip open.

Add a third strip in the same manner.

Continue to add strips until one entire side of your foundation square is covered with strips. Don’t worry about the uneven edges yet.

Next, continue sewing strips beginning with the other side of your center strip. Continue until you have covered your entire foundation square with strips.

If you flip the block over, it will look like this–your foundation square will be centered with all sorts of uneven strips hanging the edges.
Trim your String Quilt Block to the Desired Size

Next, use an acrylic ruler and your rotary cutter to trim the edges even with your foundation square. Repeat on all sides.

You now have a completed string block!
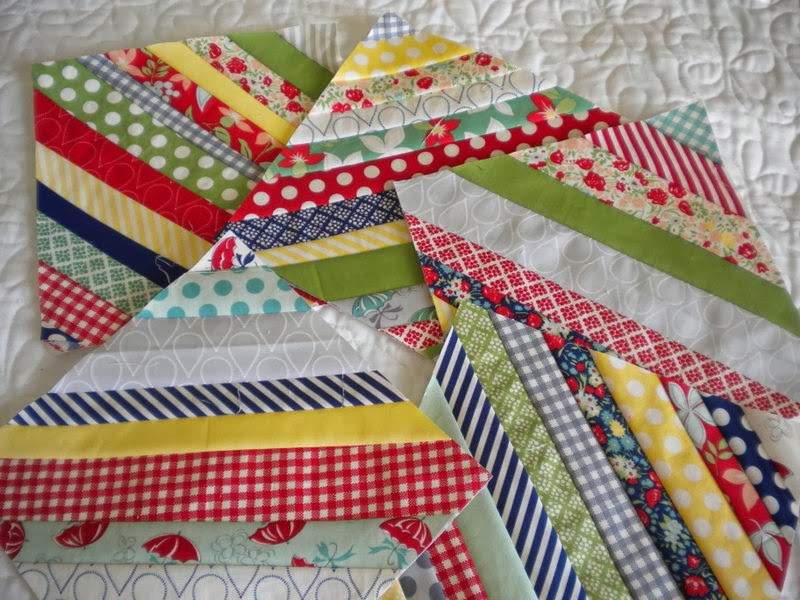
I like strips with widths between 1 ¼″ and 2 ½″. Using a variety of widths gives your blocks a whimsical feel. I’m hoping to make 56 blocks total which will give me a scrappy string quilt measuring about 56″ x 64″.
I have five string quilt blocks completed and 51 to go and can hardly wait until I’m able to start setting them together!
If you’ve never tried a string quilt block, I hope you might want to give it a try. I’ll have to warn you though, you may never be able to throw away a scrap of fabric again!
Thanks so much for stopping by!

Lorna McMahon says
Those are very pretty strings, Sherri. Thanks for sharing a tutorial showing your method!
Silverthimble says
I just finished making a quilt top using this method. I find that the top before quilting is heavy with the muslin foundations. What type/brand of batting do you use when you quilt your tops? Do you worry about the extra layer of fabric (muslin) remaining in your quilt?
trish says
Fabulous tutorial Sherri. :o) I have a stack of string blocks I have been gradually adding to. :o) Isn't it so much fun to see all those fabrics together? Have a great week! :o)
Stephanie says
I've been making strings blocks as well. I think they are such fun! And any color goes together!!!
Gail S says
I love this method for a block. I'll certainly try it very soon! It makes a beautiful block! Very nice…thank you for sharing with us! Gail in NC
Grandma Ruthie says
I'm in the progress of making a quilt made out of string blocks. This will be the first time doing such a quilt. I didn't use a foundation piece underneath and now that I am getting close to sewing together the blocks and quilting I am wondering if I should back them with light interfacing for stability. Any advice you may have for quilting the quilt would be great! Are there any special things to anticipate as you quilt over all those seams?….any how am loving making the blocks. Thank you for the tutorial.
Sheila says
Love your blocks! But I love scrappy string blocks and quilts! I found with I used muslin for the foundation, my seams were very bulky. difficult to quilt over. I'm trying sewing them on paper.
Gotcha Covered Quilting says
Now I know what to do with my basket of strips. Thank you for the tutorial. Using a foundation makes this feel doable. I tend to not like using dinky strips, but this seems fun.
Carrie
Thimbleanna says
Very interesting Sherri! Do you find that your block stretches very much? I once tried a New York Beauty on muslin foundation and swore I'd never use that method again because of the stretching. Your little blocks sure are cute!
Blue Moth says
Great blocks. As a scrap hoarder myself I wonder if you are able to throw away the bits you trim off the finished blocks?
Bolts and Bobbins says
I made a string quilt for my daughter using the same technique as you. I just put a nice flannel on the back and she loves it – uses it all the time. Next it's one for granddaughter.
jan says
I have made two string blocks but didn't like the stretching when i removed the paper. I made have to give this a try. Yours are so cute!
xo jan@sewandsowfarm
Deb@asimplelifequilts says
Making string blocks is my favorite "comfort sewing" and they always turn out to be beautiful!
WoolenSails says
I really like the string quilts and how you used foundation paper, makes it much easier and nice guide to follow.
Debbie
Karen says
I love the fabrics and plan to use this method to make a string quilt. I haven't been quilting all that long, so I am still collecting strings in my stash.
Diz - Carmichael Quilter says
I have always wanted to make one of these string quilts. I have so much leftover fabrics that I need to either get rid of or use. Thanks for the tutorial!
Elizabeth says
Great tutorial – thank you! Now I know what to do with all my little pieces so thank you. I look forward to making my next scrappy quilt.
Jeanenne Nielsen says
I have done a pillow sort of with that method. I love it. Love your blocks, also.
Jackie at Adirondack Urban says
Thank you for the tutorial. I want to make some string blocks to use up my scraps so this will come in handy. I love that fabric with the umbrellas!
jenni says
Oh thank you! I've been wondering about this process!
kshackabq says
Thank you, Sherri, for showing how to do that!
Nanette Merrill says
Love string quilts. I really love the variety. Fun project. I don't save anything under 2.5" unless I'm saving for a specific project. I would go nuts with left overs if I didn't limit mine.
Helen Philipps says
Lovely string blocks, Sherri! I love string quilts, they look so colourful and inspiring. Thank you for sharing your method in this great tutorial too.
Helen x
Susan Droho says
I have been saving all my scraps for about 3 years now and wondering what to do with them. Now I know! Your string blocks have inspired me to make a quilt of my own. Thanks for the tutorial.
Susan Droho says
I have been saving all my scraps for about 3 years now and wondering what to do with them. Now I know! Your string blocks have inspired me to make a quilt of my own. Thanks for the tutorial.
suemac says
I have used the paper method several times but not the foundation. Looks easier in the end.
Judith Gale says
I've been saving strips for years. Guess I better get started! Is it really faster with larger foundation blocks?
Polly says
Could you enlighten us a bit more on your sorting process? What would happen if we just used scraps w/out planning? Would also like to hear what kind of foundation you used. Concerned about the weight of such a project, but it sure is a GREAT way to use up those scraps that would otherwise go in the round file.
Judy says
Love this tutorial. I'm going to add it to my Pinterest board.
Michele says
I so want to do this, if I can find time. I've been saving strings too and have more than enough…strings that is but not time.
Margaret says
Thanks for the tutorial. I've been wanting to make an iPad cover using this method, but I've been dragging my feet and I didn't know why. Now I know . . . I didn't know how to do it.
Thanks!
Staci says
Love those blocks! String blocks are so much fun to make. I've never done it with a fabric foundation before. Do you pre-wash the muslin to control shrinkage? Are you using a certain kind of muslin?
Loved seeing the little strips of April Showers! It's on my list of "must haves' for next year.
Did you mention you might do a String Along?
Carol Montanari says
I've only made one string quilt and I did not use muslin – I used Sheer Delite, a very light-weight mesh stabilizer. It's very soft and it works well with 100% cotton batting or 80/20. I think if I were to use muslin, I would make the quilt a summer one and not use any batting. If your pattern has any points, they can be very bulky with muslin, also with the stabilizer but not so much. For stabilizer, go to stripsandstrings.com.
Stacy says
I love your blocks! Jealous that you have your hands on some April Showers already! Thanks for the tutorial.
Kate Spain says
such a smart method, sherri! i can't wait to try this out!
laura ann says
I love this pattern but instead of using the muslin fabric, I just sew them together and cut it into 11" blocks. Then I cut it in fourths like you shown above. To me I find this more simpler to do. And yes, I don't throw away anything.
Judy says
I've never made a string quilt but, also being a hoarder of scraps and strings which I sort into colour families, I have used this method to make placemat and potholder sets. I usually begin a little off-centre for added interest.
Carmen Lee says
Hi Sherri, I just love your post. I'd never made a string but your strings are really beautiful. I love this pattern and the colors too. Thanks for sharing them here.
Christine S says
Thanks for sharing!
gibbygoo56 says
Thank you for the tutorial. You make it easy and clear. And it looks like fun.
Gmama Jane says
String Quilts are like coloring with fabric! I have used several methods beginning with telephone book pages. They are very thin but It makes ink stains on my hands. I tried some very sheer cheap gingham fabric and that worked well . No tearing away and no bulk. But my favorite was actually an accident. I had run out of telephone pages and was at a friends house. She gave me some tissue paper, the kind you use to make the bags look pretty. It was the best!!! It tore off SO easily which meant no stretching of the block!! White tissue paper is now my favorite!!
Gmama Jane
Julie says
I agree about not wanting to throw ANY fabric away. It's like throwing $'s away. I save my selvedges and make pot holders out of them, using interesting words and info. on the selvedge. However, I have never truly done a string quilt block. I have plenty of scraps and usually give them to another lady who can and does use them. However, I think I will give it a go. Thank you.
Betty Barnard says
Beautiful string blocks. I've been 'getting rid' of all my pieces, strips, anything useable in strings quilts and will be starting my 4th one soon. Just recently took a queen size one that I had finished to my long arm quilter and she has finished it and commented on how pretty it turned out; did not say anything about having a difficult time quilting it due to bulkiness or seams.
Thoroughly enjoy sewing these blocks, goes quickly.
Thanks for the tutorial!!!
edith says
I have heard people use used dryer sheets and they work well. That's more recycling for us thrifty quilters!!
bunny donaldson says
Thanks for the idea! Can't wait to try this. Recently made a log cabin scrap quilt and firmly believe in using up every scrap too! Feel like that's what original quilters started out doing, using what they had. Quilt fabric today is far too expensive to waste a tiny bit and what fun it is to create a quilt out of something many quilters discard.
Mary Holloway says
When you start sewing the blocks together do you press your seams open or not? Thank you
Mary Holloway says
When sewing the blocks together do you press the seams open or not?