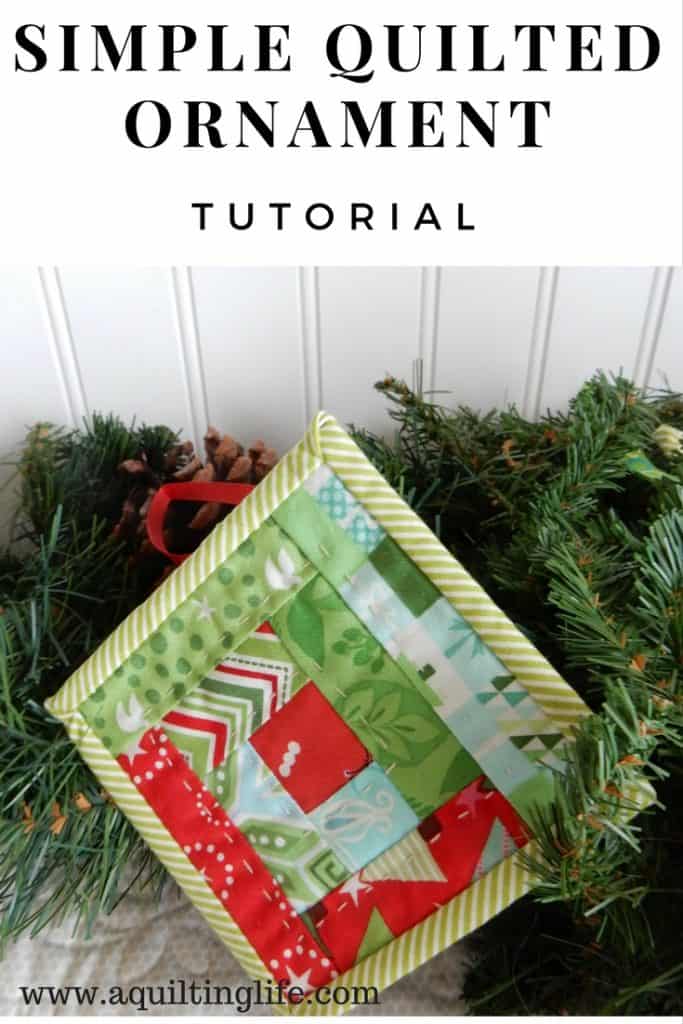
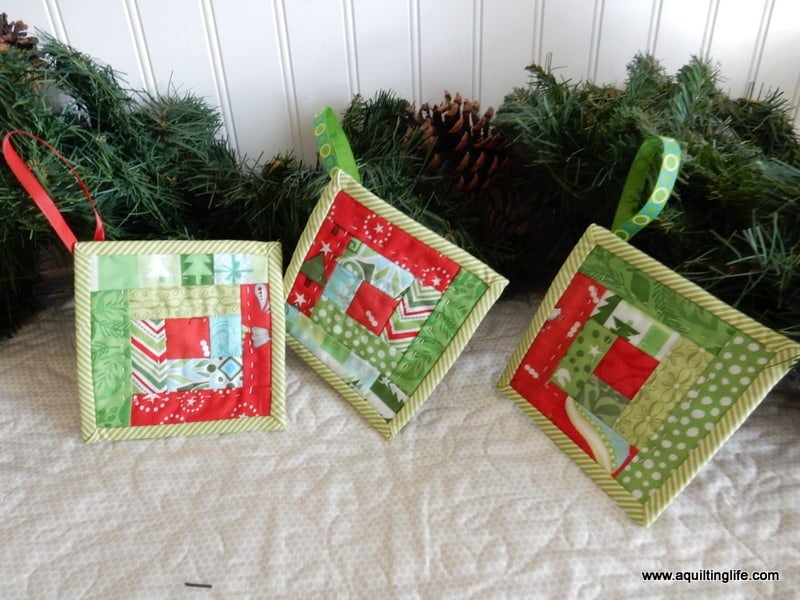
Hello and happy Monday! Today I’m happy to share a tutorial for a fun Christmas ornament project. Almost every year for about the last twenty years I’ve made some time of handmade ornament; this has become sort of a tradition, and is something I really look forward to. This year I decided I really wanted log cabin block ornaments since it’s one of my favorite block patterns and is perfect for scrappy Christmas prints.
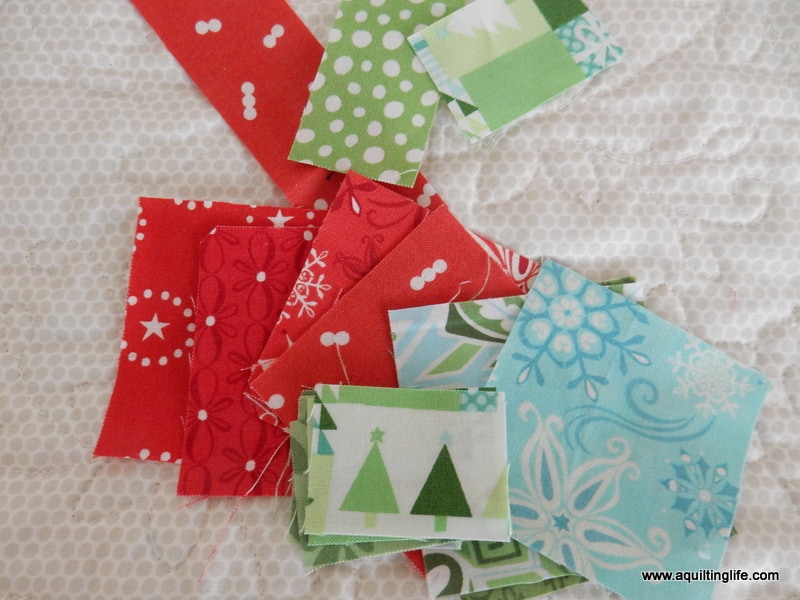
Gather your scraps and get ready for some fun!
- one center square 1 ½″ x 1 ½″
- print rectangles 1 ¼″ x 1 ½″ and 1 ¼″ x 2 ¼″
- print rectangles 1 ¼″ x 2 ¼″ and 1 ¼″ x 3″
- print rectangles 1 ¼″ x 3″ and 1 ¼″ x 3 ¾″
- print rectangles 1 ¼″ x 3 ¾″ and 1 ¼″ x 4 ½″
- 6″ x 6″ square of batting
- 6″ x 6″ square of backing
- 8″ – 9″ piece of ribbon for hanger
- 2″ x width of fabric for binding ( I was able to bind two ornaments with a piece of fabric this size, but there wasn’t much left over).
NOTE: If you don’t want to bind your ornament you can simply use pinking shears to trim all four edges of your ornament and then put your hanger ends in between the backing and batting on one of the corners, stitching to secure. Or, place the ornament and backing right sides together before quilting (make sure to sandwich the ribbon hanger in between on one of the corners). Stitch ¼″ around the edge, leaving an opening to turn. Slip-stitch the opening closed and then add your quilting.
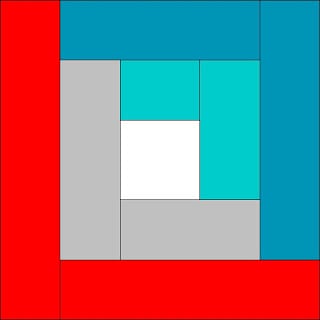
Begin by sewing the 1 ¼″ x 1 ½″ print rectangle to the 1 ½″ x 1 ½″ center square. Press toward the rectangle.
Add the 1 ¼″ x 2 ¼″ print rectangle to the unit above, again pressing toward the rectangle you added last.
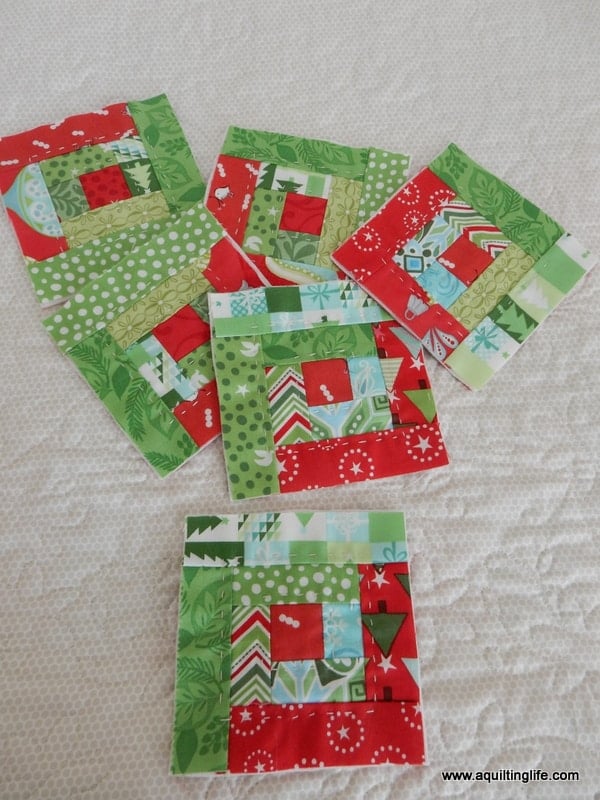
Continue adding the print rectangles in the order listed in the requirements section and as shown in the figure below (you’ll notice that I’ve color-coordinated the block diagram according to the pairs of strips listed above).
After making your log cabin block, layer a background fabric square wrong side up, a batting square, and your block right side up and centered on the batting and backing.
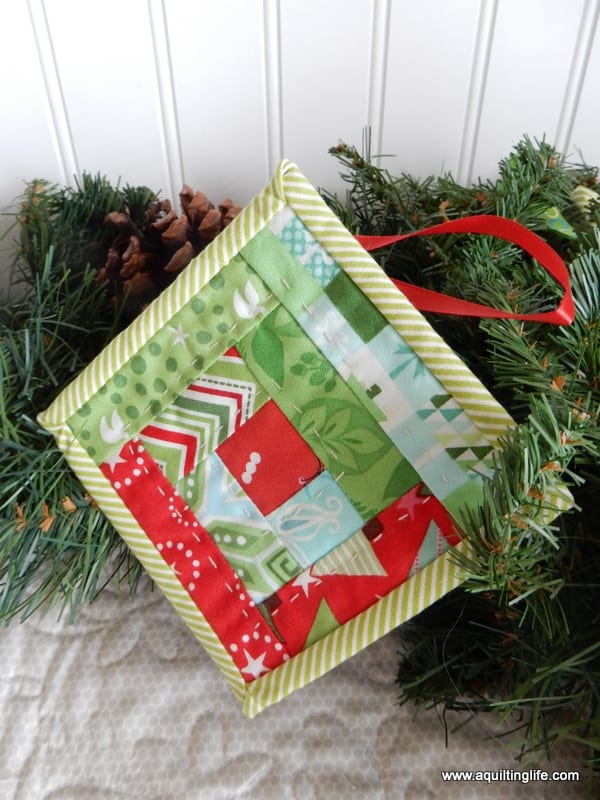
Quilt as desired…I did a simple hand-quilting stitch about ¼″ around the center square and ¼″ around the outer seams.
After quilting, trim the extra batting and backing material even with the outer edges of the ornament front.
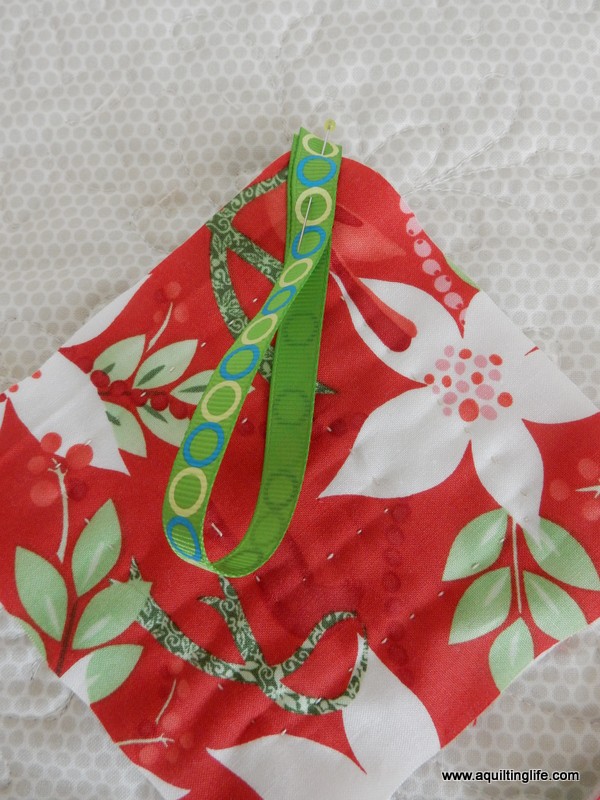
Fold the ribbon hanger in half and pin to one of the corners on the back of the ornament as shown.
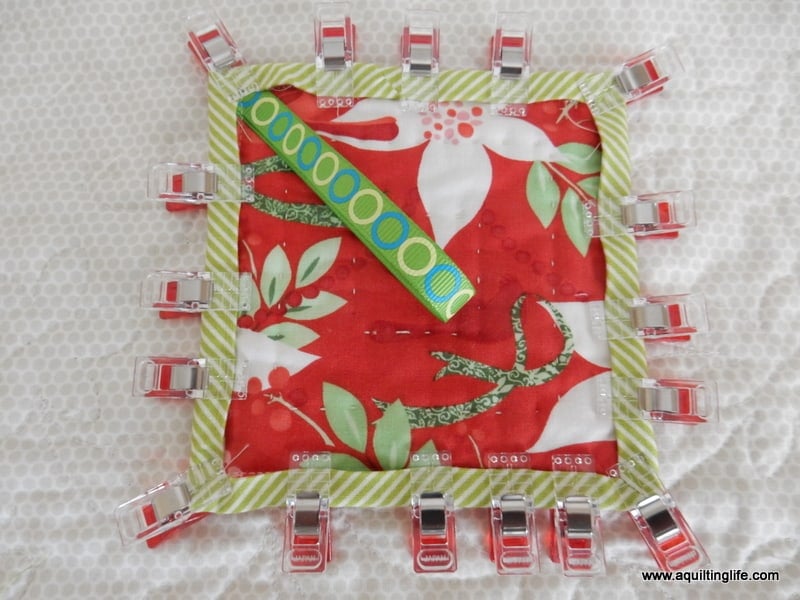
Bind the ornament just as you would bind a quilt, catching the ribbon hanger in your stitching (for my video binding tutorials go here and here).
I use lots of Clover Wonder clips to secure my binding before stitching!
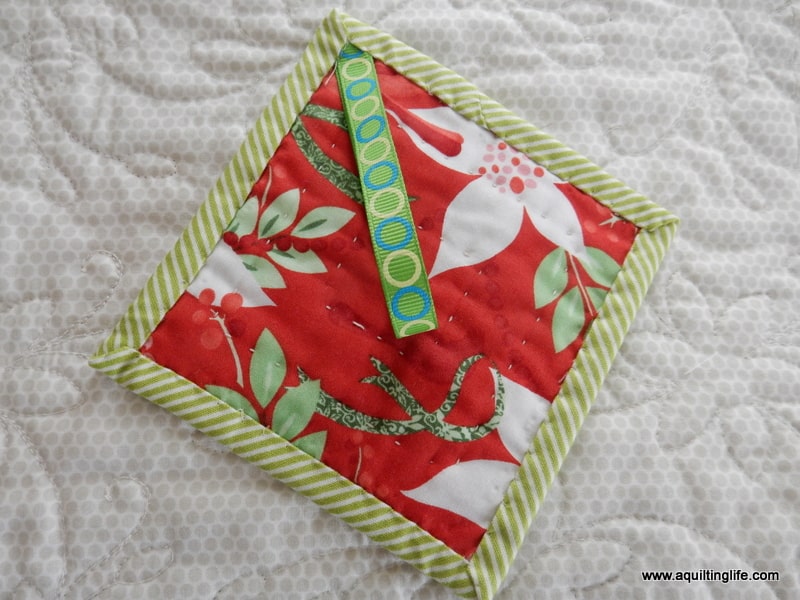
After stitching, the back of the ornament will look like this. You’ll be able to fold up the hanging ribbon easily.
These go together quickly and make great gifts or additions to gifts. I hope you enjoy making a few!
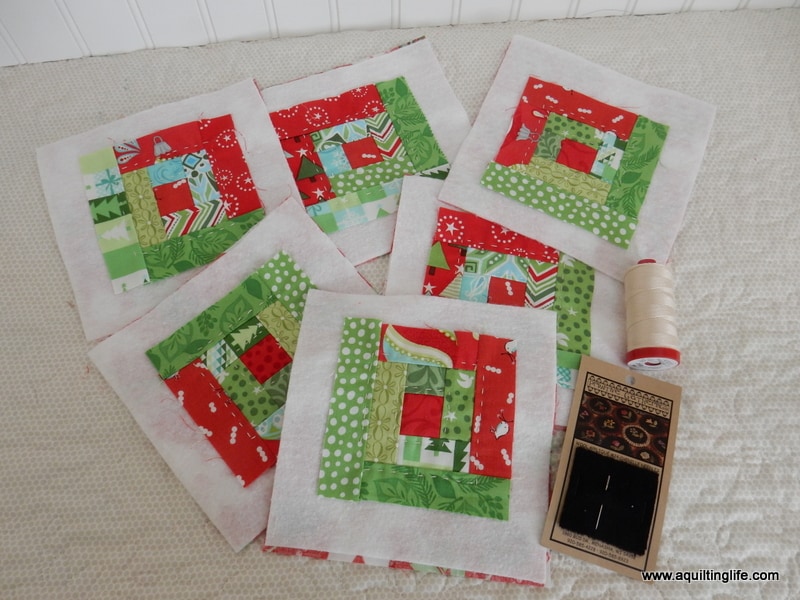
I actually made six of these the other day while getting ready for this tutorial and plan to make just a few more…
Fabric notes: most of the prints including the backing are from Kate Spain Christmas collections for Moda. One of the prints is from an older Aneela Hoey Christmas collection for Moda. The binding is from the Scrumptious collection by Bonnie & Camille for Moda. And the ribbon is from my local hardware store!
Thanks so much for stopping by!



Alenushka22222 says
Turned out festively!)))
Dondi Murdock says
This looks as though these could be made from fat quarters. I hereby vow never to get caught up again in making a queen sized wedding quilt during the Christmas season! I want to be making these fun Christmas presents!! I am feeling a little tinge of sighing in my soul. Next year…
Hildy says
Very cute! I think I need to make some as gift tags.
Little Quiltsong says
Super cute! Thank you for sharing!
Connie Kresin Campbell says
Beautiful Christmas ornaments Sherri!
Karen says
Adorable oranaments. They look like fun to make. Thanks for sharing.