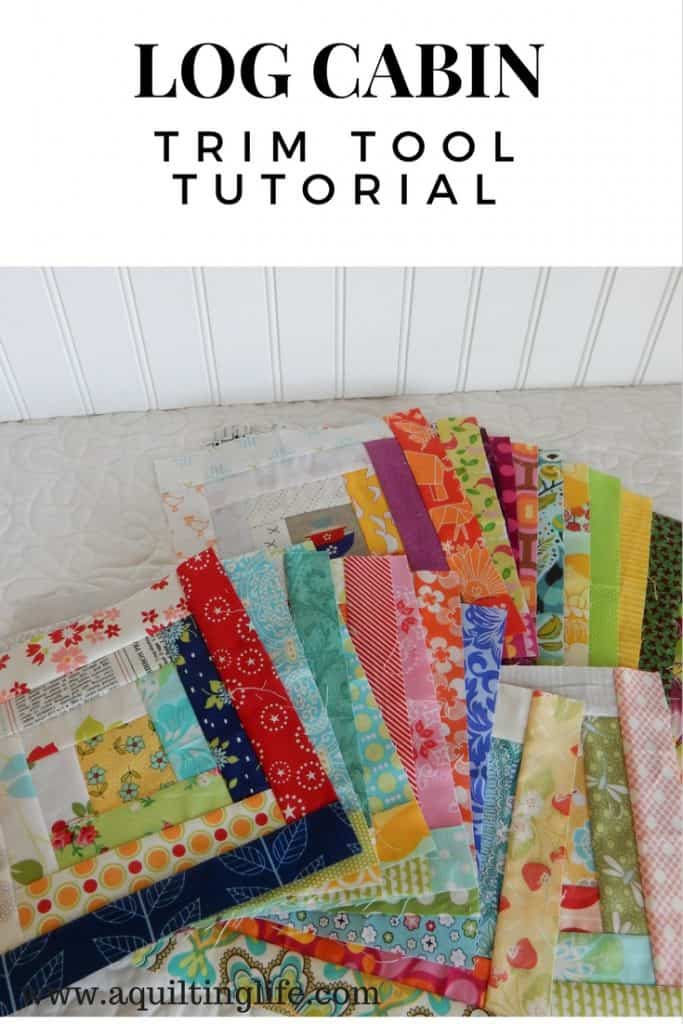
Hello! Today I’m sharing a tutorial for my favorite way to make Log Cabin quilt blocks. Log cabin blocks are one of my favorite scrap-using blocks, and this method makes it especially easy!
When I first started making these blocks I absolutely loved the technique, but
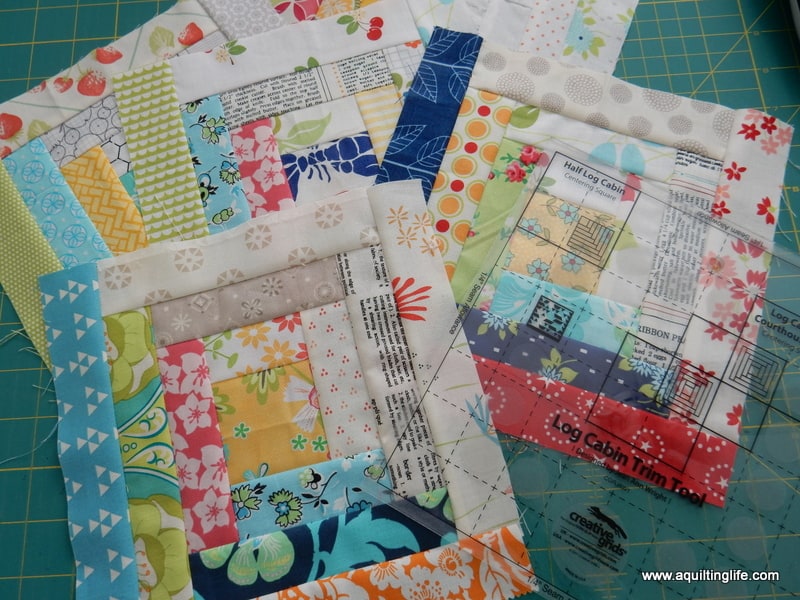
the process was a little more time-consuming than I would have liked. I have since found a few ways to make everything go a little more quickly…and will share a few thoughts on that as well as share a tutorial for using the Creative Grids Log Cabin Trim Tool for 8″ Finished Blocks Quilt Ruler (CGRJAW1). This tutorial will also work for the Creative Grids 6 inch Log Cabin Trim Tool Quilt Ruler Template
. I‘ll be sharing my thoughts and tips using the larger ruler in the photos. Both rulers are absolutely wonderful, and you can also make Courthouse Steps blocks using these rulers and the instructions included (Tip: I keep my ruler instruction pages in a file folder for easy reference).
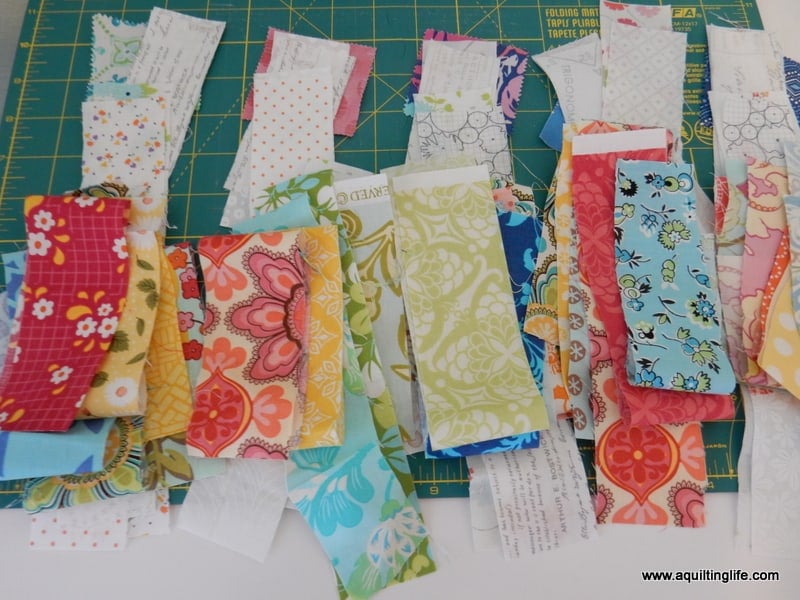
One thing that has really helped is that I’ve been keeping a project box with strips pre-cut into the sizes needed for these blocks. Since the blocks are trimmed, strips don’t need to be an exact size; however, it really helps to have them somewhat close to what is needed (I have a chart at the end of this post with the strip sizes I’m using).
Another method I’ve been using to make these blocks go together more quickly is to make groupings right before I begin sewing. This way I can get a good mix of the lights and brights, and I can also chain piece each step of the way. I also don’t have to stop and think about what strip I’m going to use next if it’s lined up in a pile ready to sew.
Begin with an accurately cut center square (the measurement for the center square depends on which size ruler you are using–see the ruler instructions for center square dimensions).
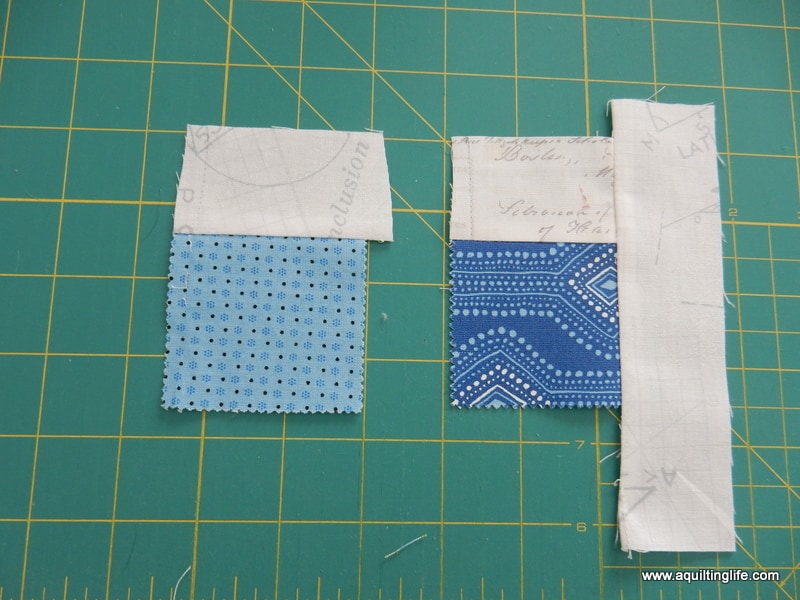
Sew a light rectangle to the center square and press toward the rectangle. Then sew another light rectangle as shown in the photo below.
Next you will add a print rectangle as shown below and finally add a second print rectangle. The unit on the right is a round one unit ready for trimming.
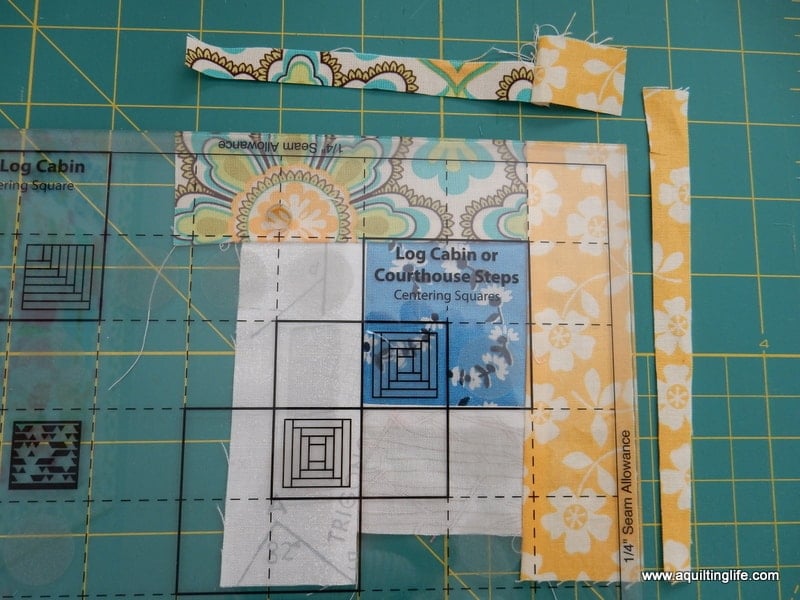
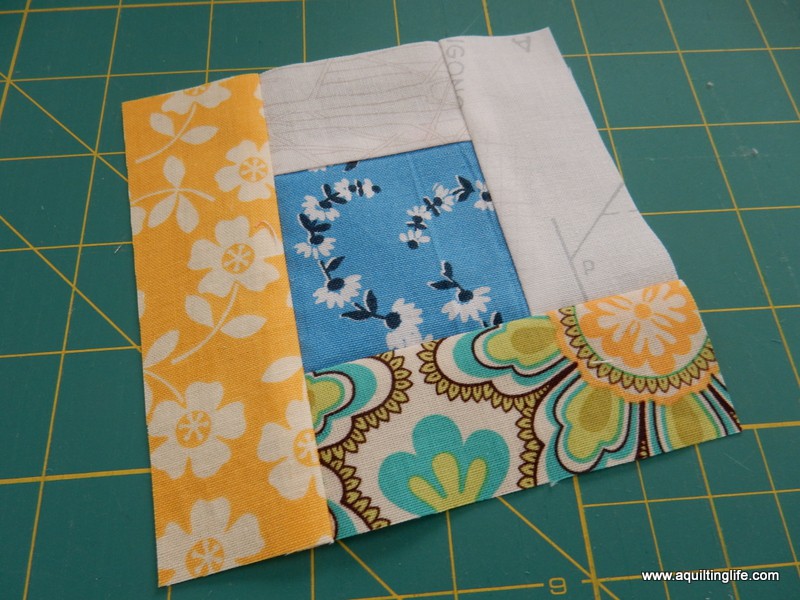
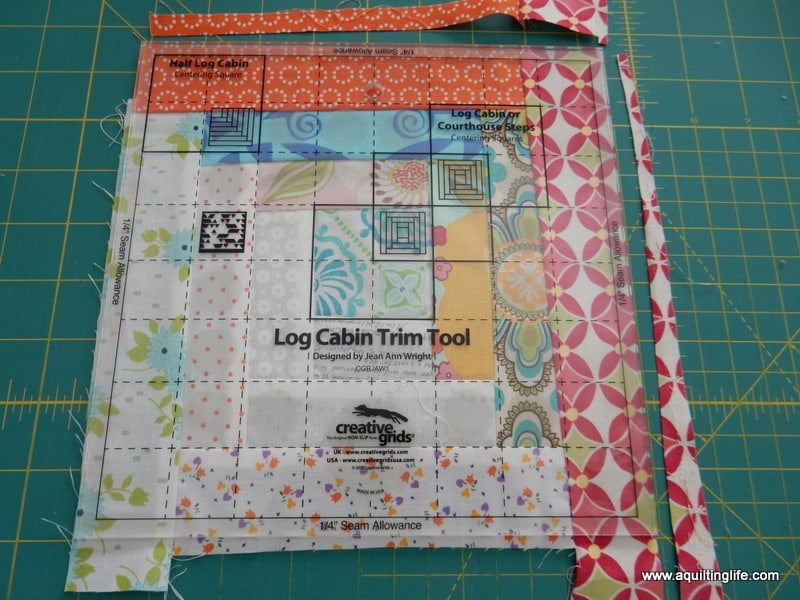
The ruler has three different centering squares for trimming. When trimming after sewing the first round of strips, simply place the top right centering square over your unit and trim the right side and the top of the unit.
Discard the trimmed pieces.
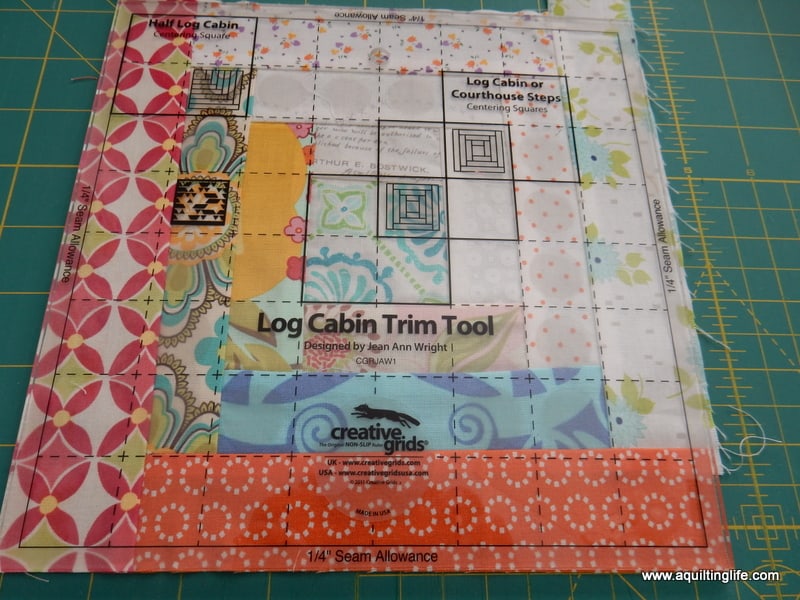
Next, flip your unit so the trimmed sides are on the bottom and the left, and again trim the right side and the top using the same centering square lined up on the center square of your unit.
Now that the unit has been trimmed on all four sides you can start adding the next round of strips.
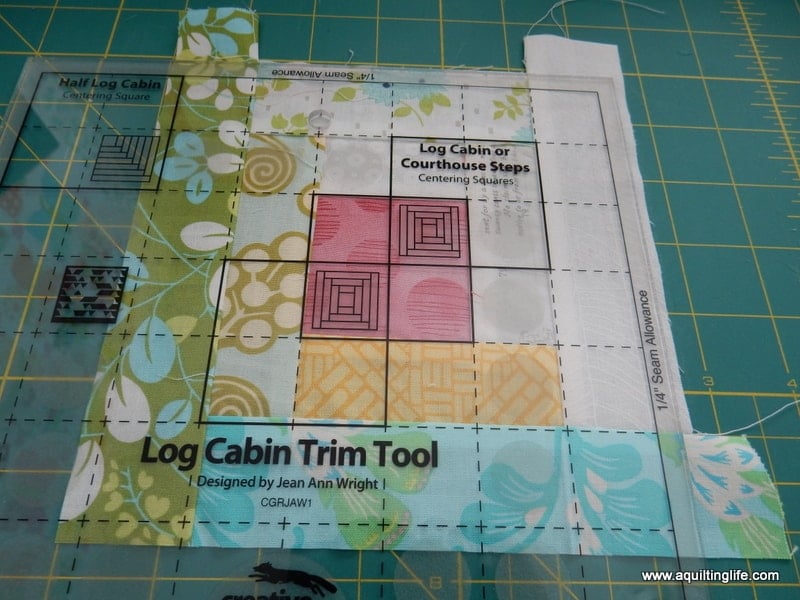
After adding two more lights and two more print rectangles it’s time to trim again–this time lining up the center square on the ruler with the center square of the block. Trim the right side and the top as you did before.
Then flip the block and trim again, also using the middle centering square lined up on the center square of the block.
The block is now ready for the final round of rectangles!
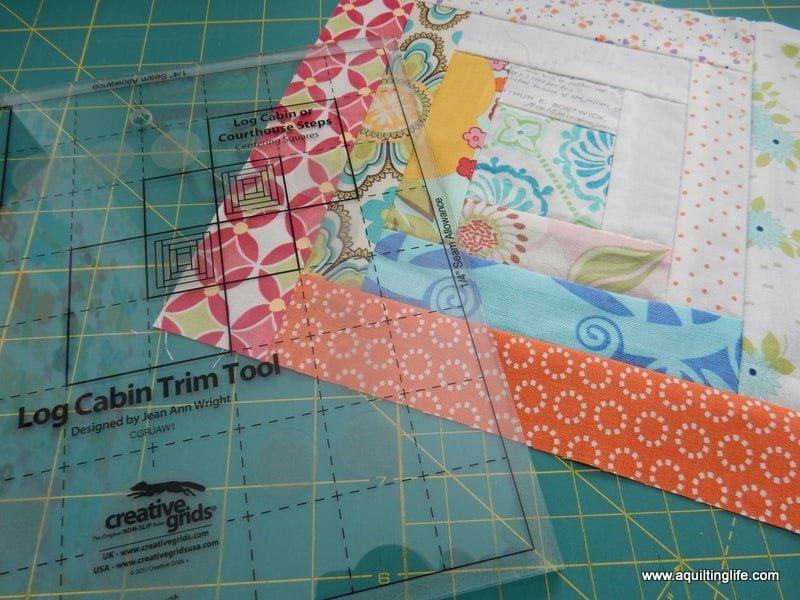
The final trimming is done with the lower left square on the ruler lined up over the block center square. Trim the right side and the top of the block as in the previous steps, discarding the extra fabric.
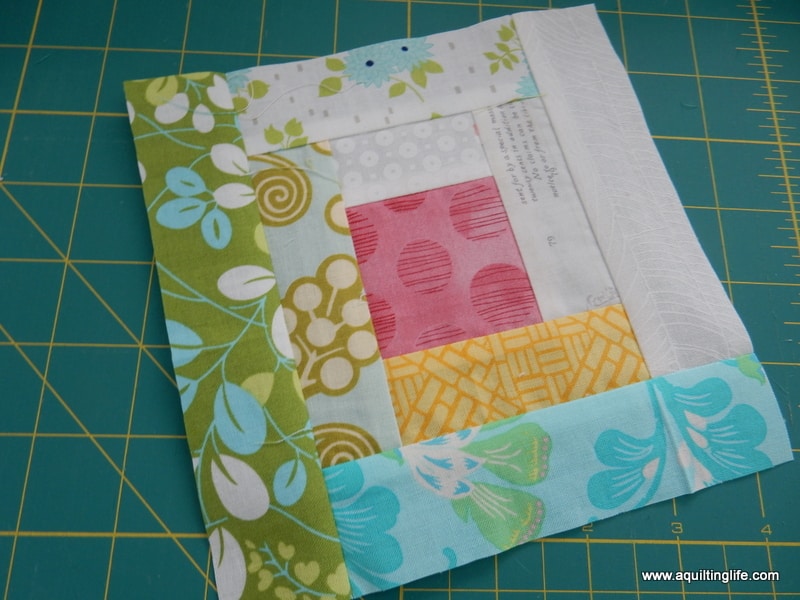
Flip the block to trim the final two sides. At this point the edges of the ruler should align with the left and bottom sides of the block. The block will be the same size as the ruler when fully trimmed.
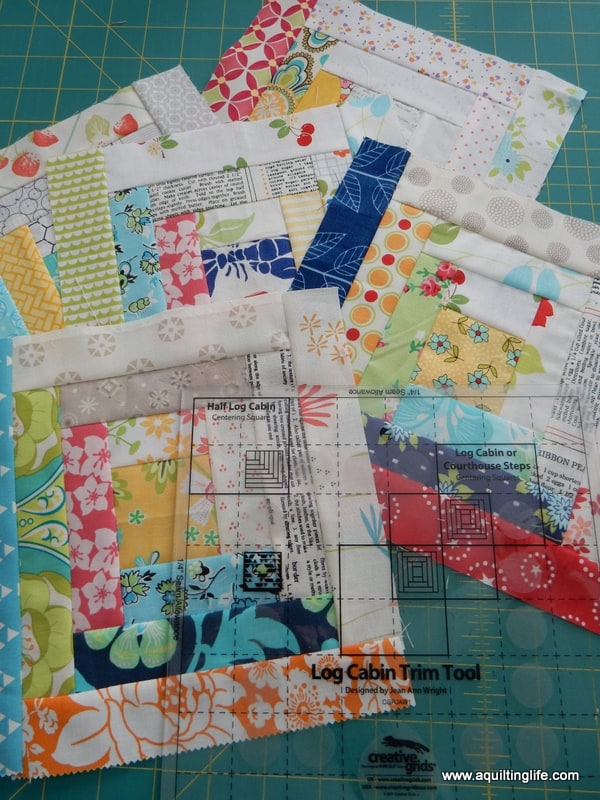
The log cabin block is now perfectly trimmed to size!
They just might be a little addicting!
Just a couple of final notes about the strip sizes in the chart below. Strips may be wider than the suggested 1 ¾″ width–but if they are narrower you may have difficulty getting your block to be large enough. The length measurements are based on strips using a 1 ¾″ width, so you may need to adjust lengths accordingly. You can also use longer strips for any of the steps–you’ll just be discarding bigger pieces.
Also, there is going to be some waste with this method–it doesn’t bother me for these blocks because I’m using scraps most of the time, and it makes the process much easier!
Finally, when making your strip piles gather the following for each block: one center square and all of the round 1, round 2, and round 3 strips in lights and prints. Then have fun making these blocks!
Strip Sizes
|
|
6” Block
|
8” Block
|
|
Round 1 strips (2 light + 2 print)
|
1 ¾” x 4”
|
1 ¾” x 5”
|
|
Round 2 strips (2 light + 2 print)
|
1 ¾” x 7”
|
1 ¾” x 7”
|
|
Round 3 strips (2 light + 2 print)
|
1 ¾” x 7”
|
1 ¾” x 9”
|
I hope this tutorial has helped you enjoy the use of these amazing rulers…if you have any questions, please don’t hesitate to email me!
Thanks so much for stopping by!






Robin Davis says
Brilliant in so (sew) many ways. I'm now going to use my scraps for your technique. I also purchased your book "Fresh Family Traditions". I'm loving it. Thanks for sharing.
Robby H. says
How slick is this technique?! Even a beginner could be successful with this method. Thanks for showing this, I've always wanted to do a log cabin, but never been in love with ripping out the paper after paper piecing.
carol fun says
I haven't seen this ruler before …and I love rulers… this one is really cool. I shall have to add it to my stash of rulers so I can tame my stash of fabric… thanks for the demo.
Loris says
Thank you so much, Sherri! I see the usefulness of this ruler now. Great tutorial. Both sizes are good but I think I like the idea of the 6" block. Log Cabins and Courthouse Steps are a couple of my favorite block.
sincerely yours says
This looks like a wonderful ruler! But, I have one question. What about the uneven ends within each round; do you trim the ends of the 1st, 2nd and 3rd rounds before adding the next strip?
Hildy says
It seeems log cabin blocks are a thing right now. First Nicole(sisterschoicequilts), then you and Thelma (cupcakendaisies). I think I might join and make some log cabins Thelma's are just too cute:-)
Tina says
This is such wonderful information! Thank you.
Mary Burnette says
Thank you so much for this tutorial. So much easier with pictures than trying to figure out those ruler instructions. Thanks again! Mburnette912@bellsouth.net
Karen says
I used this ruler to make a log cabin quilt a little more than a year ago. I am a convert! I didn't think I would like all the stopping to trim, but it was actually kind of fun and makes assembling the log cabin blocks more forgiving. I feel like I was more successful with my first log cabin quilt because of the ruler. Now I want the 6" version. 🙂
Lisa says
So glad I stopped in and saw your tutorial for this ruler! I just ordered one for the skill builder and now I understand how to use it! Thank you
Kay says
I haven't seen this ruler before, I feel a need for one now though. x
Gidget says
You make it look so easy!
Looks like a great tool thanks for the tutorial.
Barb Neiwert says
I have that ruler and it's wonderful for making these blocks. Reminds me that I should get it out and use it again. Ah, so little time.
shoshu says
hi, thanks for all the information. i've been debating about b uying a log cabin ruler and can't figure out if the 8 or six inch is more useful. are they interchangable, whats your opinion?
thanks again,
shoshana
Dee Ann John says
I have owned this ruler for a couple of years now and never been able to figure it out. I have watched the company's tutorial online and when it came to lining up the center square I was never able to see just where they intended me to be. Your photography of the ruler is excellent. Now I'm excited to get my ruler out and start making this wonderful block. A log cabin was the first quilt I made a life time ago. Should be more fun and more accurate this way. Thanks so much.
GRANDORI says
You are so right that this ruler method is addictive! I'm now on my third log cabin. No more skewed logs on
my blocks anymore, and always finishes up with the perfect size block. ?
P.A.C.'s Miniatures says
What I needed was the measurements for the strips that you posted at the bottom which will save me a lot of time and effort. I'll make piles of these and then pick and choose what I need for perfect blocks.
Thanks so much.