

Happy Friday! I thought it would be fun to have a tutorial each Friday before Christmas…I’ll go back to my “Favorites” posts for Fridays after the holidays. First up is what I’m making this week…scrappy log cabin pot holders!
Materials for One Half Log Cabin Potholder:
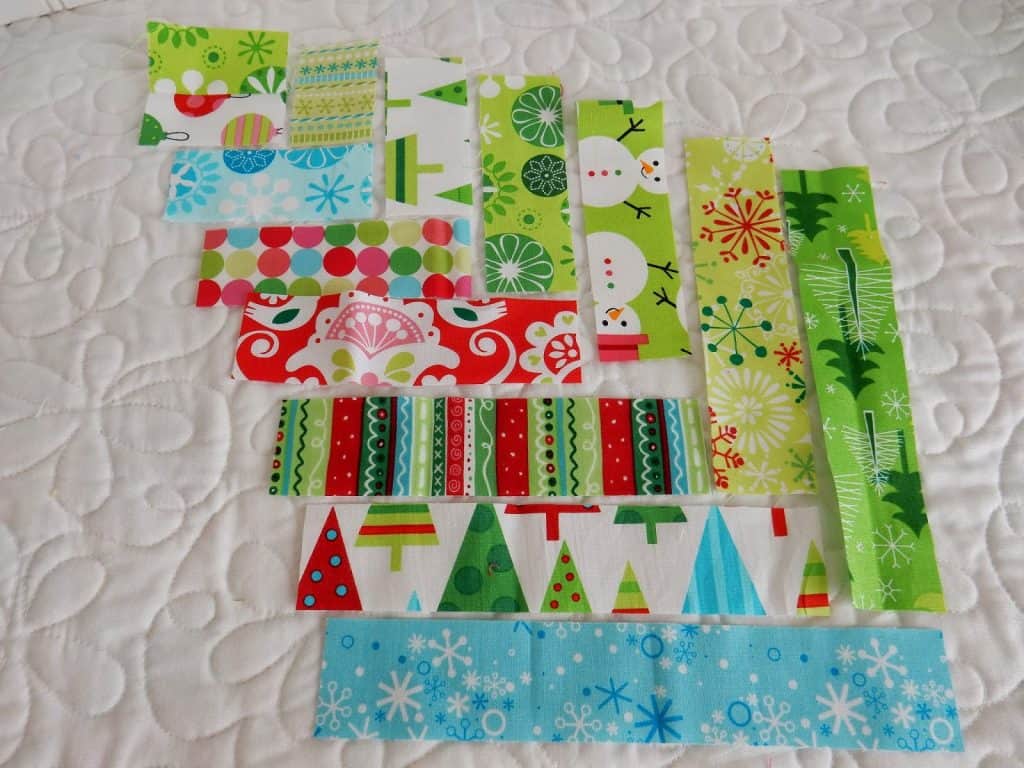
(I’ve separated the strips so you can see which pieces are added at each step).
2 rectangles for starting square 1 ½″ x 2 ½″ each
1 rectangle 1 ½″ x 2 ½″
1 rectangles 1 ½″ x 3 ½″
1 rectangle 1 ½″ x 3 ½″
1 rectangle 1 ½″ x 4 ½″
1 rectangle 1 ½″ x 4 ½″
1 rectangle 1 ½″ x 5 ½″
1 rectangle 1 ½″ x 5 ½″
1 rectangle 1 ½″ x 6 ½″
1 rectangle 1 ½″ x 6 ½″
1 rectangle 1 ½″ x 7 ½″
1 rectangle 1 ½″ x 7 ½″
1 rectangle 1 ½″ x 8 ½″
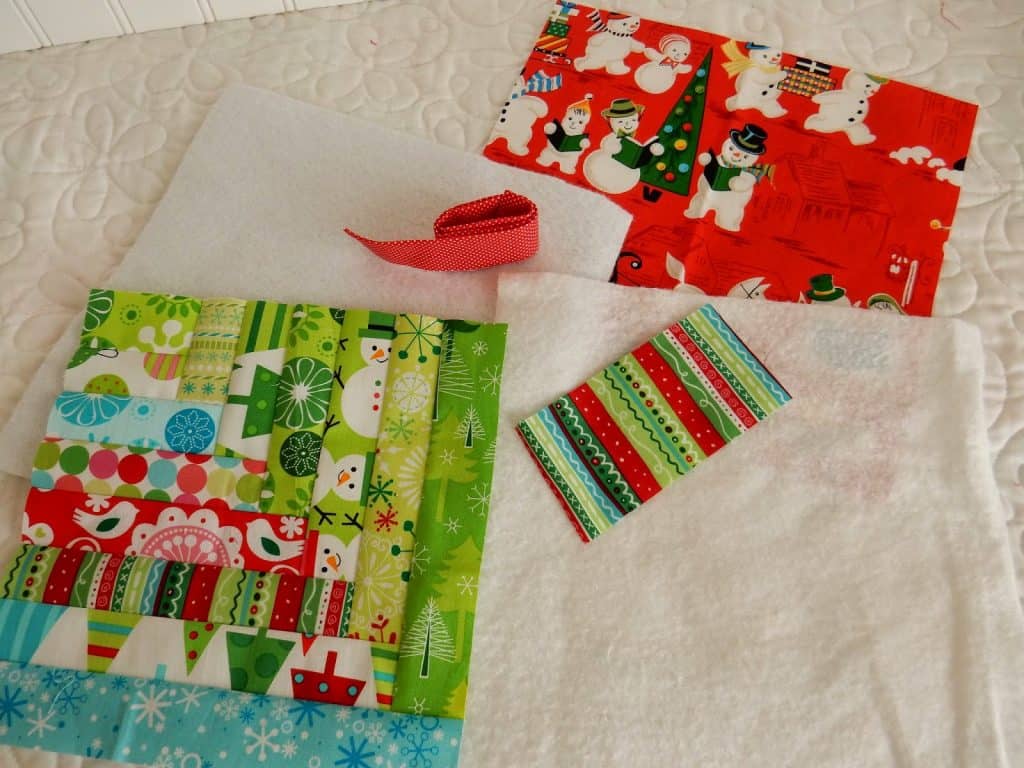
Batting: 10″ x 10″
Insul Brite: 10″ x 10″
Backing: 10″ x 10″
Hanger: 2 ½″ x 5″
Binding: 2 ¼″ x width of fabric strip
Make the Half Log Cabin Block:
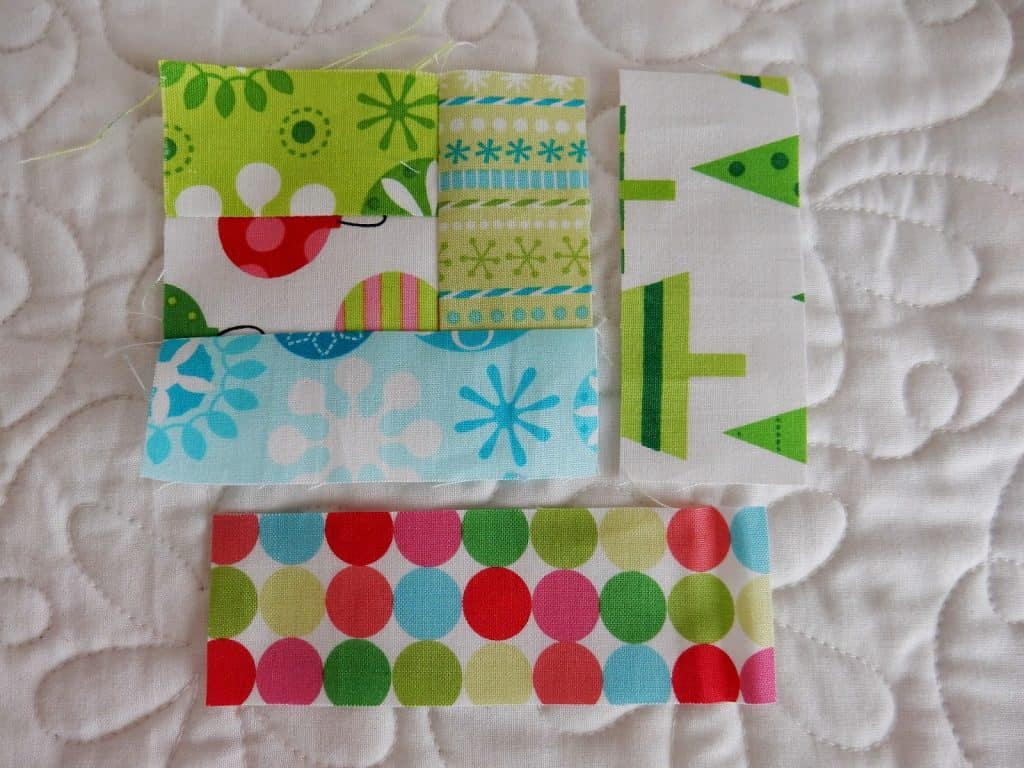
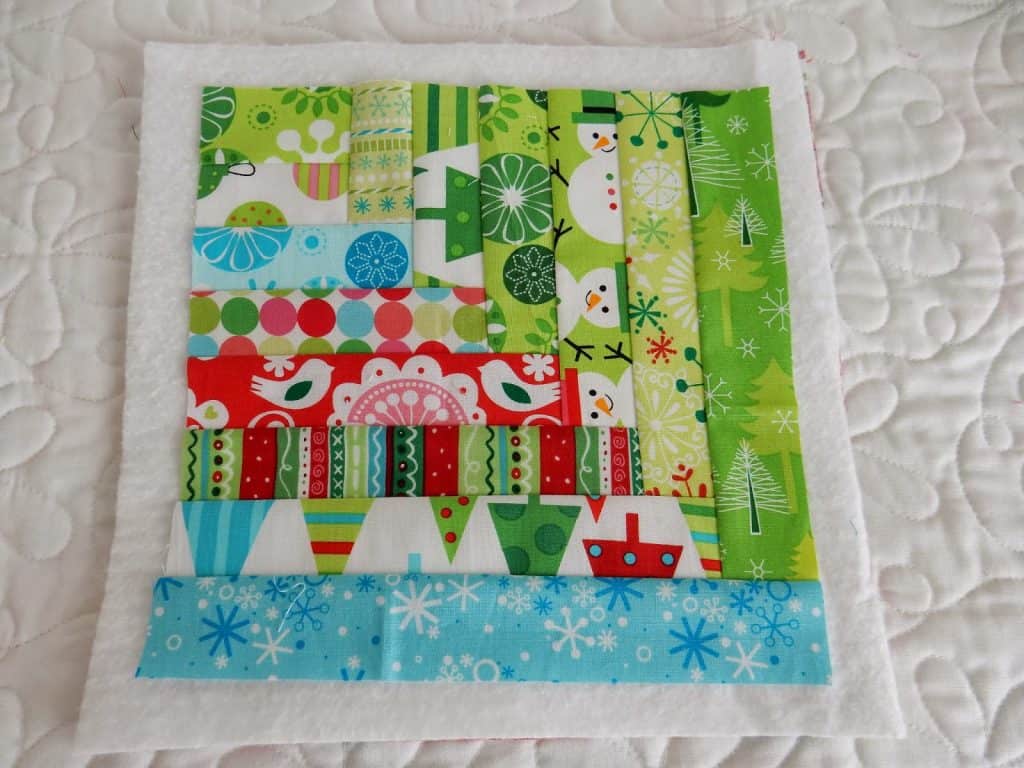
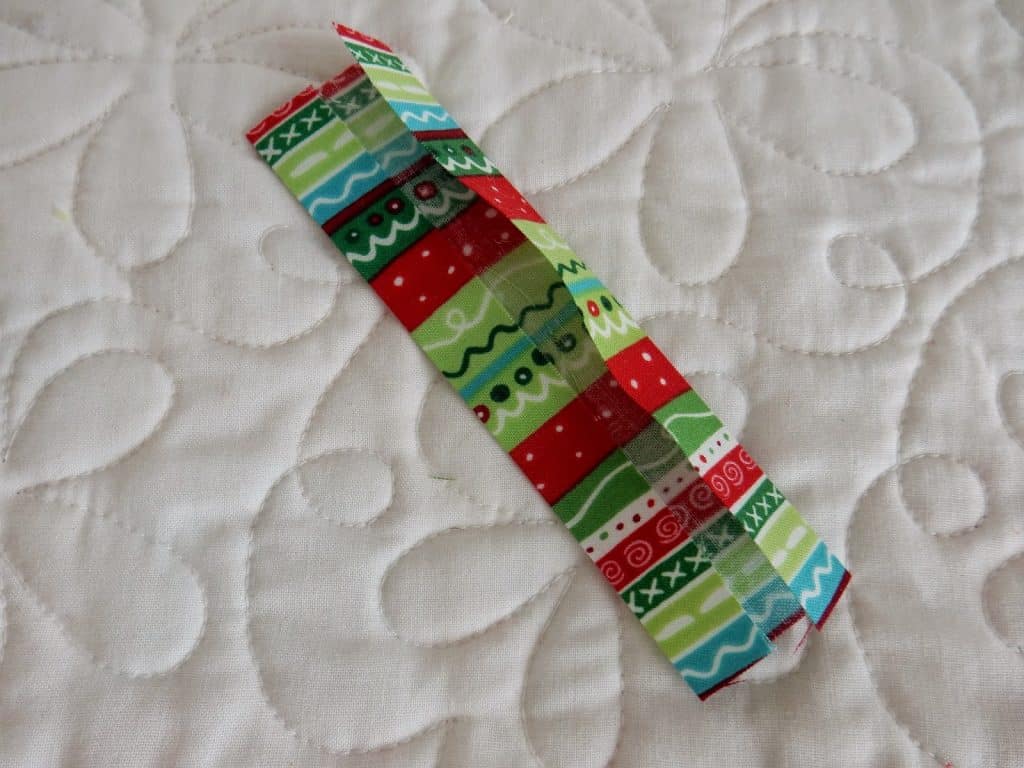
After you cut your strips, it helps to lay everything out…it makes it much easier to keep everything in the right order. The first strip listed in each section will be sewn to the right of your block, and the second strip will be sewn to the bottom. Press out towards each added strip after every seam.

Sew the first two rectangles together to make a square. Then sew the 1 ½″ x 2 ½″ rectangle to the right side. Press, then sew the 1 ½″ x 3 ½″ rectangle to the bottom. Press again.

Continue adding strips, always adding the strip to the right side first and then adding the bottom strip.
Be sure you are sewing with a scant (just a thread’s width smaller) ¼″ seam so all of your pieces will fit properly.
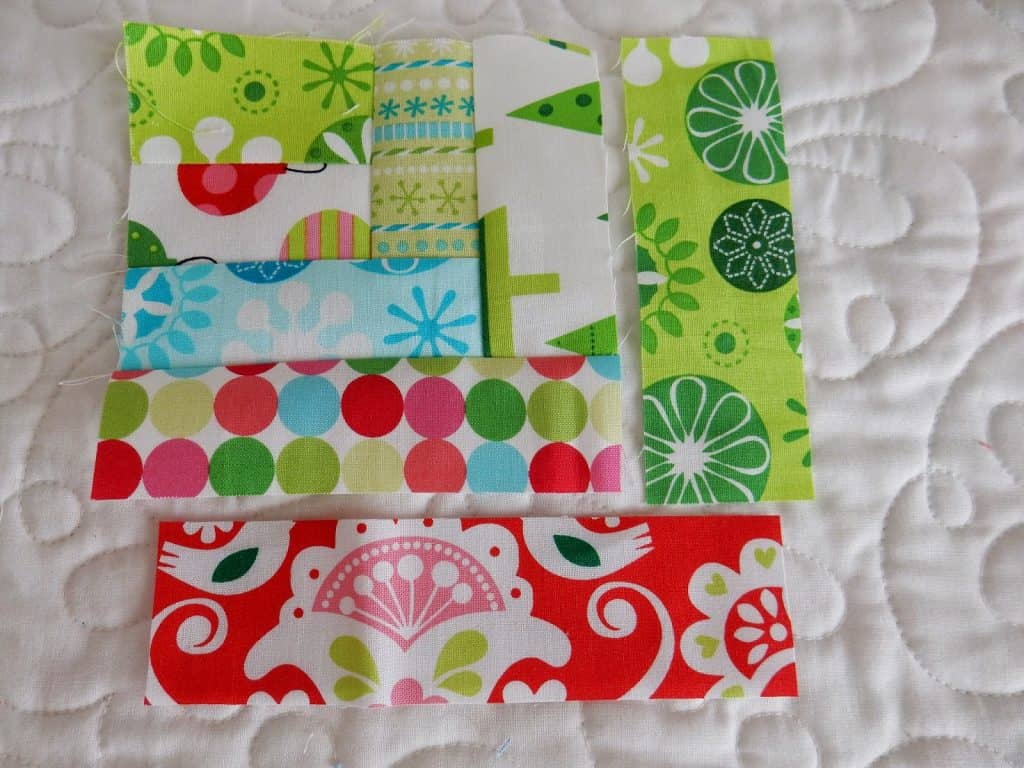
Keep adding strips as described above. The block just gets cuter with each step!
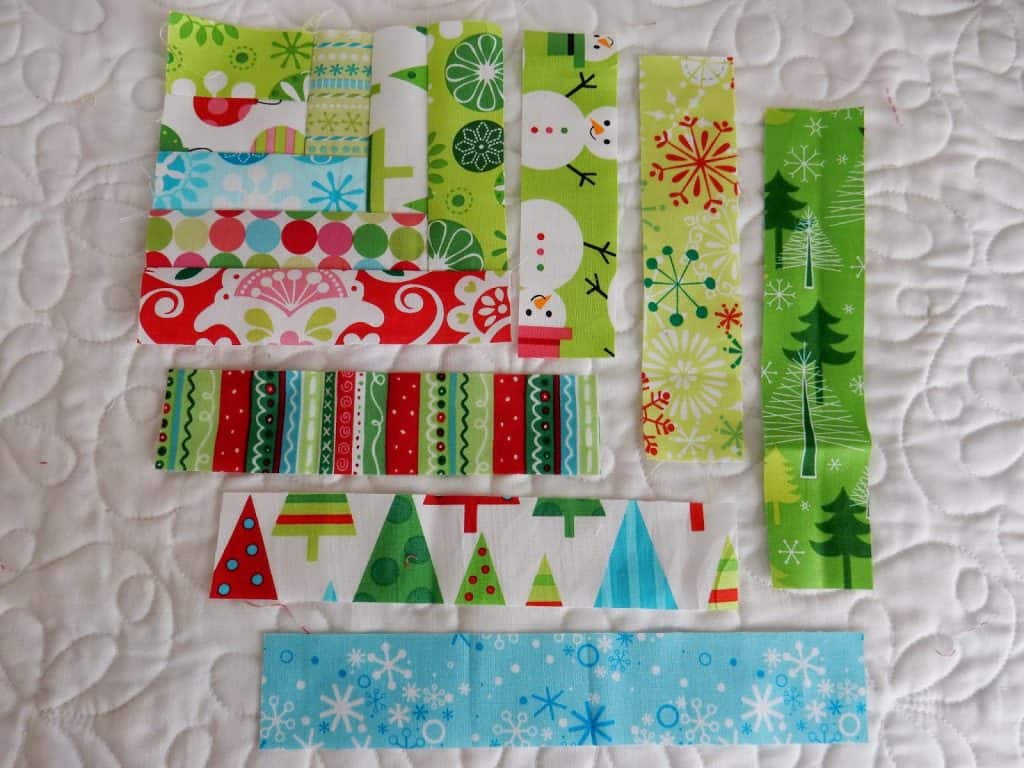
I didn’t take a photo after every step, but I think you can see the pattern.
Assemble your Potholder:
Once you have your completed log cabin block it’s time to assemble the pot holder.
Make a “quilt sandwich” with the backing on the bottom (wrong side up), then the InsulBrite, then the batting, and finally center your quilt block on top.
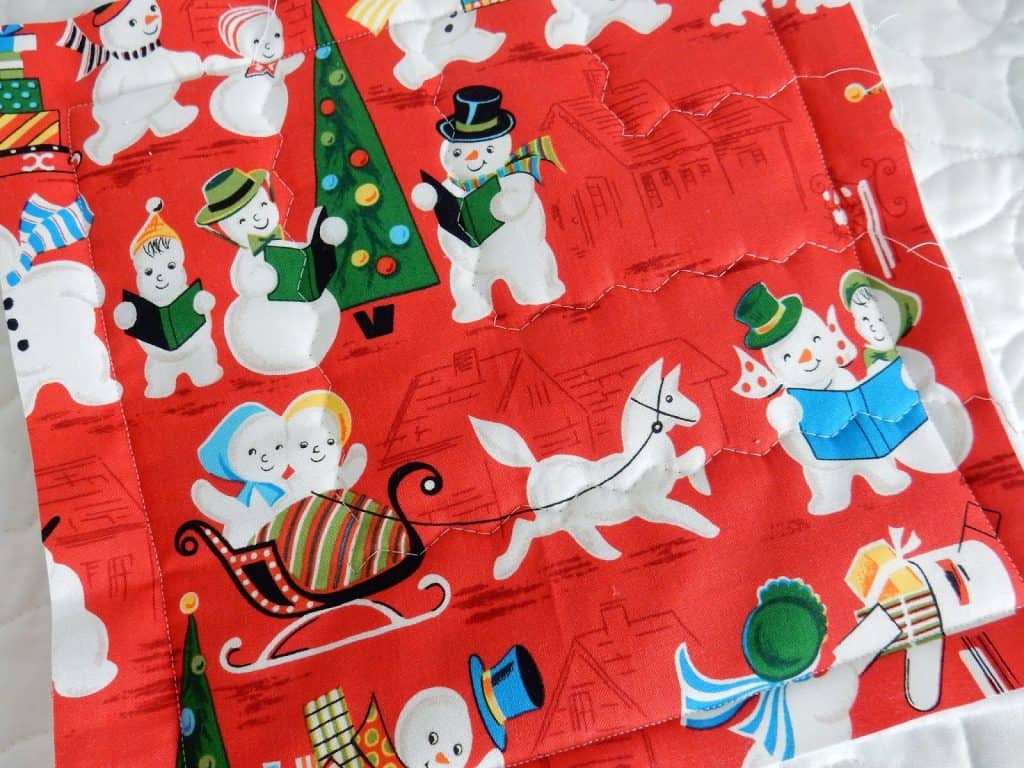
I did some simple wavy line quilting around some of the strips. Using a walking foot for this step really helps. I don’t like too much quilting for potholders, but I do think they need a little quilting.

This step really helps: stay-stitch just ⅛″ away from all of the edges. With the different layers this step really helps things stay in place. Continue to use the walking foot; it really makes a huge difference in preventing puckers and keeping things straight.
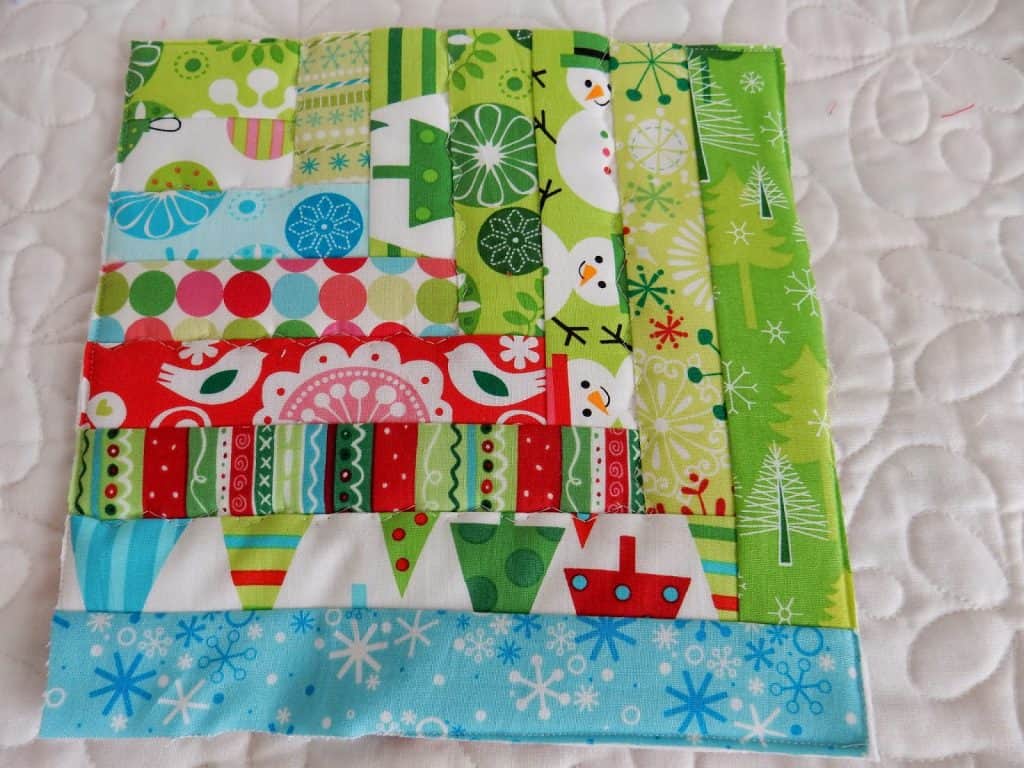
Trim your block, removing all of the excess batting and backing.
Next we’ll make the hanger. Fold the 2 ½″ x 5 strip in half along the long edge. Open it up and fold each long side to the middle crease. Press well.

Fold in half (the long raw edges will be enclosed). Stitch ⅛″ away from each long edge.

Next you will baste or pin your hanger to the back of the potholder. I like my potholder hangers to be in the corner. I attach them as shown above so the strips won’t be in the way of the binding seam but can still be pulled up for a corner hanger.
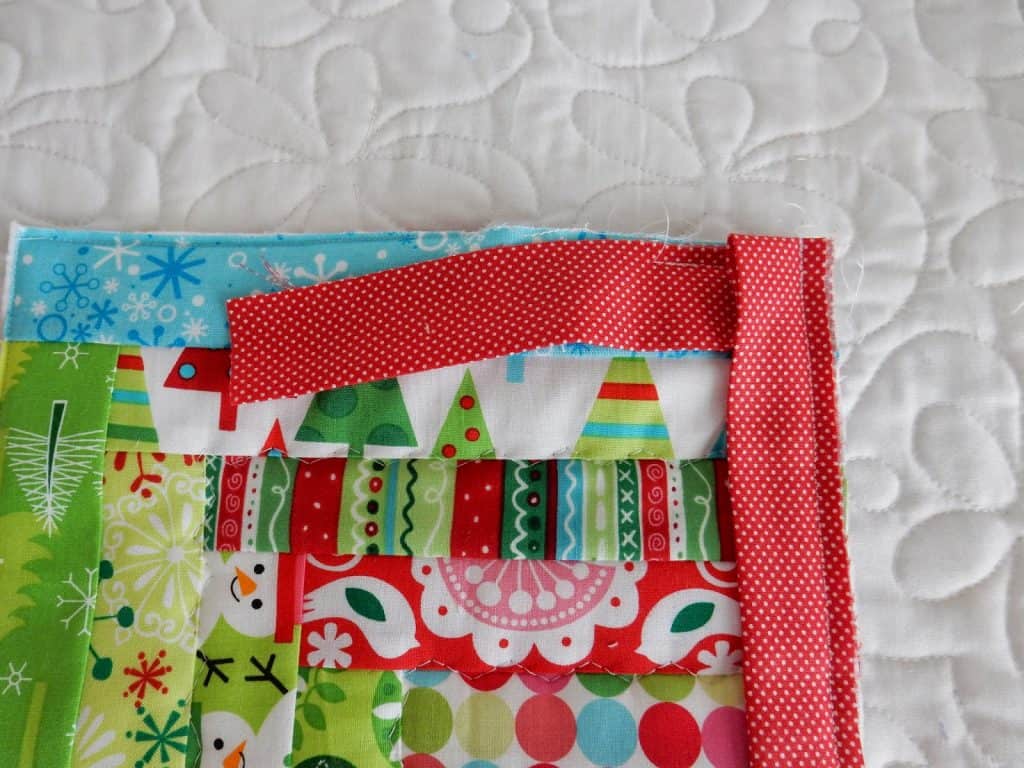
Next you’ll attach the binding. You can see in the photo above that I placed my strip just a little over from the left side edge but didn’t start sewing until almost at the right corner.
If you need help with binding details, I have two YouTube videos that explain the binding process step by step. You can watch them here and here.
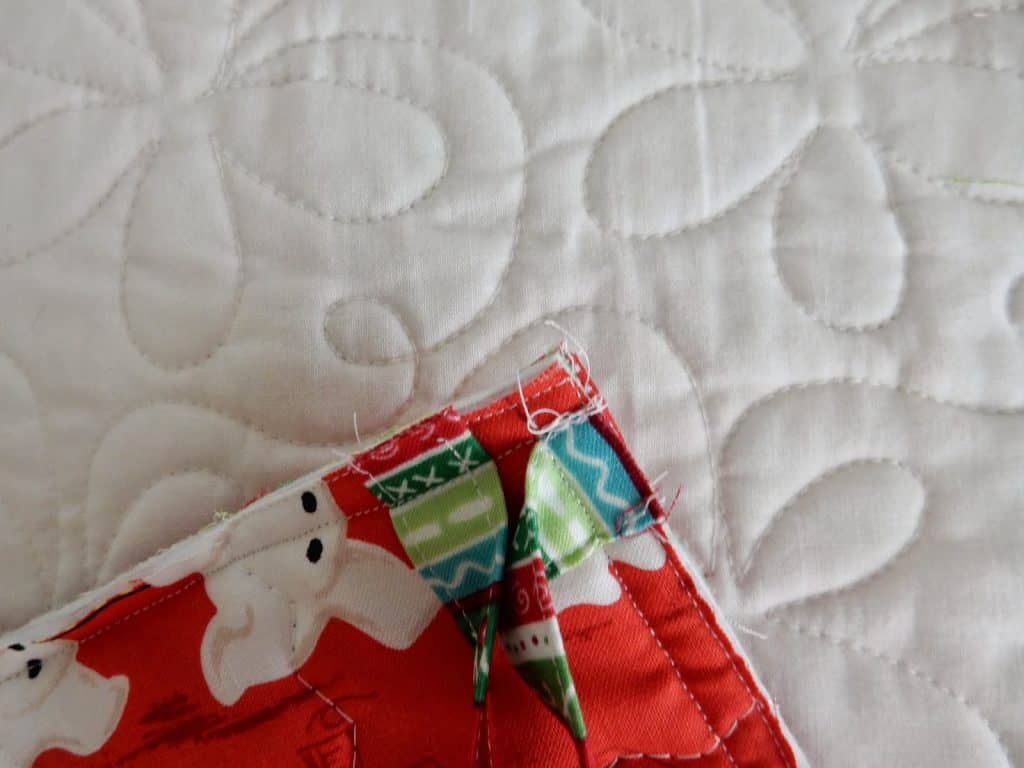
This picture shows the hanging loop from the back of the potholder after the binding has been sewn around all of the edges.
At this point, bring the binding around to the back and hand or machine stitch in place (I hand stitch all of my bindings, but I know a lot of people machine stitch to save time).
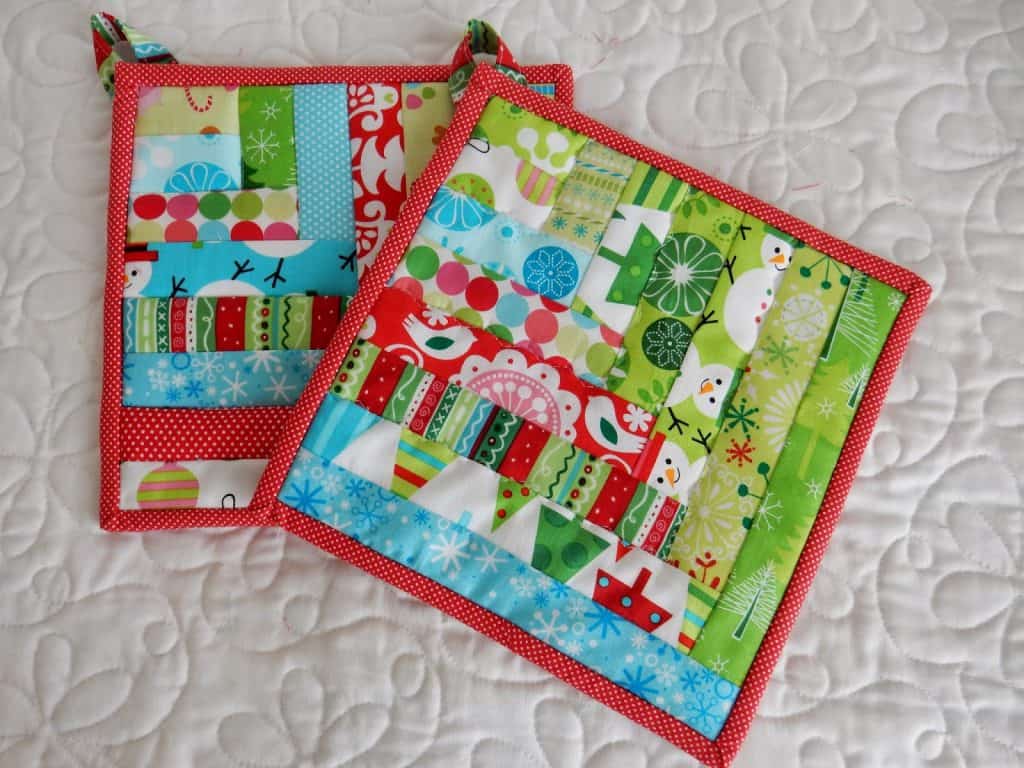
And there you have it…a patchwork half log cabin potholder…perfect for giving or for your own kitchen.
Thanks so much for stopping by!

Anina says
Thank you! So cute!
Billy'sgirl says
Thanks, Sherri. These are so pretty.
I think I'm going to make them for myself!
Sigi G says
Thank You Sherri – this looks like fun!
Sandy says
Thank you for sharing. I have leftover Christmas fabric that I will be using for these!!
Hildy says
These are gorgous! Thanks for sharing, Sherri, I think my mum would love some for xmas.
Carla says
Thanks Sherri. My daughter in law has been wanting some new pot holders ; )
Pierro says
Rosemary B here:
button cute, thank you for sharing dear. Merry Christmas days!
Karen says
Very cute! Thanks for the tutorial. I need to get crackin' on my potholders!
Nancy says
Thanks Sherri, love your potholders. I am making Christmas pillow cases for my entire family, and will have left overs so…..now I know what I am going to do!
Thank you, always enjoy your blog!
Nancy
Joan says
Lovely potholders! Thank you for sharing.
Sherree Chmitlin says
Have a number of potholders to make for gifts and this is just what I have looking for. Thanks so much for sharing.
KMSC says
Thank you for the tutorial. The potholders would be great birthday gifts for the members of my small quilt group (for next year).
Michele says
Thank you!!!
Donna W says
These are great! Thanks for the tutorial. For a little change, you could use the batting as a foundation piece and sew the pieces on that way, or a quilt-as-you-go and sew the pieces on to the sandwich.
Thimbleanna says
Those are adorable Sherri and I love the fabrics that you've used!!!
refabulous says
This is so adorable! I've always wanted to learn how to make a log cabin square, and this is so clear and helpful… not to mention beautiful! Thank you so much for the tutorial!