Hello, friends! I recently was able to teach a class on curved piecing to a wonderful group of quilters. It’s always so much fun to see others learn this simple technique and realize the creative possibilities they now have with their new-found skill. Today I’m sharing my Easy Curved Piecing Guide: Tools & Tips with all of the basics you’ll need to get started with curved piecing on your home sewing machine.
Easy Curved Piecing Guide: Tools & Tips
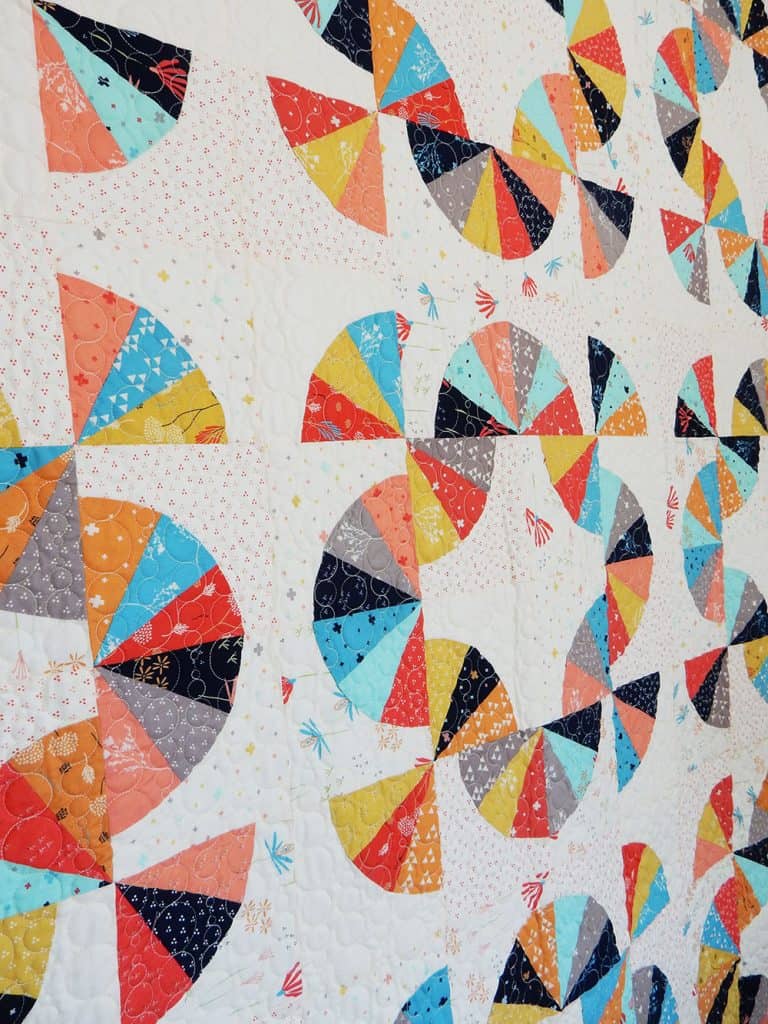
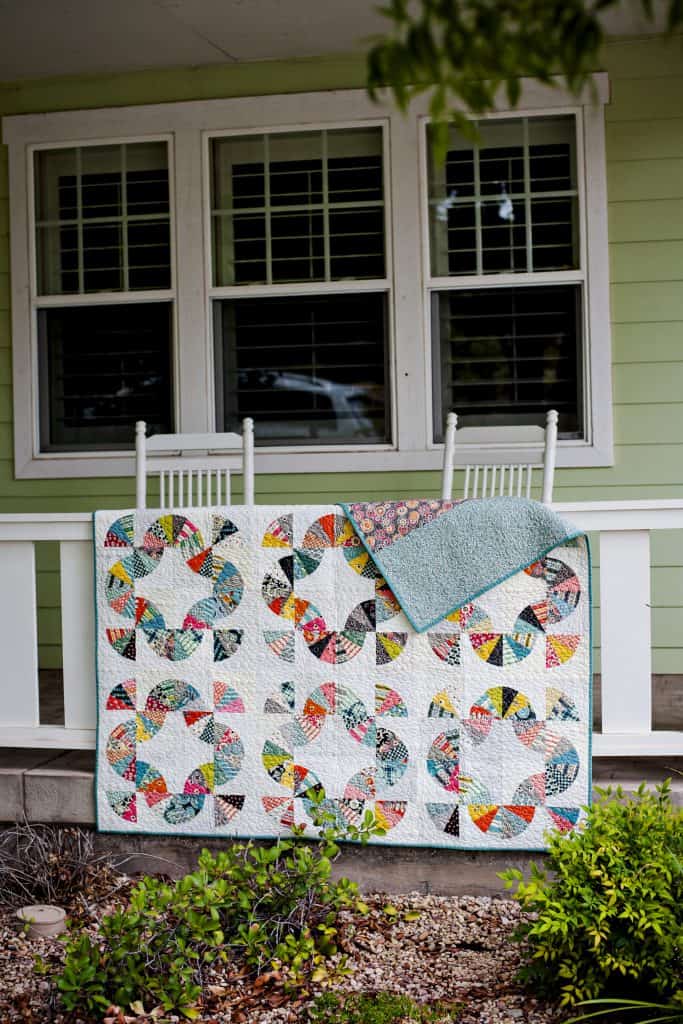
Curved piecing on my machine intimidated me for years. I actually used hand applique’ to piece the curves in my first Mahalo quilt. When it came time to piece my second version (pictured above, I decided to try my hand at using my machine…and the rest, as they say…is history. In today’s post I’ll share some of my favorite tools, methods, and tips for the easiest machine piecing. In addition, I’m sharing a short video so that you can watch as I cut the pieces and sew the curved seams on my machine.
Getting Started
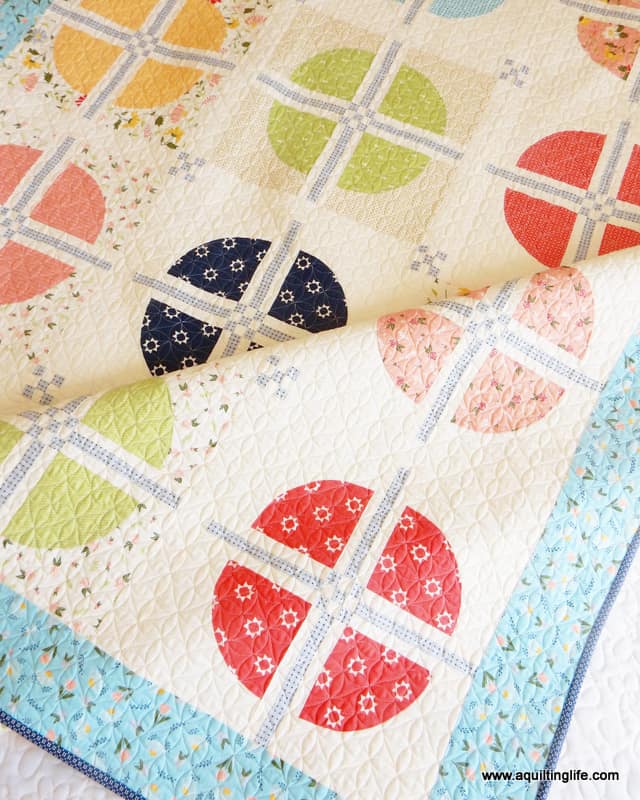
First, choose a simple curved piecing pattern to get started. A simple Drunkard’s Path block such as the one I used in my Balboa quilt above works really well for learning the basics. There are so many different and interesting ways to set the Drunkard’s Path block that you’re sure to find a design you love. Keep reading for a list of pattern suggestions including a free pattern in two sizes.
Next, choose fabrics that you love for your curved piecing project. You’ll want to use prints with a good amount of contrast for the “pie” center and outer portions of the blocks. I love the use of low-volume prints in Drunkard’s Path blocks; however, solids can also effectively be used in combination with your favorite prints.
Cutting Curves: Templates & Rulers
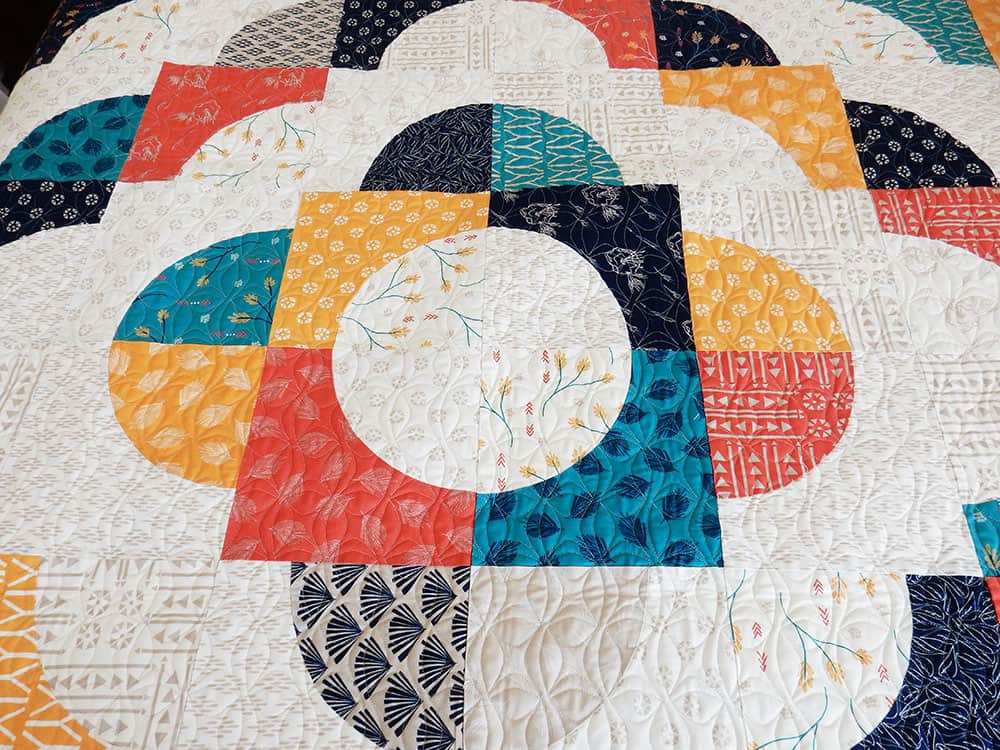
While you may want to use template plastic or freezer paper to make your Drunkard’s Path or other curved piecing templates, I really love using a specialty ruler for these blocks. It works with quarter, half, and full circle pieces and also works blocks in a wide range of sizes. You can see me demonstrate how this ruler works in today’s video.
- Get the Creative Grids Circle Savvy Ruler from Amazon here.
- Find the Creative Grids Circle Savvy Ruler from Fat Quarter Shop here.
- Find a small rotary cutter here.

Sewing Curves
I use the finger-press method to find the center of my pie and background sections and then use 3-5 pins to place the pieces together before sewing. I sew with the pie sections on the bottom and use my fingers to gently guide the pieces. Some quilters like to use a stiletto while gently guiding the fabrics, but I’ve found that I don’t need to use one and have more control simply using my fingers and sometimes raising the presser foot to adjust my fabrics.

Easy Curved Piecing Guide Video
The Easy Curved Piecing Guide video is a little longer than the videos I usually play here on the blog, so you’ll need to go here to watch it on our YouTube channel. In the video you’ll first see how I use the Circle Savvy ruler to cut the pieces for these blocks. Finally, you’ll also see how I pin and sew the blocks.

Curved Piecing Pattern Suggestions
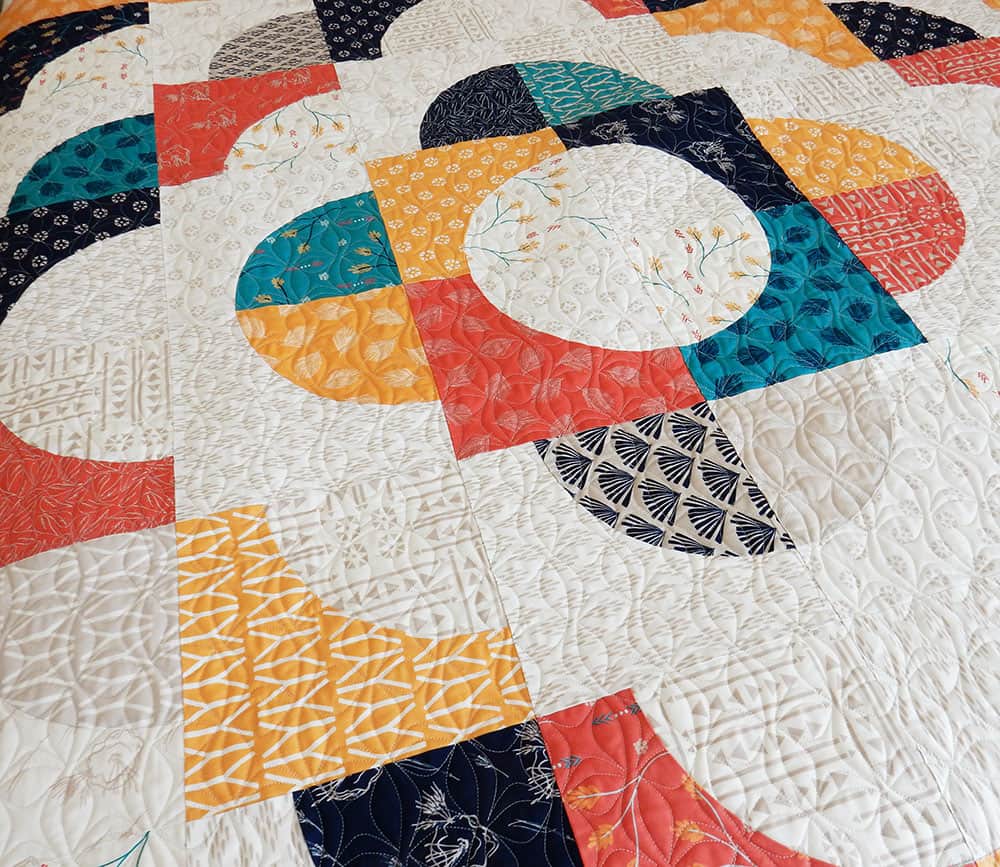
Below I have a couple of free pattern ideas along with links to my Mahalo and Balboa quilt patterns pictured earlier in this post:
- Get my free Daybreak wall hanging pattern here.
- Find a free Mini Daybreak pattern here.
- Get the Mahalo quilt pattern in paper and PDF here (mini version available also).
- Find the Balboa quilt pattern in paper and PDF here.
Enjoy Curved Piecing!
I hope you enjoyed today’s Easy Curved Piecing Guide with tips and tool information. The possibilities really are endless with this fun technique.
Happy quilting, and thanks so much for stopping by.
