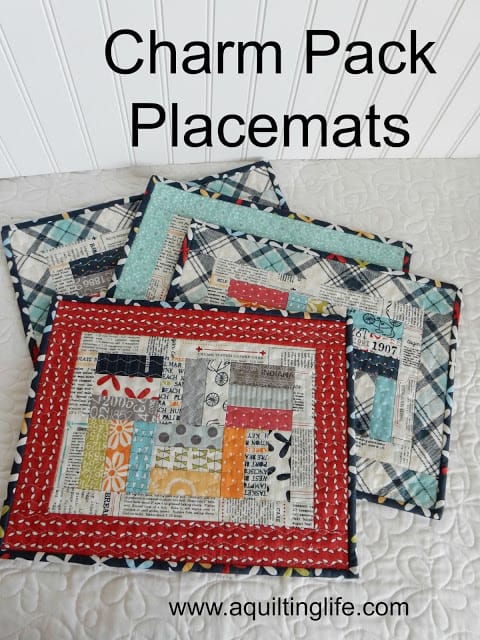
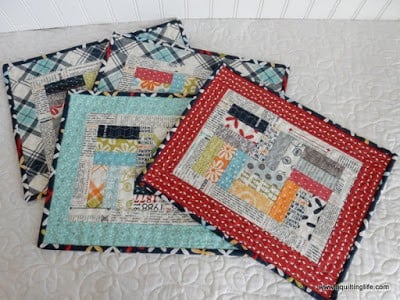
Happy Wednesday! I’m so excited to share this tutorial with you today…I finally made some new placemats based on some that my Grandmother used to make for us all of the time. These placemats are perfect in any fabrics and especially fun in holiday fabrics…and best of all…you can make 6 placemats with just one charm pack!
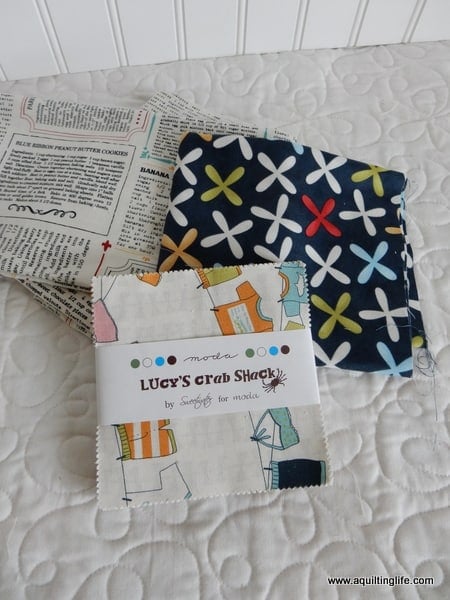
This is also a perfect project for scraps…I actually started with a Lucy’s Crab Shack charm pack and then added in scraps from Hometown, Reunion, and Feed Company to mix it up. I’m in love with these…they are just the thing to brighten my table for a month or so before I’m ready to start decorating for fall!
This post appeared first on www.aquiltinglife.com
It goes without saying that the recipe fabric from Feed Company is the perfect backing for placemats…I’d been saving this for quite a while just for this project. And the Reunion print on navy was the only Sweetwater fabric I had enough of for binding…and I knew I wanted to bind all of my placemats in the same fabric.
So…here’s what you need for 6 placemats:
- One charm pack or 36 squares 5″ x 5″
- ⅓ yard for inner borders
- ¾ yard for outer borders (or ⅛ yard for each if you make these different)
- ⅔ yard for binding
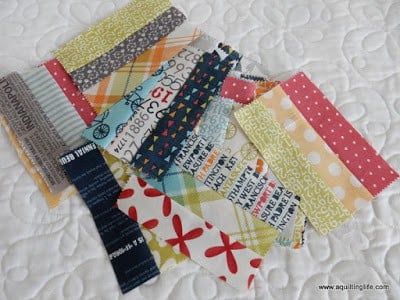
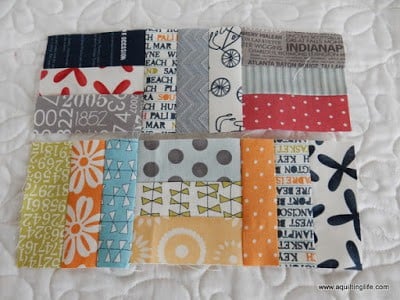
Begin by cutting each charm square into 3 strips 1 ½″ x 5″. Mix up your strips and sew together into sets of 3.
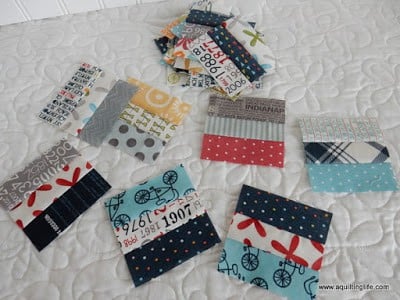
Pressing really doesn’t matter…press seams open, or press in one direction. These sections should measure 3 ½″ x 5″.
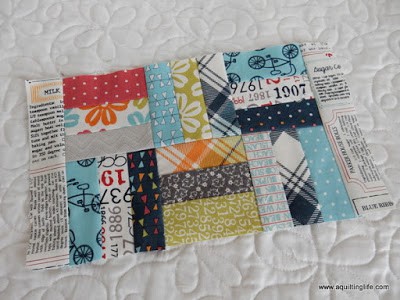
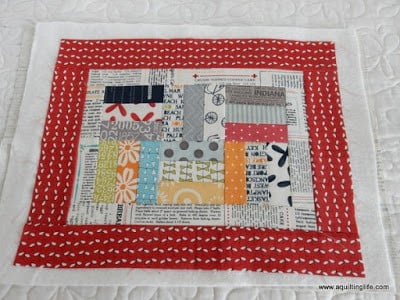
Now, cut the sections in 3 ½″ x 3 ½″ squares. Choose 6 different squares for each placemat center. Lay them out so the colors and prints are mixed well.
Sew the top three units together, the bottom three units together, and then sew the two rows together.
My measurements for borders are
provided below…be sure to measure your pieces and cut your borders to
the measurement you need.
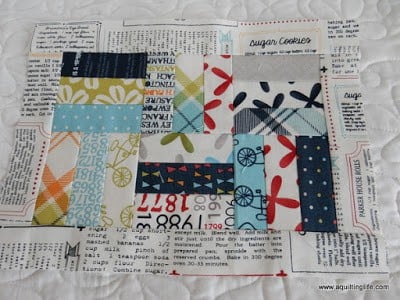
Sew a 1 ½″ x 6 ½″ rectangle of the inner border fabric to the left and right sides of the center unit. Press out toward the borders.
Sew a 1 ½″ x 11 ½″ rectangle of the inner border fabric to the top and bottom sides of the center unit. Press out toward the borders.
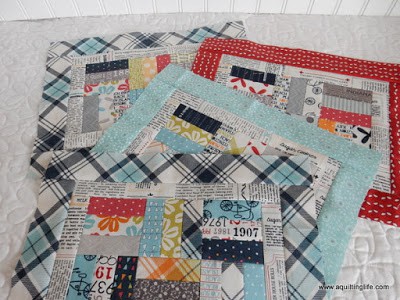
For the outer borders, sew a 2″ x 8 ½″ rectangle to the left and right sides of the placemat unit. Press toward the border fabric.
Sew a 2″ x 14 ½″ rectangle to the top and bottom of the placemat unit. Press toward the border fabric.
Aren’t they starting to look cute?!
Layer your placemat top, batting, and backing and quilt as desired. I cut my batting and backing to measure 14″ x 17″ and used a wavy quilting design.
Bind your placemats and enjoy! I used 2 ¼″ wide binding strips for my placemats. Watch my binding tutorials here and here if you need help with binding.
I hope you’ll have fun with this placemat pattern! I’d love to know if you make some. Thanks so much for stopping by!
Happy Quilting!


seamscrazyquilts.com says
This would be a great project to do with a group of kids in an after-care school program. Something to make and take home and actually use. Maybe prep Ziploc bags with the strips and let them arrange on a square of flannel and take turns using a machine during the 'class'. Then the teacher could graciously take them home and do the final stitching to bring them back to the students (likely do a quick roll binding on the machine as well). Thanks for the inspiration. I'm just rambling on out loud here… 🙂
Janet says
They look great ….thanks for another excellent tutorial…..
Janet says
They look great ….thanks for another excellent tutorial…..
carol fun says
Great idea… I think I'll sew up some Fall-ish placemat… I know I have a bunch of Sandy Gervais Fall collections "aging" in the studio! Thanks for sharing!
Needled Mom says
Those are great and I am in need of a new set of placemats around here.
Tina A says
Thanks! Can't wait to try it!
Lisa Walsh says
Thank you so much for this tutorial! I agree, they would be adorable in Christmas fabric!
Hildy says
Thnaks for the tutorial I love these placemats! Would be a perfect project for another Small parade (just saying:-)
Mary F says
I can see how I can the measurements and use my stash of mini charm packs to make these placements.
HeatherK @ A Reformed Heath'n says
Love this! I've been trying to figure out what I want to make for my table and gifts for my sisters. These are perfect! Thanks!
Karen says
What a great scrappy project! Thanks for giving fabric requirements for 6 placemats rather than for just one. 🙂
Joy says
Right on time!! I pulled some fabby yesterday to make some placemats and was looking for an easy peasy pattern. That person in my head led me here!! My challenge placemats still adorn my dining room table and these will adorn the kitchen table. Thanks bunches Sherri!!
carolg says
How did I miss this? So cute!
Janet Ward says
This will come in handy, as I have a lot of charm packs, and tend to make my own with cloth I've used before.! Thanks….
institches says
Thanks for this cute pattern. I've got fabrics selected and will make this week! A little note: the link associated with the image on the Splendid Sampler web page link to the fabric basket tutorial rather than your placemats�� Best wishes and thank you again!