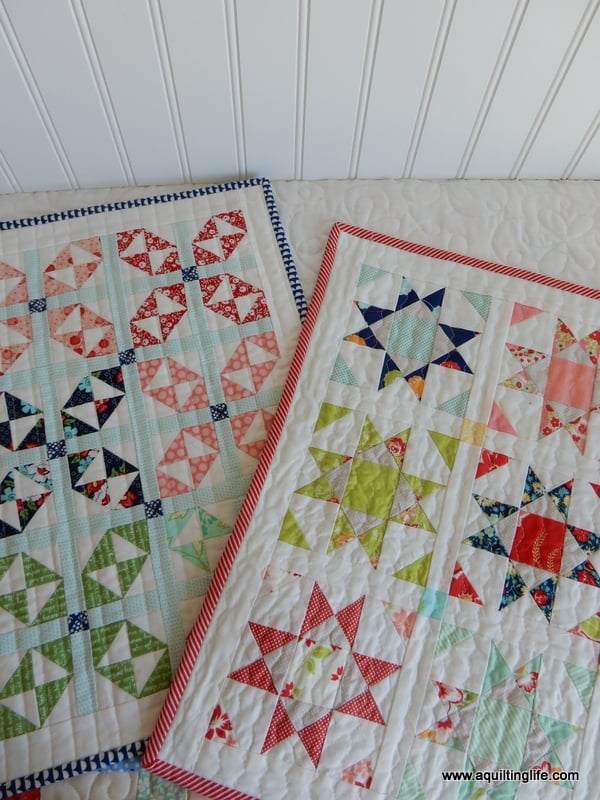
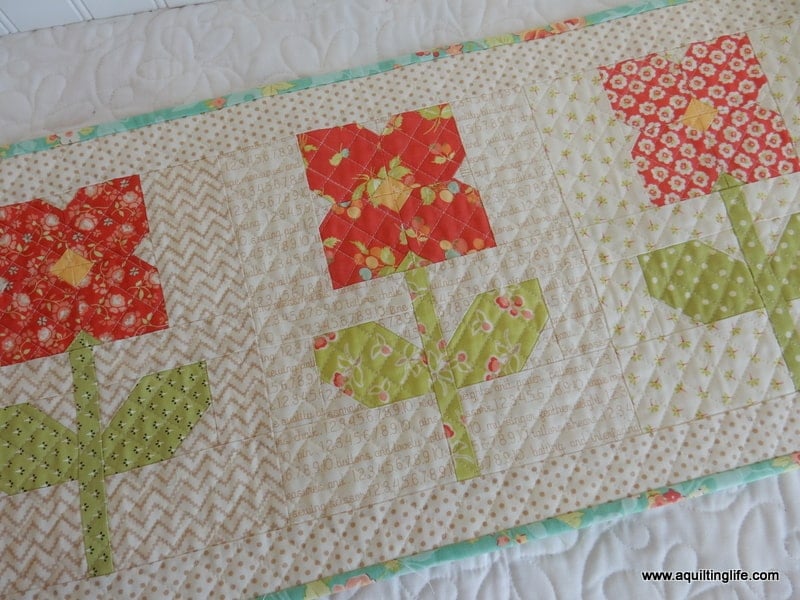
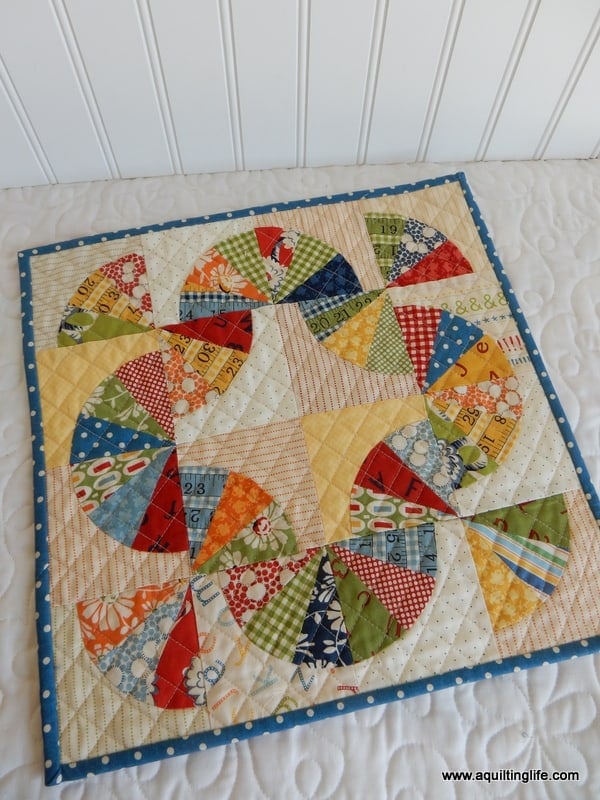
Hello! Today I’m sharing my love of mini quilts with lots of tips and ideas you can use for your own mini quilt sewing! Making mini quilts gives quilters a wonderful way to experiment with new techniques, try out new color and fabric combinations, and use up scraps and favorite fabrics.
A lot of the first quilts I made when I first started quilting were mini quilts. The “Little Quilt” movement was going strong in those days, and while I made a lot of baby quilts for friends along with quilts for my children, I seemed to make smaller projects a lot when making something just for me. Also, I did a lot of hand quilting back in those days, and mini quilts were relatively easy to hand-quilt in a short amount of time.
If you’re new to mini quilt making (or even if you have already made a good supply of mini quilts), here are some of my favorite tips and ideas for these wonderful quilts.
Best Tips for Mini Quilts
First, prepare your fabrics before beginning to sew.
If you are using pre-cuts for your mini quilt, be sure to iron them before you begin to sew. You may also want to consider spraying them with a fabric spray or starch (spray fabrics on the wrong side and then iron on the right side). By pre-treating fabric by ironing or using starch your fabrics will be less likely to shift or shrink while you’re sewing.
Measure and cut your pieces carefully.
Measuring and cutting accurately is always important in quilting, but it’s even more important when sewing with small pieces. You may even want to invest in a ruler with ⅛″ markings since a lot of mini quilts use a variety of measurements.
Double check your seam allowances.
Make sure you are sewing with a precise quarter inch seam (or a scant quarter inch seam if directions call for one). I have a YouTube video you can watch which demonstrates how to check your quarter inch seam for accuracy.
Consider pressing seams open.
While most quilters press fabrics to the darker fabric, consider pressing most if not all of your seams open when making a mini quilt. Pressing to one side when working with such small pieces can cause size variations (ever-so slight) in your blocks. Pressing open can also eliminate bulk in seam allowances.
Use project boards to lay out the pieces for blocks.
By placing pieces for your mini quilts onto project boards you’ll be able to get a good idea of how prints and colors are going to work with each other in each block. To see my project boards with a link to the Lori Holt tutorial to make them see this post.
Consider using 2″ binding for your mini quilts.
I feel that the standard 2 ½″ wide binding is just too wide for most mini quilts. In fact, I prefer a 2″ width for most of my mini quilts. This narrower width gives a snug neat finish around the edges of the mini.
Consider how you’ll use or hang your mini before finishing.
While I use a lot of mini quilts for pillows and table toppers, I also hang them throughout my house. While you can easily use clear push pins to hang your minis, I really don’t like putting holes in my quilts. I make hanging pockets that are added before binding so that the binding covers the raw edges and gives a neat finish. Then I slip a dowel in the hanging pockets and rest the dowel on small nails or 3M Command Hooks. You can see a more in depth video tutorial of how I make these rod pockets near the end of this post.
Mini quilts provide a great opportunity to practice your quilting skills.
Whether you decide to hand quilt or machine quilt your mini project, you can gain good quilting practice without being overwhelmed by a big project. I love being able to complete a mini quilt in a day…and since I send most of my bigger projects out for long-arm quilting, I get a really fun sense of accomplishment by quilting the minis myself.
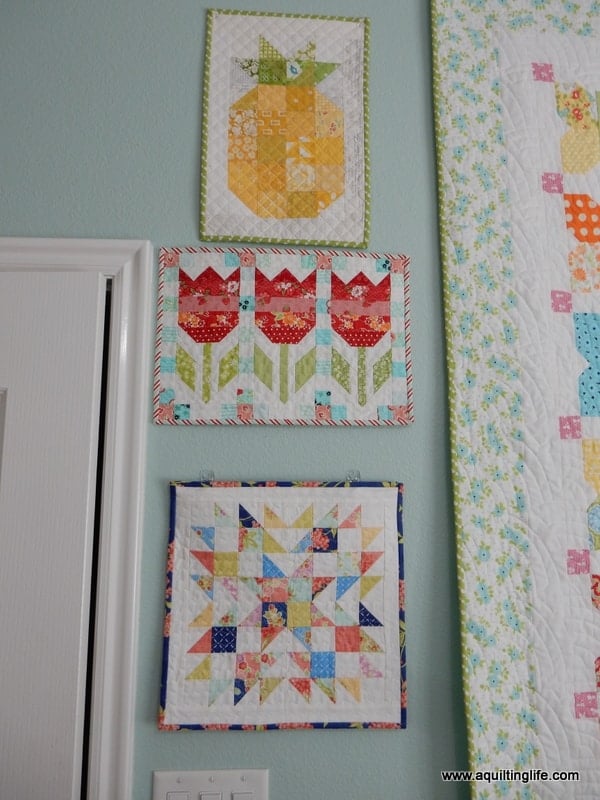
Think about creating a mini quilt wall display somewhere in your home.
While I use a lot of mini quilts to decorate my sewing room, I also have mini quilts hanging in other areas of the house: the laundry room, the front entry, and the family room. I also have quite a few seasonal mini quilts now that I decorate with for fall, Christmas, winter, spring, and summer.
I hope you can use some of these tips and ideas about mini quilts in your own quilting…please share any of your best mini quilt tips in the comments section.
Thanks so much for stopping by!




Janet says
Wonderful tips as always…I really like your display of minis in your sewing studio ?
Apple Avenue Quilts says
Great tips! I'm so glad you are encouraging people to make mini quilts. So many are afraid of them. I thought I would tell you how I hang mine. I make the sleeve as you do, but I use screen molding(a flat wooden molding about 3/4" wide)instead of dowels. Like dowels I measure the length of the sleeve and make the molding a little longer. I drill tiny holes in each end and hang with pins with balls on the blunt end. The pins do very little damage to the walls and it eliminates the dowel bump.
Hildy says
Thanks for your great tip!
Depends on how many seams there are in a mini I sometimes press to the side or hope to reduce the bulk.
I'm using clear pins like Camille to hang my minis.
Susan says
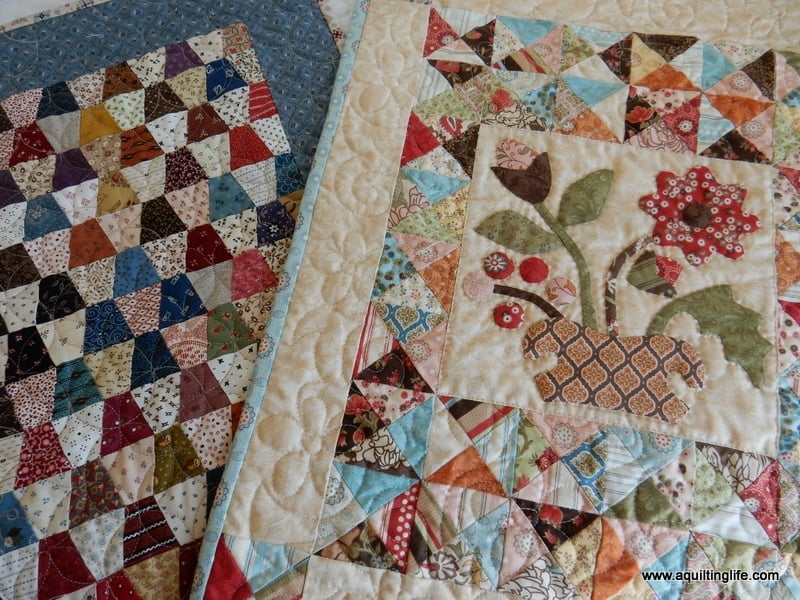
I've always found applique projects to be intimidating and overwhelming, so I never tried one. But your mini quilt post today gave me the kick to give it a try. Could you please tell me the pattern name for the mini applique quilt in the first photo? Also, the fabric collection you used.
Sinta Renee says
Wonderful post! Those tips are all really important! Loved reading this!
Patty D from NC says
I do hang my mini quilts the same way with a dowel!
Beatrice says
Hello, a reply to Susan: you mention an applique mini quilt in the first picture. The one with the vase and the flowers? It is here:
https://www.aquiltinglife.com/2009/10/bloggers-quilt-festivaland-more.html?m=0
so the pattern is from a Lori Smith book called Fat Quarter Quilting.
Thanks Sherri for all the tips and inspiration!
tmmw says
IN the photo of your sewing room, What is the mini that looks like a star but the darker fabric used shows a hexagon in the middle? I would love the pattern for this!
Joan says
Love reading your posts and learning so many great ideas and tips. Your little quilts are gorgeous.
Diane Menard says
Thanks for these great tips. I have a question. What is the size you would consider is no longer a mini quilt and would require a 2 1/2" binding? As usual your advice is so helpful.
Kay says
I love your mini display. It is my dream to one day have a sewing room. x
Bear Creek Quilting Company says
Love the tips! And your room is adorable with all those mini quilts. Thank you for sharing.
KMSC says
Great post, as always! I also love your sewing room. I am setting up a new sewing space and saw some ideas I think I can use.
Kerry says
Thank you so much for those tips. I had been sewing flying geese and sewing the waste together to make little joined hsts – so tiny and make 1.25 unfinished squares. I didn't want to waste them and thought I'd use them in a mini quilt one day. This is a very timely blog posting. Much appreciated. 😀
Tracy says
I am drooling over all of your beautiful quilts…just stunning.
I have done a couple of simple bed quilts and wall hangings, but seeing your mini quilts makes me want to try my hand at one 🙂
Nik says
Love these! Just starting to think about trying out mini quilts to hang around the house, so this was a great resource. Thank you!