Hello! You might remember that at the beginning of the year I started a series of posts on quilting with your stash! For the early posts I focused on projects using strips: extra jelly roll strips or strips cut from scraps.
Now, for the next few months I’m going to focus on quilting your stash using those extra squares you might have…extra charm packs, layer cakes, mini
charms, and more! While longer strips are a huge time-saver to sew with, don’t disregard the humble square!
So without further ado, here are my favorite 5 tips for quilting with squares:
1. Sew squares together to make patchwork sections for patterns that call for solid pieces of fabric.
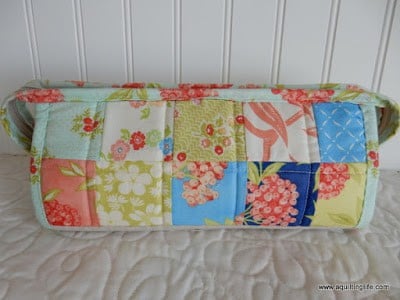
You can substitute a patchwork piece for nearly any solid piece of fabric in a design. The Sew Together Bag pattern is one example of how I’ve substituted patchwork sections for parts of the bag.
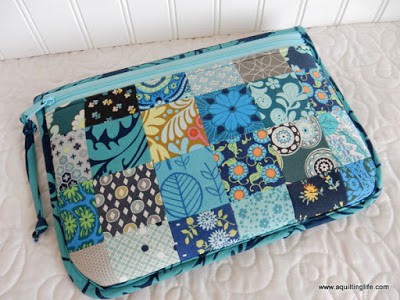
Another example of where I’ve substituted patchwork squares for a solid piece of fabric is found in the iCase I made for my iPad.
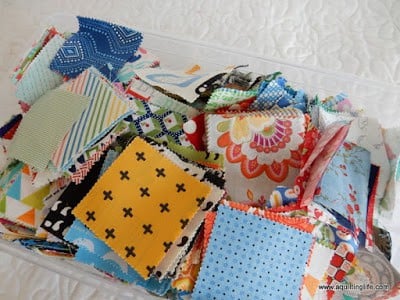
2. Collect squares by size, by color, or by season.
I actually have a few different collections of squares. Here are some of the classifications I use to sort my squares:
- 2 ½″ squares
- Fig Tree squares
- Bonnie & Camille squares
- Minick & Simpson squares
- Christmas squares
- 3″ and 3 ½″ squares
- Novelty fabric squares (mostly for an I-Spy quilt I want to make one day).
- 5″ (Charm Pack) squares
- 10″ (Layer Cake) squares
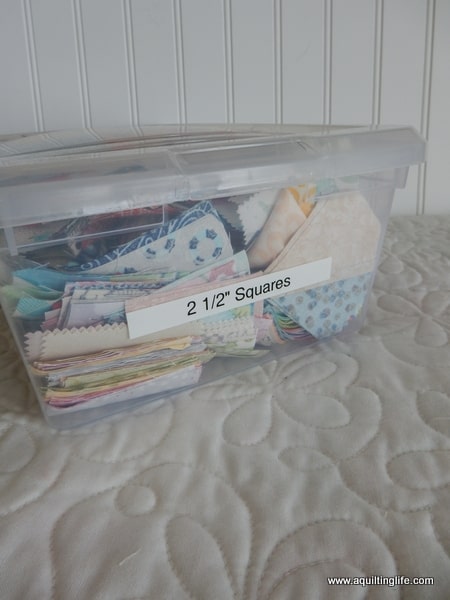
My 2 ½″ squares bin has an assortment of leftover squares from projects (including left over mini charm squares).
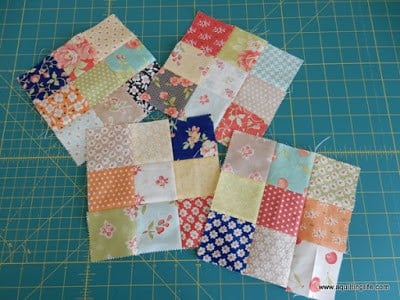
3. Sew squares into 4-patch and 9-patch units whenever you have a chance.
You can sew squares together in pairs, four-patches, and nine-patches while sewing other projects. Having an assortment of ready to go blocks can make other projects even faster and easier. Store completed units separately from squares.
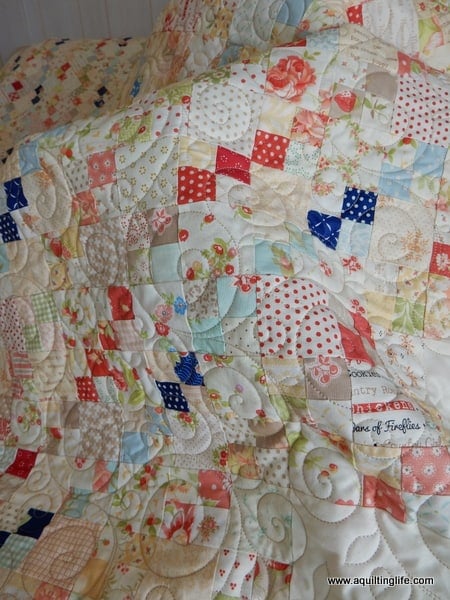
My American Patchwork & Quilting “Go Four It” quilt was made up of a lot of squares…four-patches and solid squares. I used my Fig Tree scraps of squares to make the majority of this quilt. In fact, the larger pieces I used in constructing it were primarily Layer Cake squares.
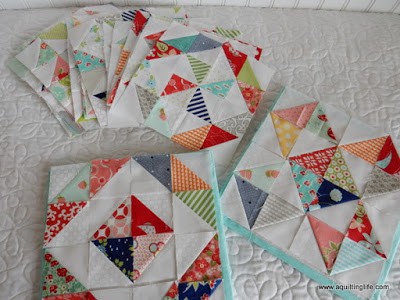
4. Treat completed half-square triangles as squares.
This one might sound a little different…but trust me, it works. I often have left-over half-square triangles from projects, and for years I stored them in my scrap bin. But since I’ve been keeping them stored separately by size I’ve been able to use a lot more of them.
My scrappy half-square triangle quilt (which is just missing a couple of blocks before I can put it together) was made primarily from left over half-square triangle units which had all been trimmed to the same size.
5. Keep a list of projects you want to make that will work with your squares collection.
I think it’s good to have projects in mind for the future. It helps you decide what and how to store and organize your scraps. Piecing units together ahead of time as I mentioned in step three is a great way to get a head start on scrappy projects.
I’d like to do a postage stamp quilt with 2 ½″ squares…and it’s easier to put units together rather than sew an entire project like that one square at a time.
If you’re looking for a fun project with left-over squares…Joanna has just started a quilt along that you might be interested. Read all about her Sherbet and Creams quilt along which uses a lot of 3 ½″ squares. I’m hoping to join in after I finish one more market quilt…I’ll be using squares from my 3 ½″ bin along with cutting up some extra fat quarters into squares.
Did I leave anything out? Do you have any tips for sewing and quilting with squares…please share your thoughts in the comments section!
Have a wonderful day, and thanks so much for stopping by!


Paula says
Wonderful ideas! Thanks for sharing!
Janan Doster says
Love these tips! Love these bits of your scraps and enjoy seeing all the different FigTree fabrics you have in your scraps!!
Hildy says
Thanks for yout tips! I'm sewing-along with Joanna because how could I say no to her? I've alreeady cut all my squares and now need to make the 4-patches. I'm making them slowly because they'll be leaders/enders while I'm bulinding my Village:-)
GabiP says
Excellent article – you've got me thinking about how I store mine. I do believe it's time to try another route – your route. Thx! Now I'm going to back read your stripping article (that sentence made me LOL when I re-read).
Peggy Wilson says
The postage stamp quilt idea is what I'm doing w four BnC collections. 2.5" squares in the shape of Texas. Idea from a Texas sew along. Doing sections then will put together with background fabric.
jenni says
I love the HST idea! I'm going to add them to my squares bins today!
Lara B. says
Such great ideas Sherri and I can see how sewing the squares together would make great leader/ender projects too!
Heidi Brown says
What a great article! Thank you so much for posting this. I will definitely be using the hints….who knew there are still new things to do with the humble square?! Thanks again!
mascanlon says
Some great hints here. I am thinking of taking a day a week just to start cutting and organizing scraps. 3 big tubs and numerous zip locks are just not usable except for snatching a piece for appliqué now and again.
P
Mari Kuhna says
Thank You Sherri for your great tips, again. I'm lazy commentator, sorry about that, but I have been following your blog some time. Your blog is great inspiration and educational, new tips all the time 🙂
Thank You for sharing your quilting 🙂
Mari from Finland
Rosemary B❤️ says
Sherri, THIS IS SOOOO GREAT
I adore you and your great ideas AND your inspiration. I am weak (mentally), and laaaaazy and mostly busy. I want to do these things. I will printify this and hang it, so that I can get excited about doing this
:::smooooch::::
Rosemary B❤️ says
Ugh, I thought I commented here, oh my.
This was so helpful. Thank you so much for the encouragement dear friend