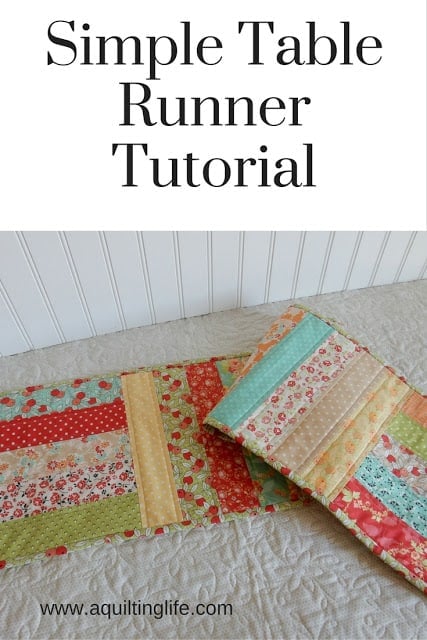
Hello! Welcome to my Simple Table Runner tutorial! You’ll want to make more than one when you see how quickly and easily this project goes together!
I’ve made several different versions…these are fast and fun to make and work well with any type of fabric!
And…it’s a quick project you can make in just a few hours!
I’d had this idea in mind for some time, mostly because I had quite a few scraps I wanted to use up for a summer table runner! This runner pattern is perfect for using up left-over jelly roll strips or for simply taming your scrap bin!
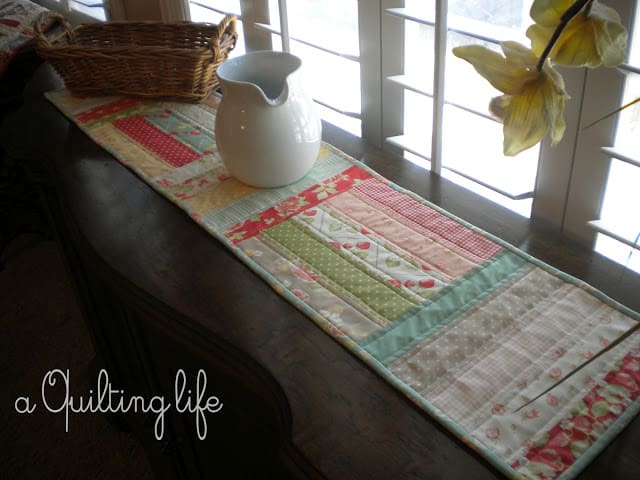
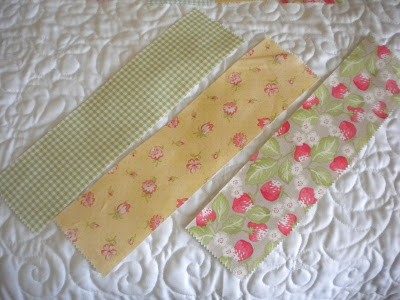
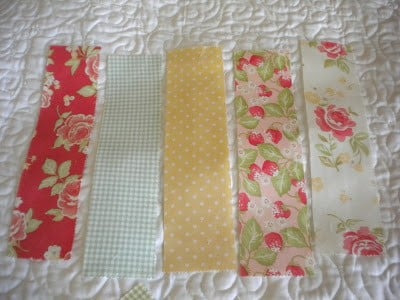
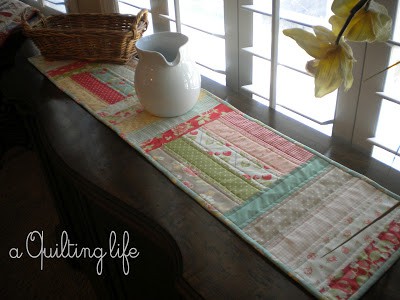
Start out by cutting 2 ½” x 10 ½” strips. For my runner I cut 25 strips which gave me a runner size of 10 ½″ x 501/2″ before binding.
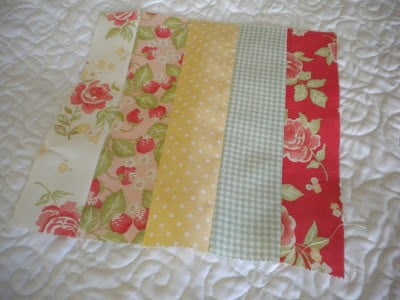
Put the strips together in sets of 5. Make sure you like the way the fabrics “go” together.
Sew the 5 strips together using a scant ¼” seam. Press the seams open or to one side or the other. I made 5 blocks using 25 strips. You could also use just 15 strips to make a 3 block runner which would make a cute 10 ½″ x 30 ½″ runner (before binding).
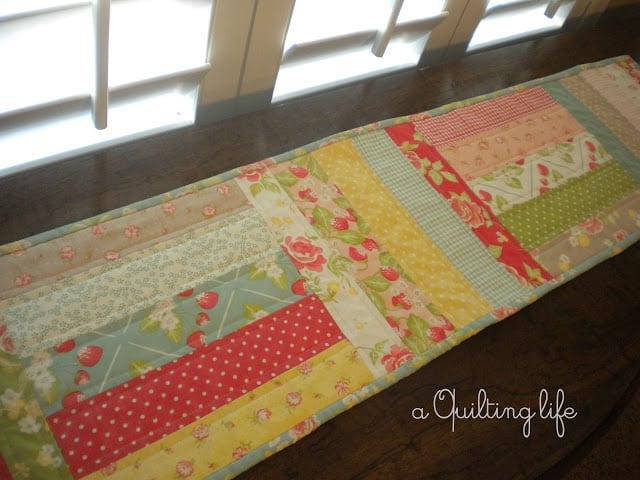
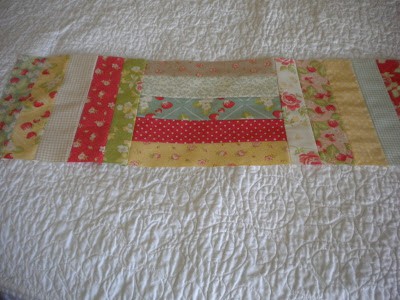
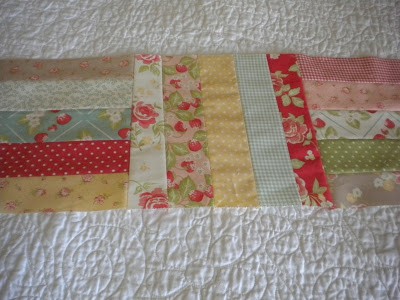
Now begin sewing the blocks together, alternating the strip direction each time.
Press well…you want your runner to be ready to quilt.
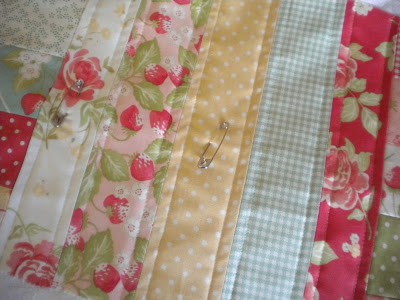
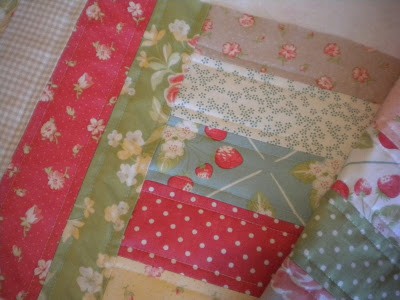
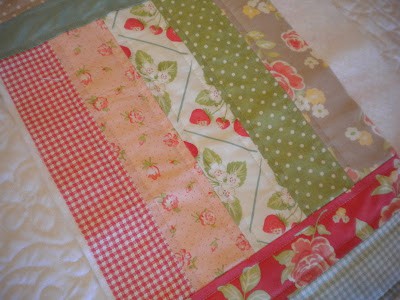
Next, layer your backing, batting and runner top. Smooth out all the wrinkles and pin using safety pins. I used a pin in every other strip. I machine quilted my runner ¼” from each seam. I increased the stitch length before quilting to give it a more “hand-quilted” look.
I really like the look of having the quilting lines going in opposite directions since the blocks are rotated every other block.
After quilting, trim the batting and backing from around your entire runner. I always leave a little extra around the edge so my binding has a “full” look. For my runner I used 4 strips of 2 ¼” x the width of my fabric to create my binding. Sew the binding on, and enjoy your new runner!
I hope you enjoyed this little tutorial. Strip sizes can easily be changed to make different sized runners…use (6) 2 ½” x 12 ½” strips for each block for a wider runner…the possibilities are endless!
Thanks so much for stopping by!


Deborah says
Love this….already thinking of a Christmas table runner with this pattern! Thanks!
VickiT says
Beautiful runner and so simple too. Thank you.
Terriaw says
I made a table runner just like this last summer, using some Nicey Jane fabrics in greens and yellows. Such a fun and simple design to whip up in no time.
SpartanBabe says
Love it! Thanks for the tut – I may have to put this in my back pocket for the Dots on Dots Blog Hop in Sept.
trish says
I love it Sherri! Simple and so cute!
Thank you for sharing with us! Trish xo
Sandy says
Wonderful! Thanks for the great idea!
Best SEO Web Services says
Excellent Working Dear Friend Nice Information Share all over the world i am really impress your work Stay Blessings On your Work…God Bless You.
geo news pakistan
Pakistan News
Latest News
Judith Blinkenberg says
Really love this line. I think what impresses me the most is your quilting. Those straight 1/4 lines makes the runner pop! Thank you. I will try this.
Cheryl says
I like instant gratification projects. LOL, you had me at it can be done in a few hours. LOVE THAT!!
thanks for sharing. I need to make one for my entry console.
Anne says
So simple and yet so stunning. Thanks for sharing! :o)
suemac says
Very cute and easy peasy.
Catskill Quilter says
I love your tutorial! The table runner looks fabulous, and changing the fabric would give it a totally different look. I have bookmarked, and thank you for taking the time to put together the great directions and photos!
CJ says
So cute! I need to make a couple of quick gifts so this is PERFECT!
Kylie says
Love it Sherri xxx
Bari Jo says
Thank you! This looks like a sweet way to use up jelly roll left overs! Fun way to get started on some Christmas gifts! :O) Appreciate you sharing this!!
Cheryl says
I love that line of fabric, the table runner is so pretty. Still trying to find this line of material. The two quilt shops in my area don't carry it. Like the way you quilted it, makes it stand out so. This would make nice Christmas gifts. Thanks for sharing the project!
Donna says
Your tablerunner is so nice! It will make great last minute gifts. Thanks!
Carol says
Thanks for the tutorial Sherri.
Mama Pea says
Very pretty. Thanks for sharing the tutorial!
trelly says
Easy and beautiful, thanks!!!
Jenniffier says
Super cute! Great tutorial
Sharon says
I have been cutting my scraps into 2 1/2" strips, so this came at a good time. I really like how simple, yet beautiful it is. I am thinking Christmas, too. thanks
Sharon says
I have been cutting my scraps into 2 1/2" strips, so this came at a good time. I really like how simple, yet beautiful it is. I am thinking Christmas, too. thanks
Michele says
This tutorial is wonderful Sherri! Great idea 🙂 Thank you!
quiltersmarito says
Christmas? Anyone already thinking to Christmas?? That's why I am getting so old, december is too close to august!!
Darlene says
Very, very cute runner, Sherri.
Mary Deckert says
Super cute runner Sherri!
A question for you about fuller binding: Do you line up your binding on the quilt edge, or the batting edge? Do you use a quarter inch seam?
I ask because I just entered a quilt in our county fair. I won first prize (yay!) but the judge wrote a note on the back of my card saying my bindings weren't full enough 😛
Thanks!
Vania Silva says
Beautiful and very simple. Thanks for sharing it!
KMSC says
Another great tutorial! Thanks for sharing your designing talents with us!
Mom2Caleigh says
Just came across this searching for a pattern. I love the idea, thanks. Direction were clear and concise – easy to follow. I cannot wait to go make one. Thank you!